|
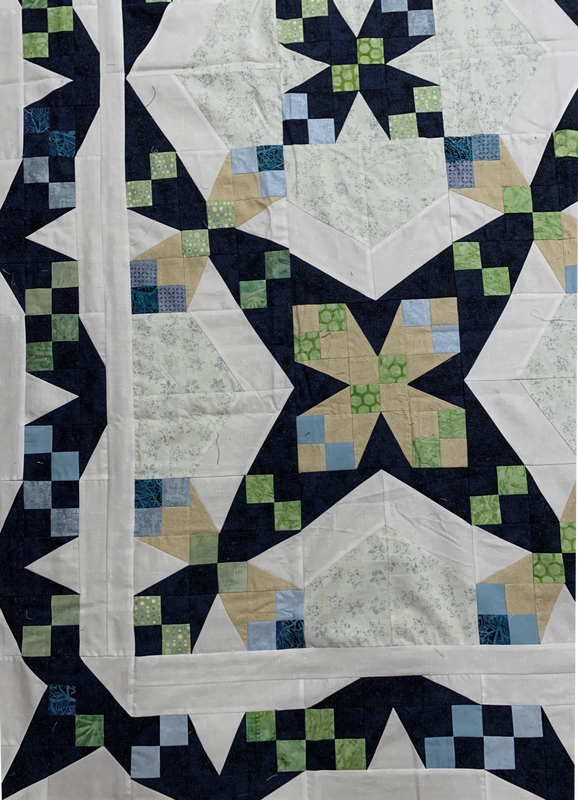
Quilting should be easy. However, sometimes getting all those points to match up can take the fun out of the quilting process. So I thought I would create a "no stress" block that is both easy to draft and easy to piece.
The fabric collection I decided to use, is one of the free monthly downloads from DoYouEQ.com.
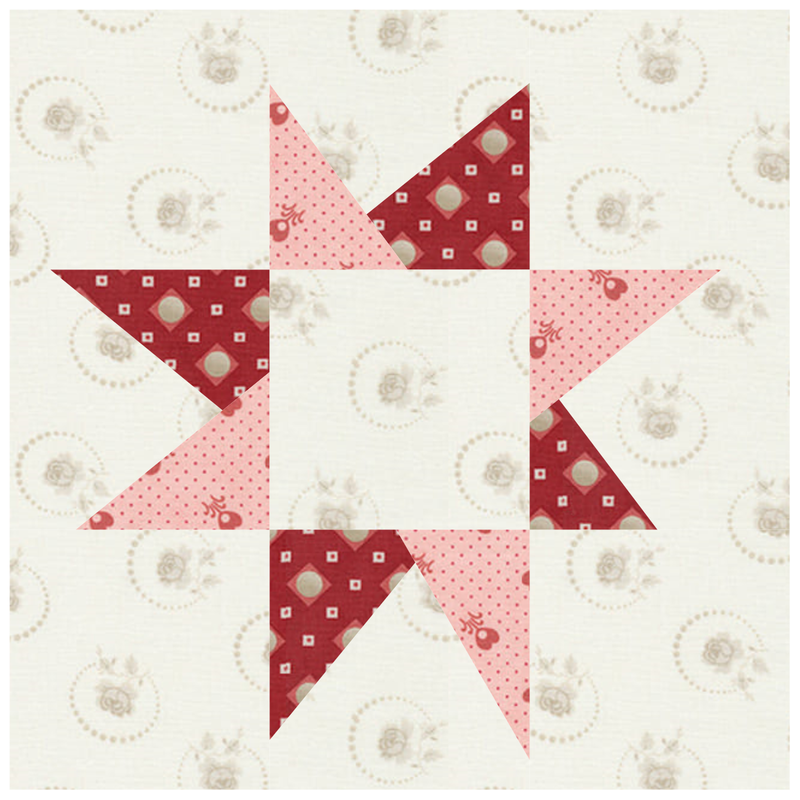
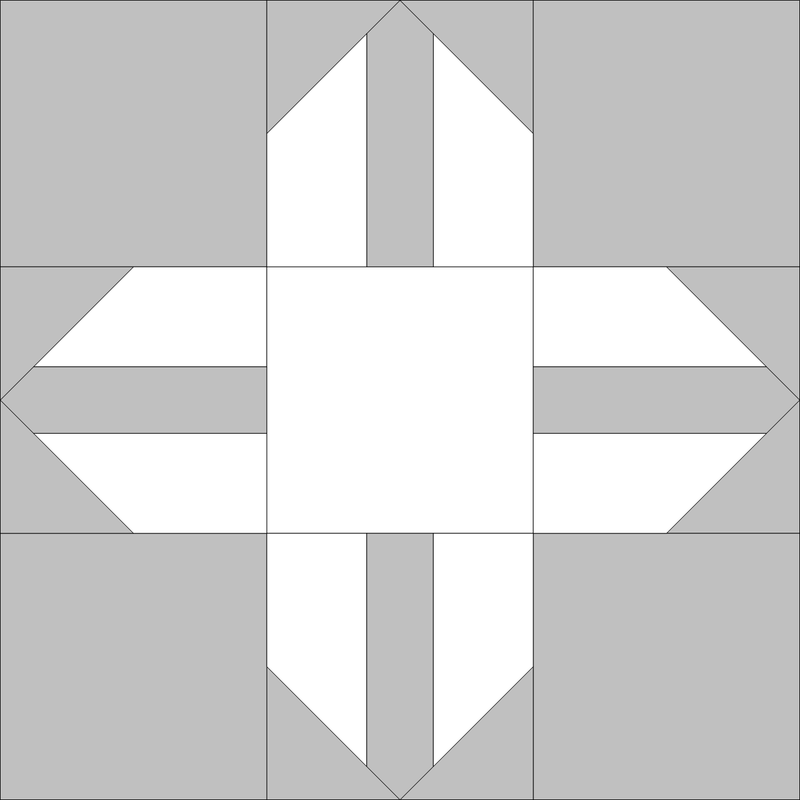
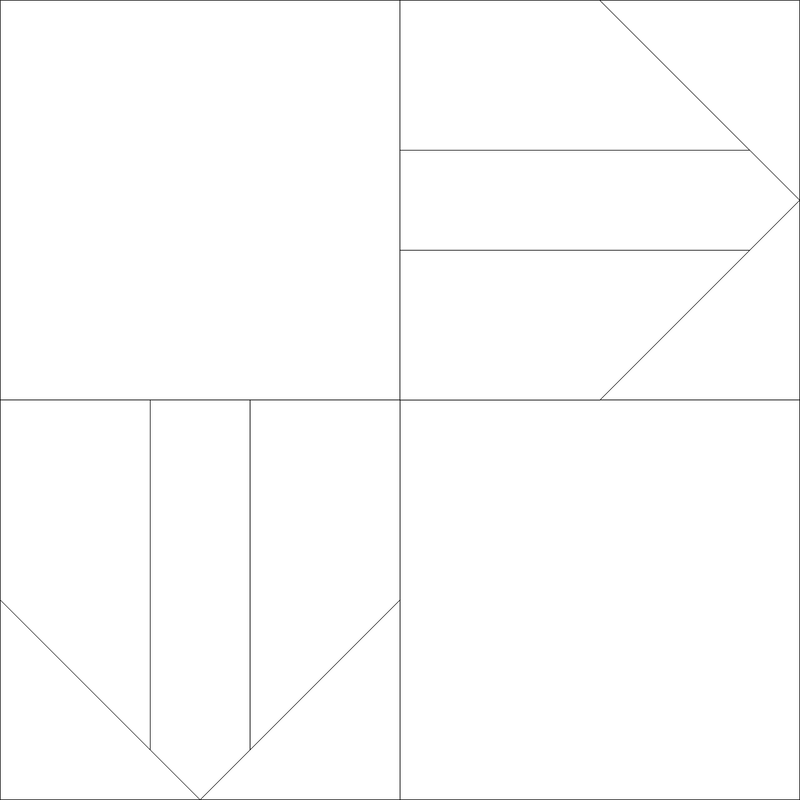
The no stress blocks started with a basic 9-patch block. Rather than "precision" flying geese units I drew some random lines for a more casual look.
I then decided to "tilt" the block using Serendipity. As part of the "tilt" process I rotated the inside of the design 90 degrees to ensure the blocks looks different.
Learn how to create the blocks and quilt with the video.
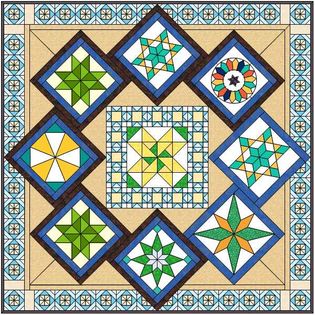
For the first quilt, I chose to add a binding to finish off the 3 x 3 layout.
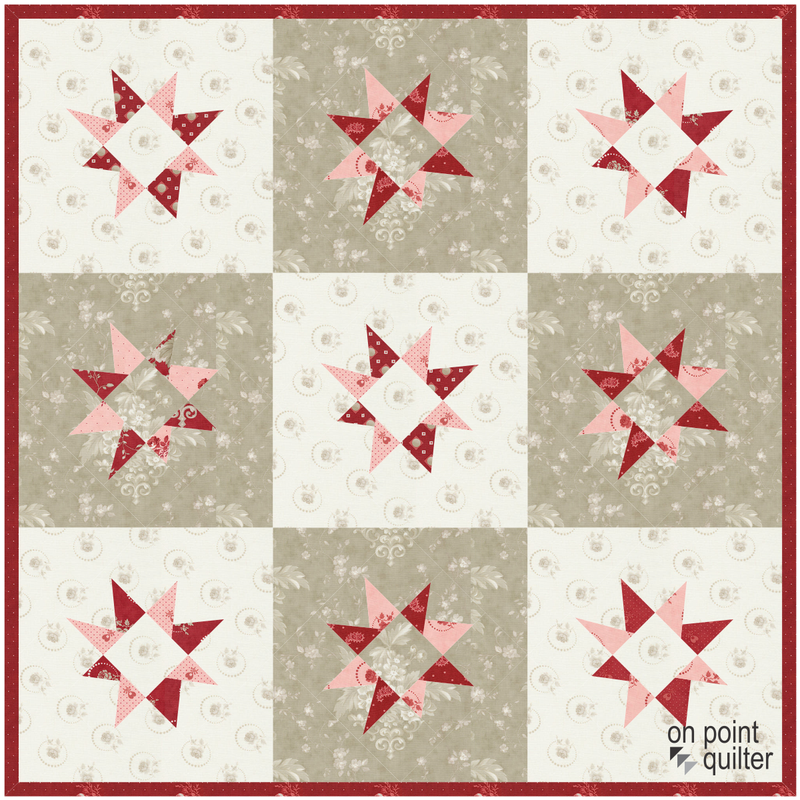
No Stress Star Quilt -- without borders.
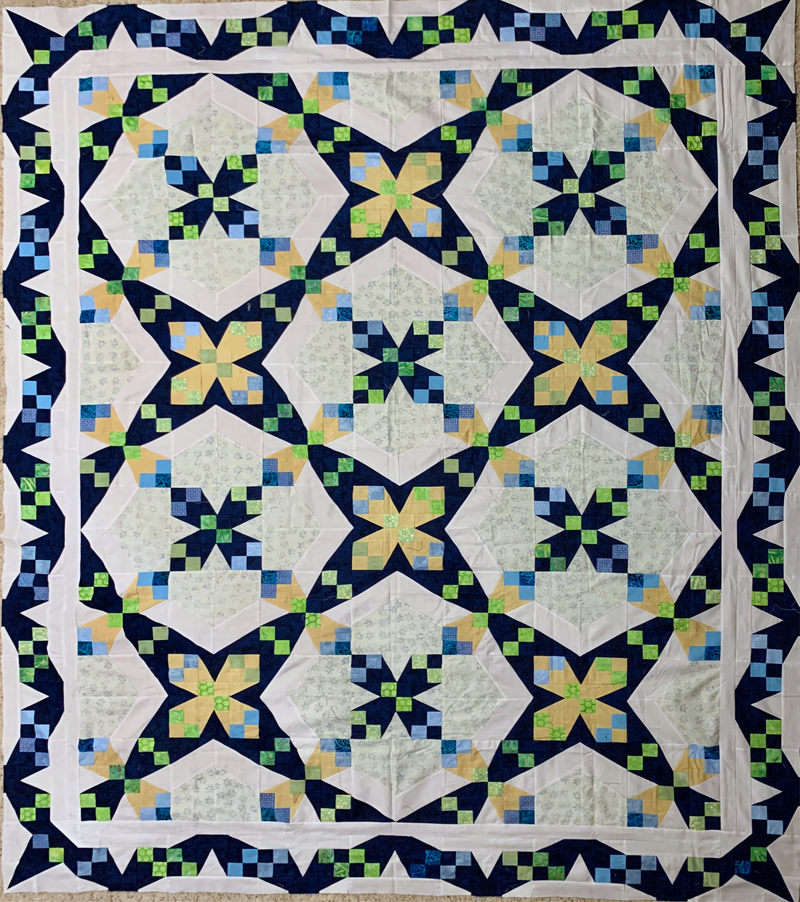
But I rarely stop at just one design. So for the next quilt, I decided to carry the "no stress" look into the borders. But for the borders, I chose to create some "no stress" half square triangles rather than flying geese units.
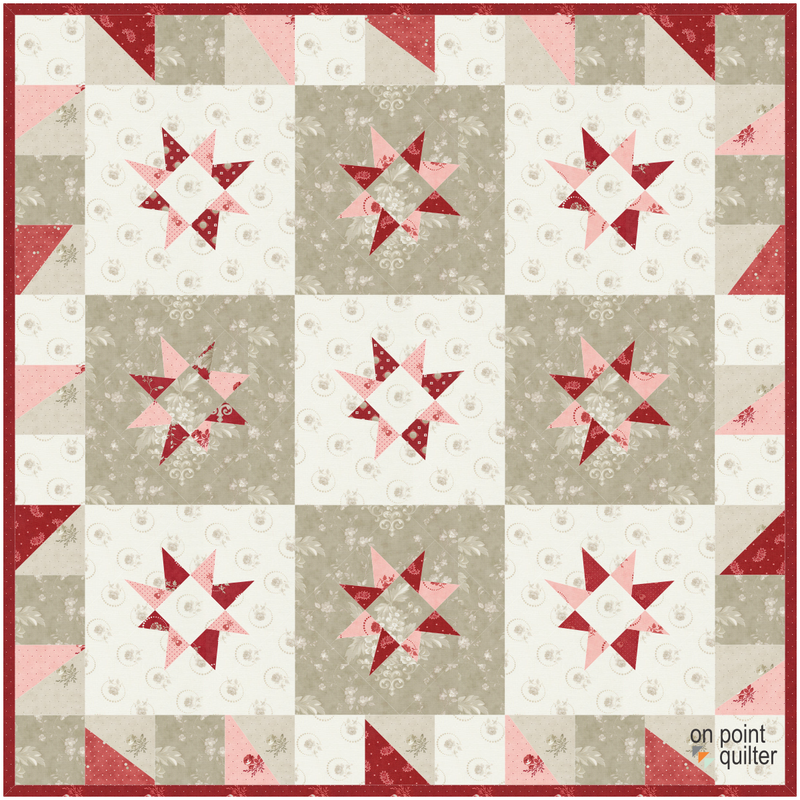
No Stress Quilt designed in the video.
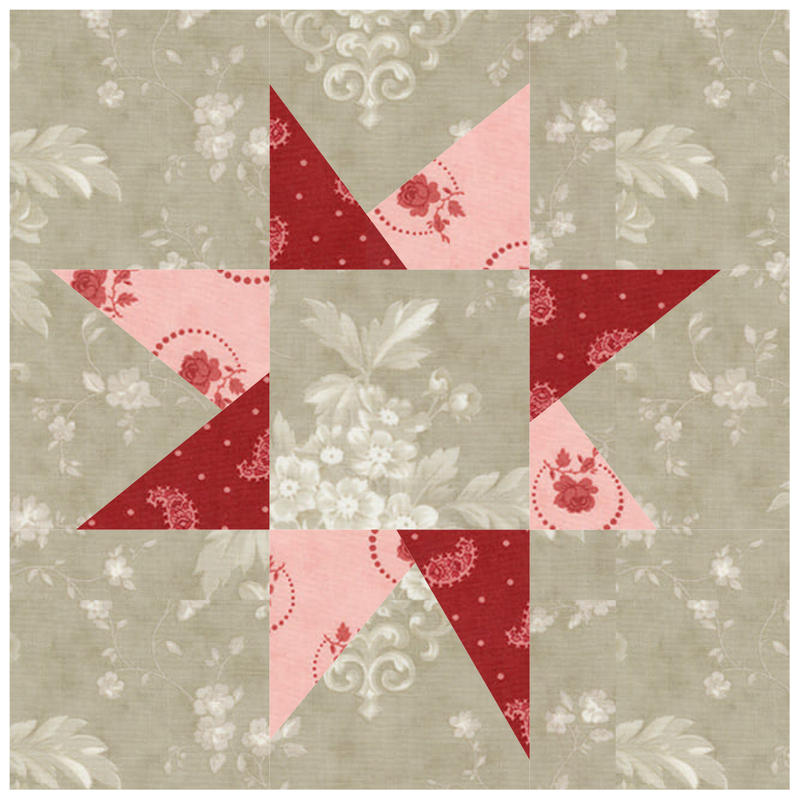
Continuing with the "what if" game, I decided to swap the coloring in the centers for the "light background" and "dark background" blocks.
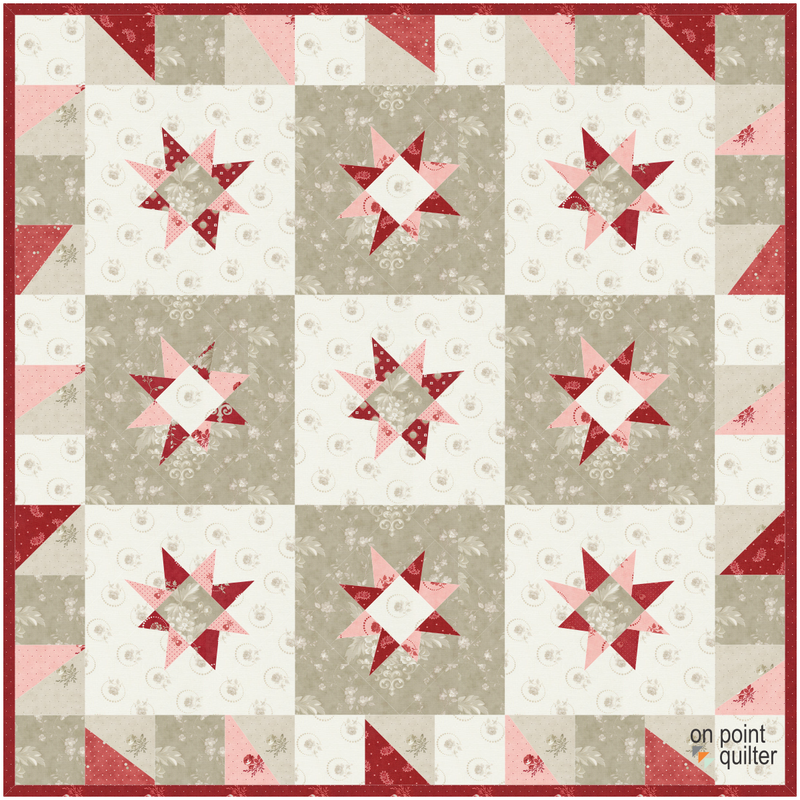
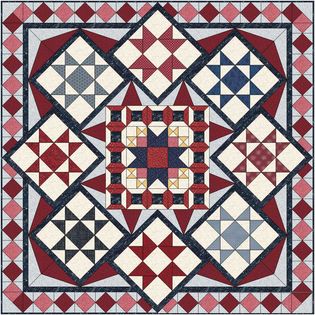
No Stress Star Quilt with alternating backgrounds for the star centers.
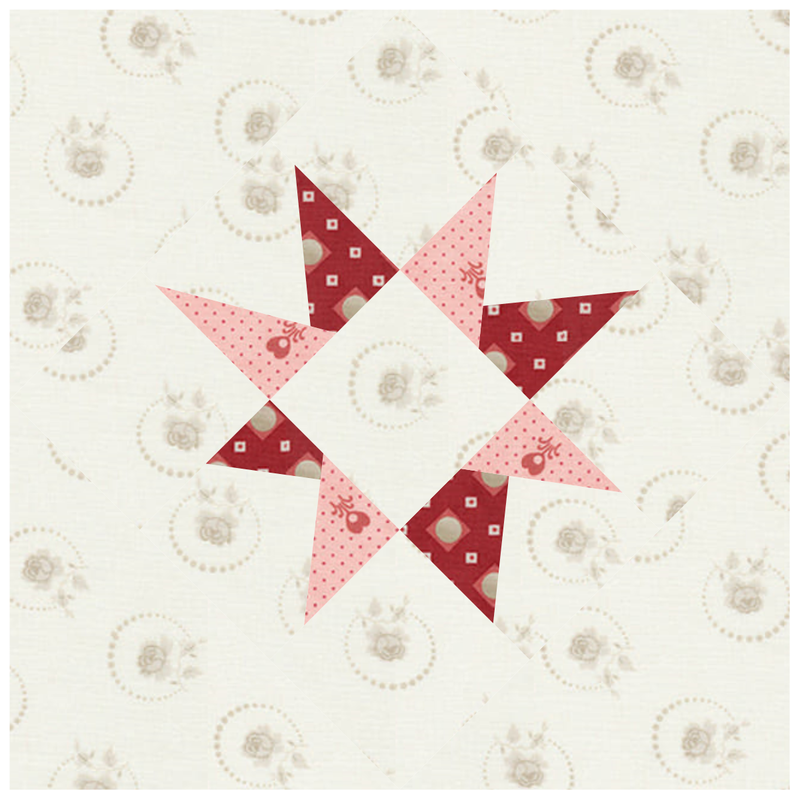
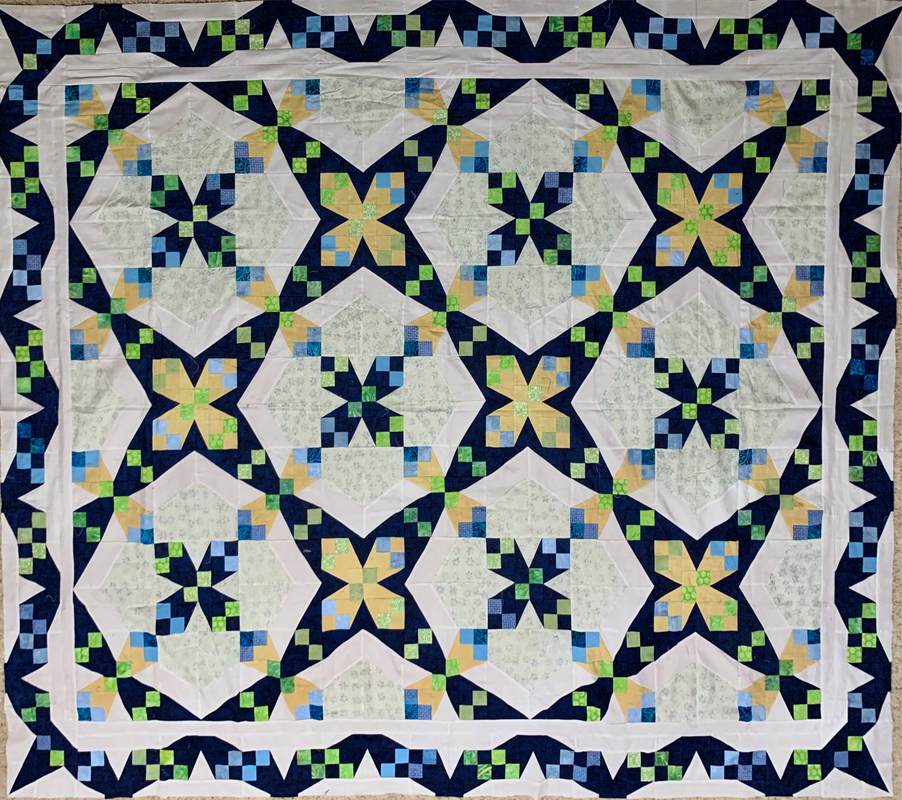
For another option, I thought I would use a third background fabric for the centers. And just for fun decided to fussy cut them.

No Stress Stars Quilt with 3rd background in the center. Center of star is fussy cut.
There are so many more ways you could personal this quilt. It might be fun to use sky colors for the background and star colors for the stars. How would you make this your own?
Feel free to share pictures of your quilts in the Learning EQ Facebook group. I've set up a dedicated post for your designs.
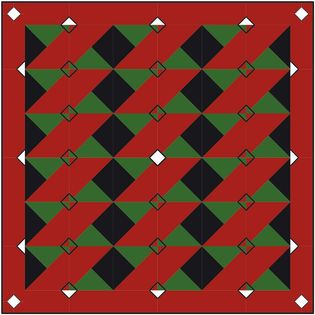
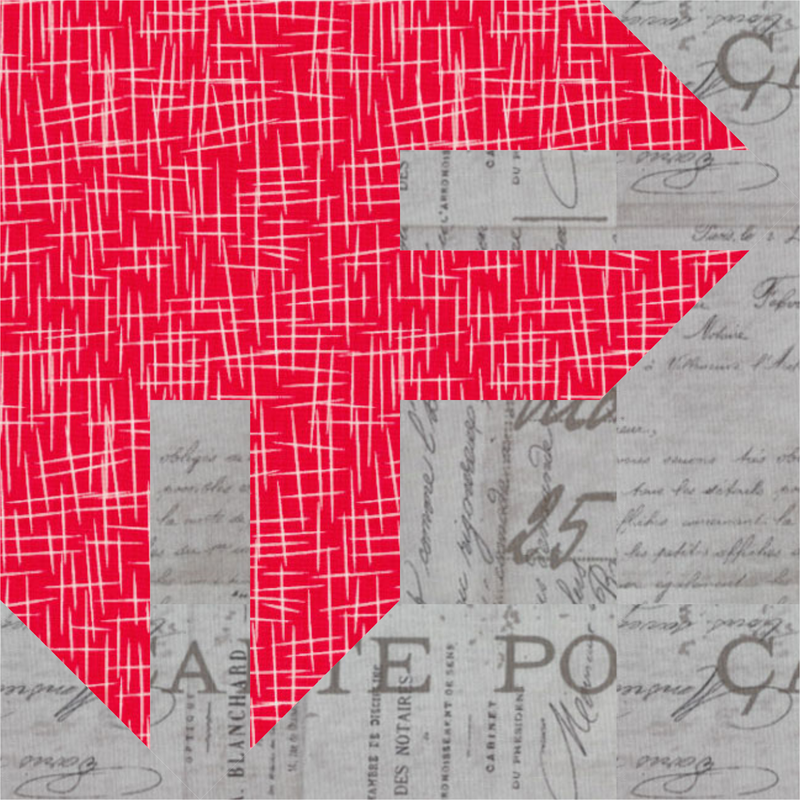
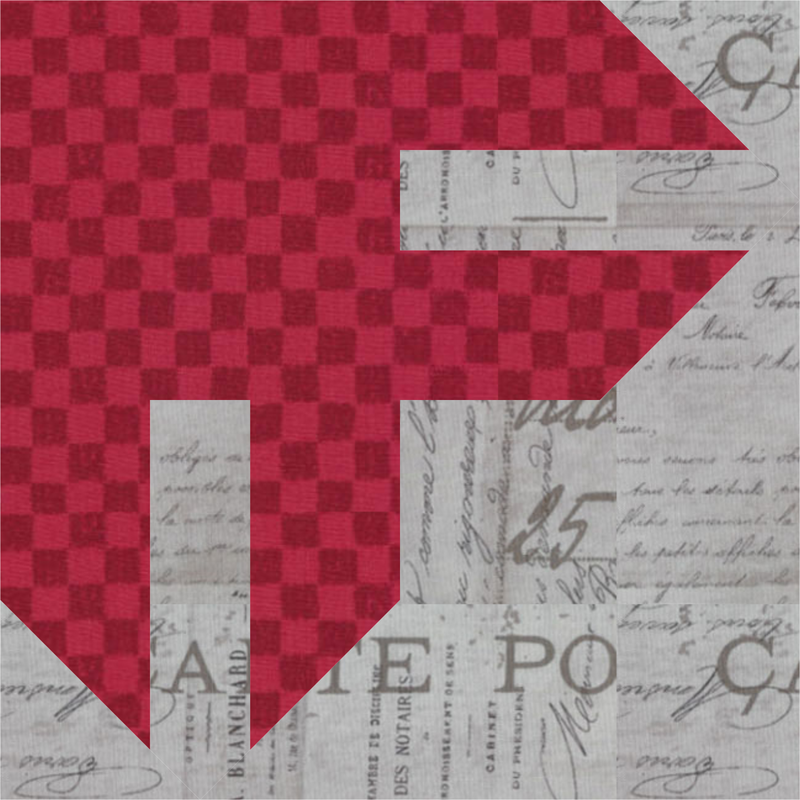
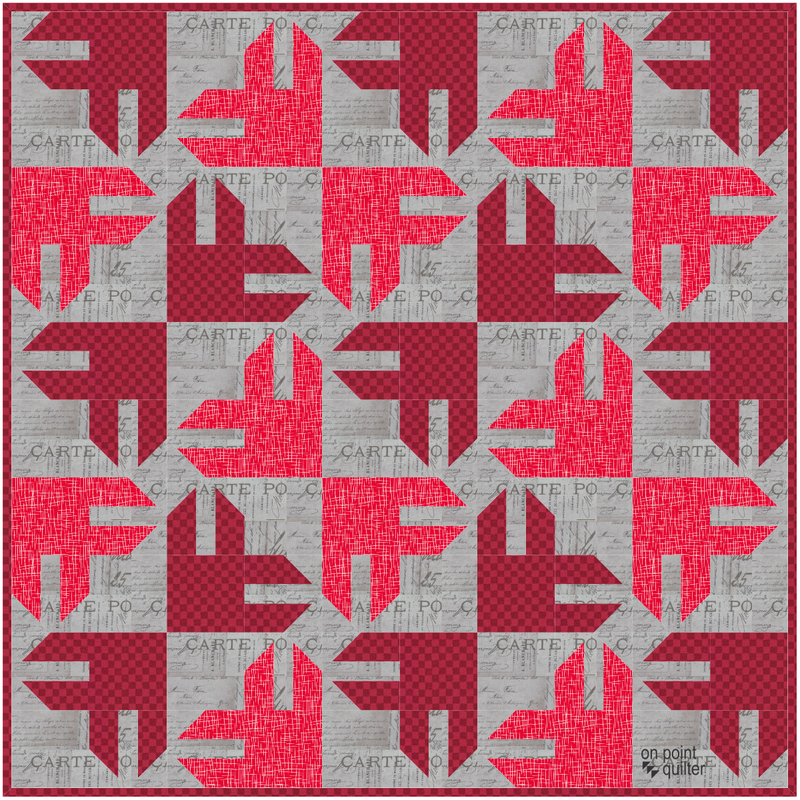
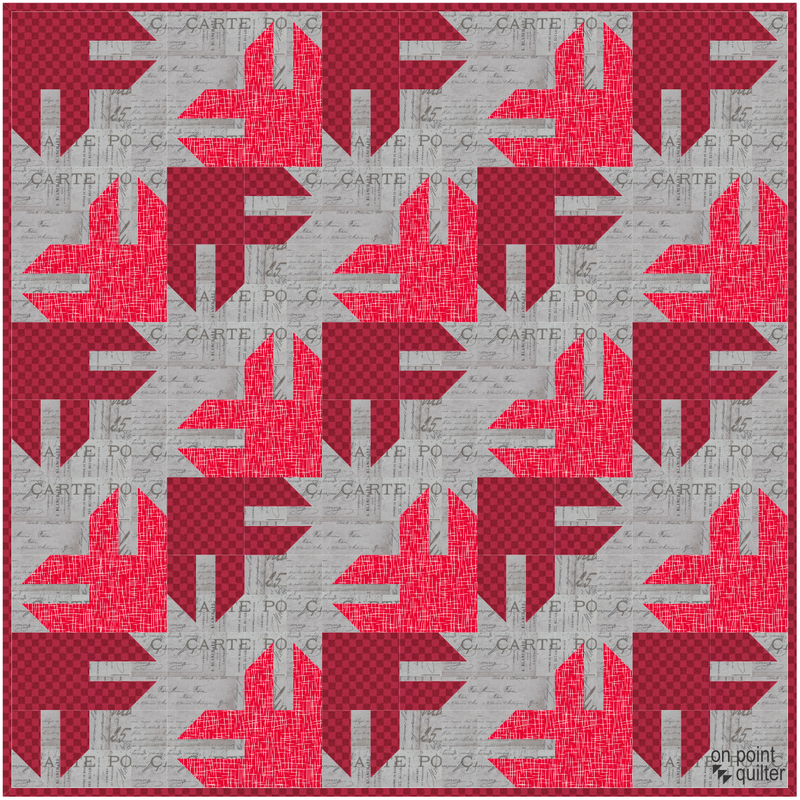
In Minnesota parents are getting ready to send their kids back to school with the official start date for most schools on September 5th. This quilt is in honor of teachers and school workers.
It is a two color red and white quilt -- so super simple to color. And a fun quilt to piece once the drafting is done.
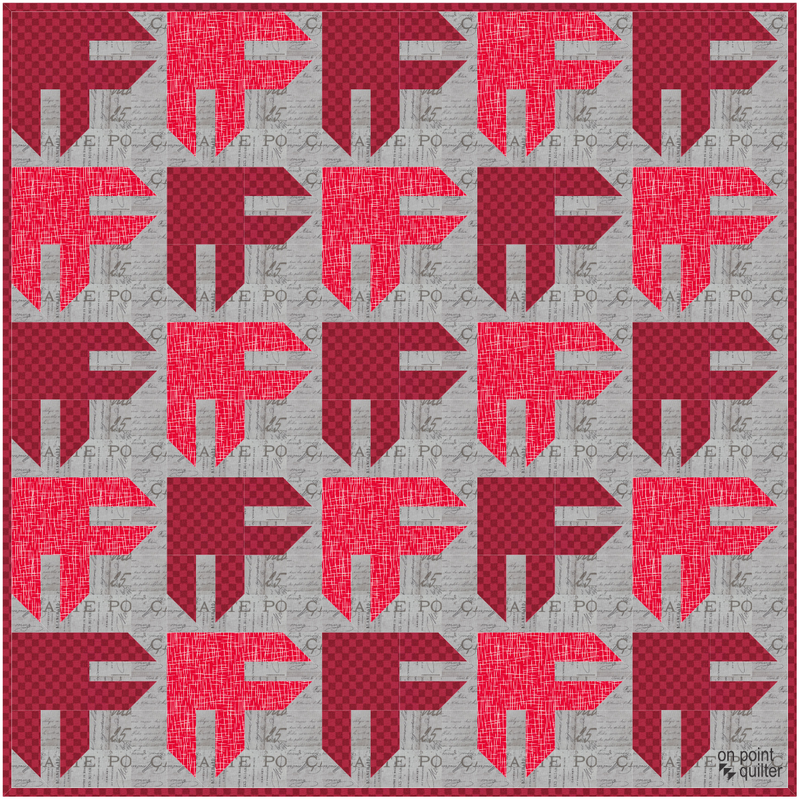
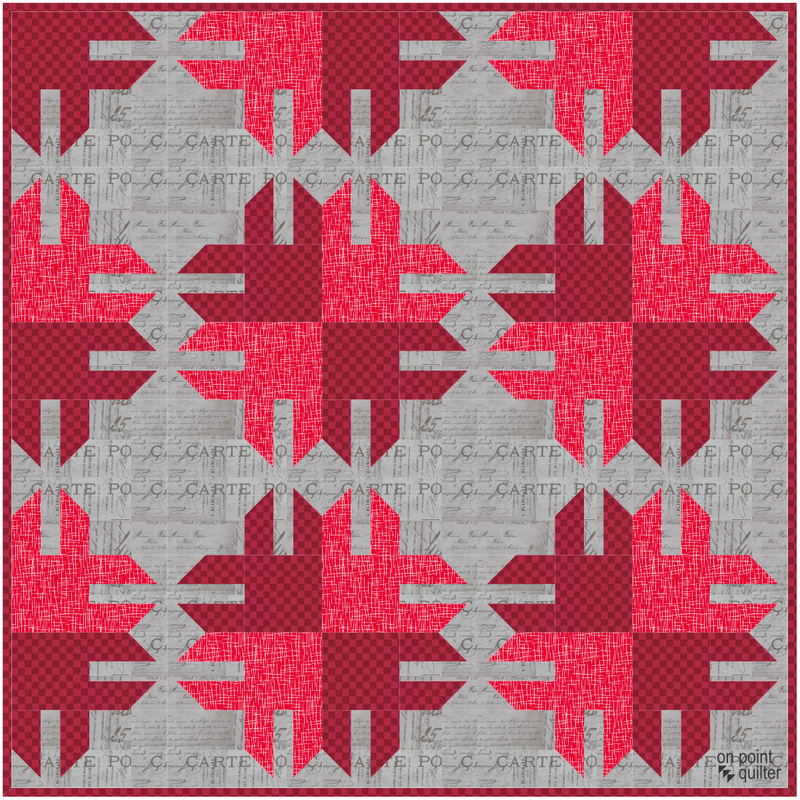
Here is the quilt from the video.
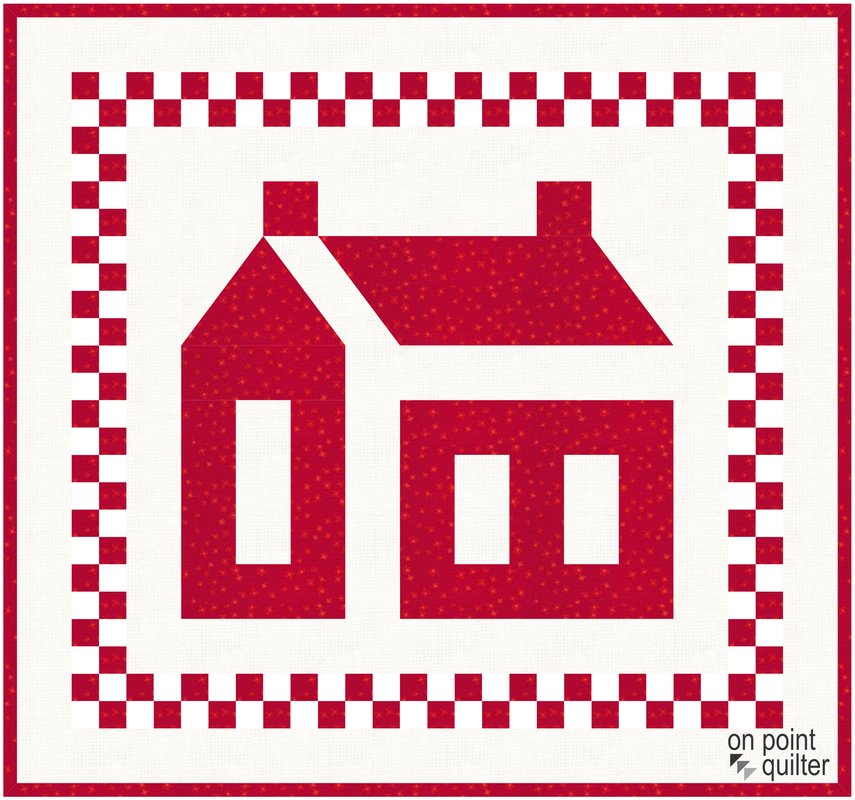
Back to School drawn in Electric Quilt 8 by Kari Schell
Feel free to draft this quilt in EQ8. Or bonus points, if you use the block in a different layout. I would love to see pictures of your quilt. Feel free to share in the Learning EQ Facebook group.
Tech Know Quilter Showcase
Terry McCaskey
Using my improved TKQ Custom Set tools I have finally re-visited a 2019 UFO. This was a bit challenging for me...even though a simple design...made doubly troublesome because it is a "modern design" (not typical for me). Plus I am nearly out of the black & white stash fabric (which are polished cottons) so a redesign needed to happen. Now a 110 sketches into this puzzle and I have landed on my top two and have made progress in actually getting it together. You can let me know which outer border gets a thumbs up...or if I should go back to the drawing board.
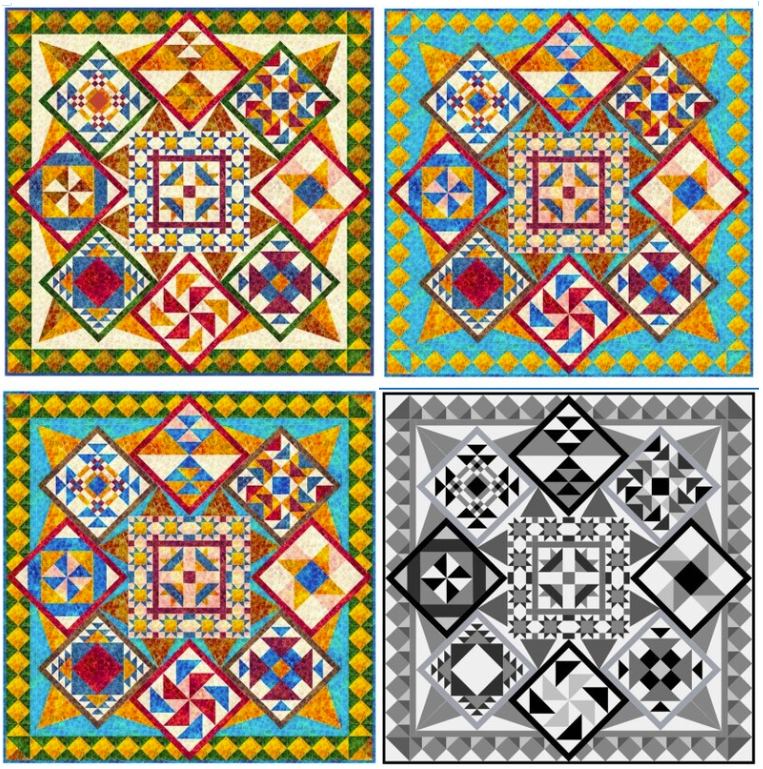
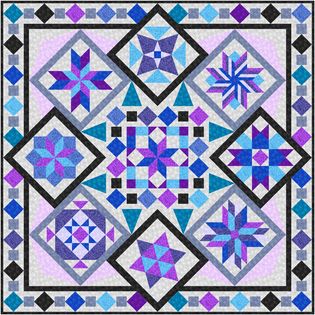
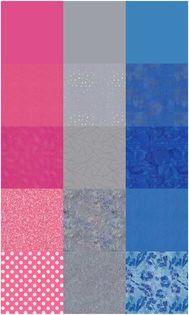
Julie Pedersen This is a variation of Lesson 7 of the Masters Sampler Quilt class. I played with colors and decided to see what it would look like as a grayscale quilt. Here are 4 colorations of the same quilt.
Kristy Goodin Soard I just finished the Design Your Own Sampler Layout Masters class. Here is my quilt and my template (both done in EQ).
Renae Frank Butler I am a Group Leader for Quilts of Valor. So many times I like to play with ideas that might be appropriate for our group. I almost never use the colors and blocks given the lesson. I thought two of my quilts from lesson 4 & 7 could be improved on in one I lightened and changed the background blocks along with other changes. In the other I went to less busy blocks and worked with color changes.
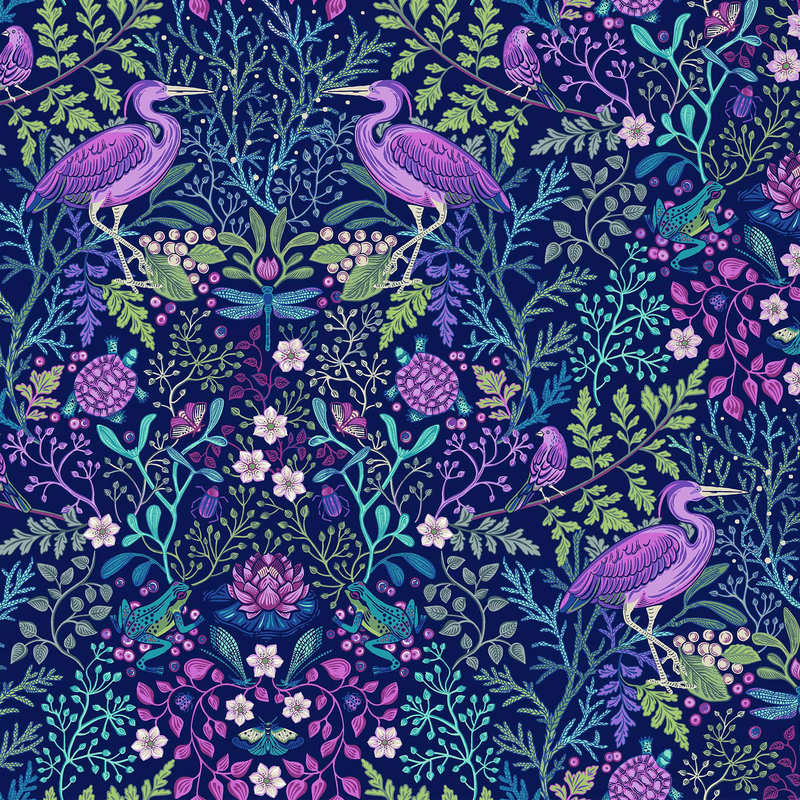
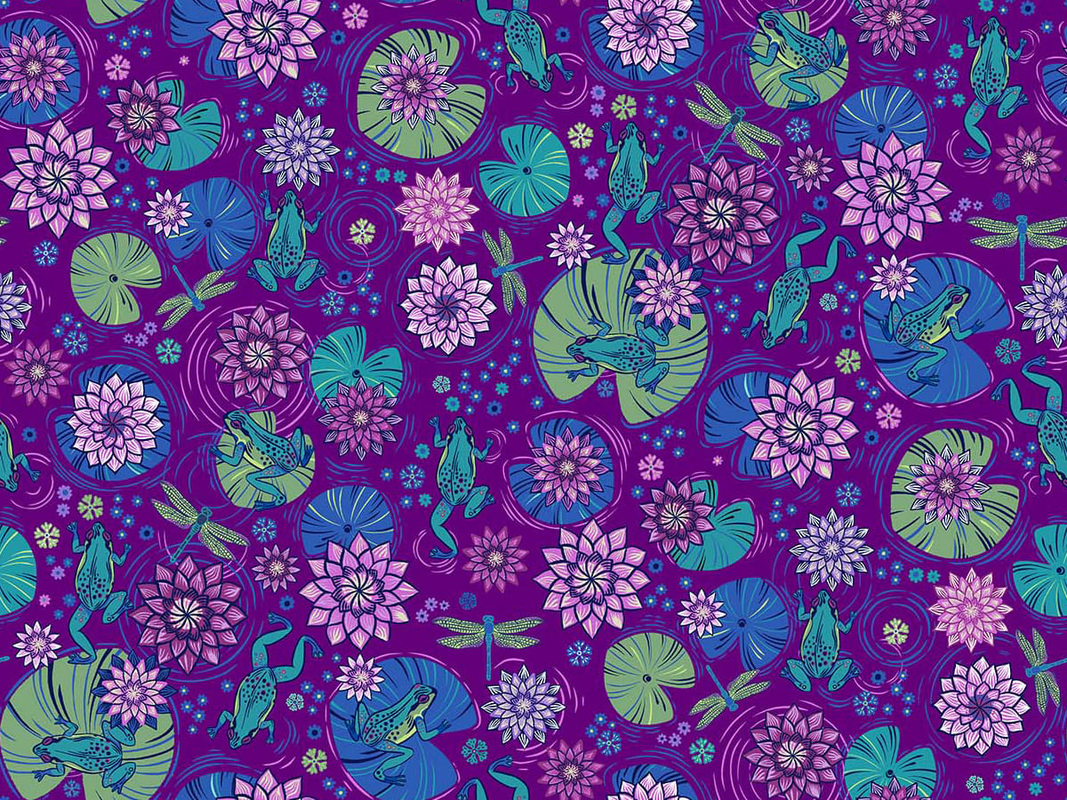
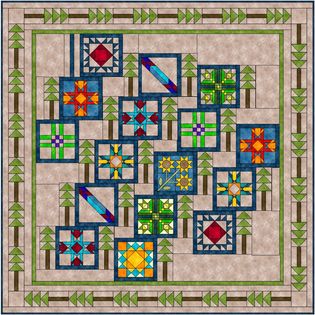
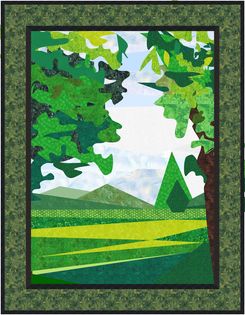
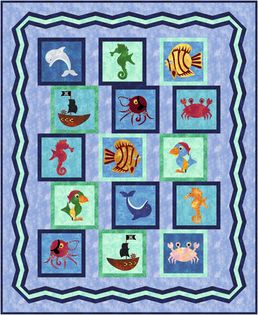
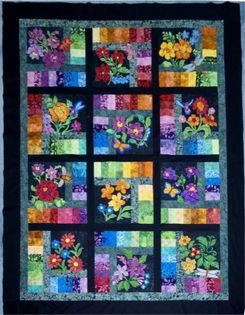
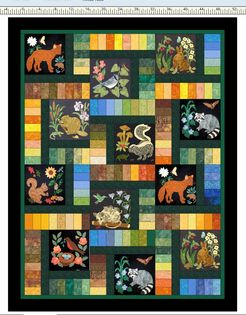
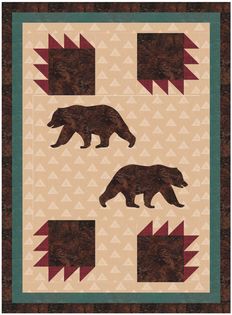
Helen Warwick Combining two quilt patterns to come up with one I can’t wait to make. I drafted the block and added sashings not in the original pattern. I changed the size of the blocks from 20 to 16 inches. The original pattern was Enchanted Garden by Jason Yenter. The other pattern for the next quilt is Woodland Creatures by Quilts By Rosemary. I plan to call the combined quilt Enchanted Garden Creatures After Dark. I have been having so much fun just being able to find something I like and combining with other pattern parts. Thank you Kari for all that I have learned. You are the BEST!!!
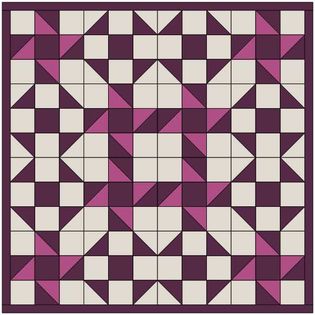
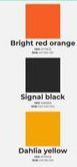
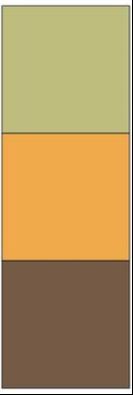
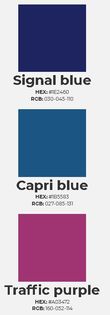
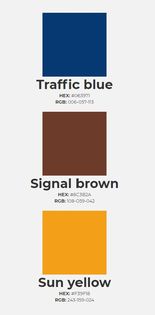
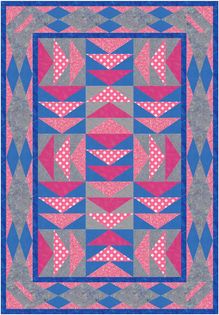
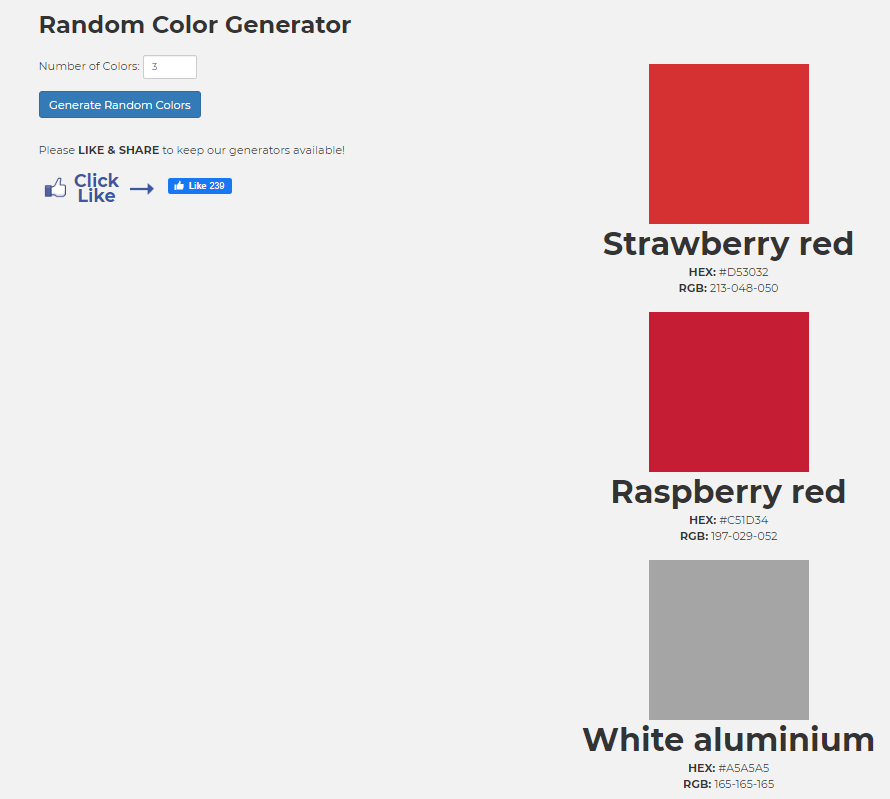
Each month, I provide a challenge to Tech Know Quilter Masters members. In July, their challenge was to use a random color generator to generate three colors. Then to design a quilt using those three fabrics. The only other color that could be added was a background. They were also allowed to use "fabrics" to replace the random color.
I decided to challenge myself to complete the challenge and will be sharing my process and quilt in this blog post as well. Tech Know Quilter Masters Random Color Generator Challenge Showcase
Here are the designs submitted by Masters members in July. Tech Know Quilters Masters members are more advanced and are working on stretching both their design and their Electric Quilt skills.
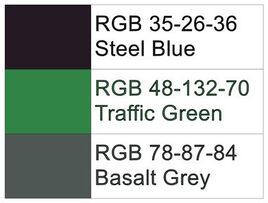
Mary Groesbeck
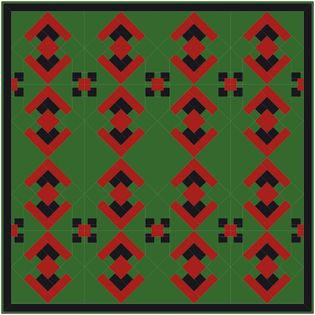
I was expecting 3 colors that I would have to force to play together against their (and my) will...and look what I got. A real red, a blue black, and a good green. Anything with red and black will work for me.
My Random Color Generator Project
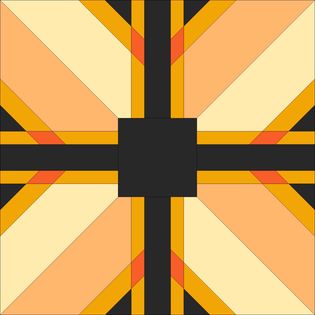
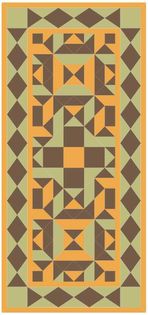
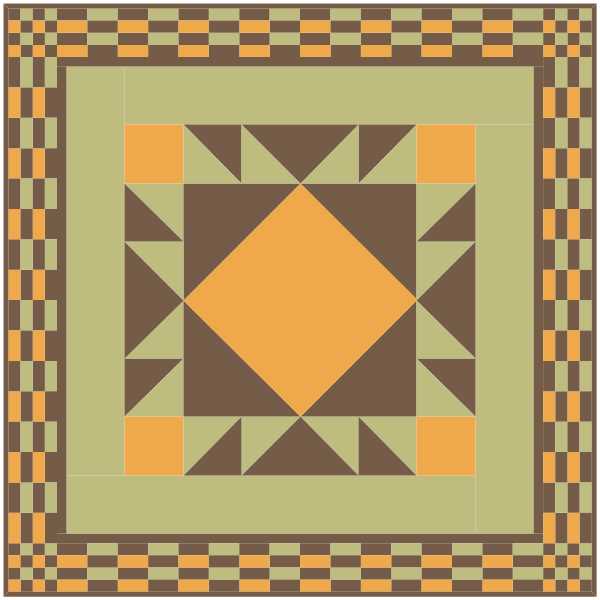
Some of the TKQ Masters members have suggested that I should participate in these challenges myself. So I thought I would walk you through my project -- along with some of my thought processes as I was creating the quilt.
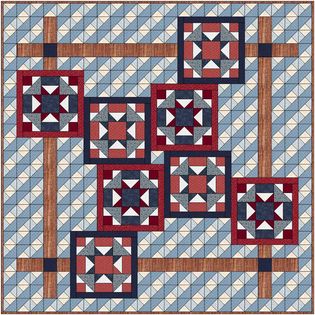
The modifications to the block resulted in an asymmetrical design. Which gives so many more options on the quilt worktable.Here are the quilts from the video saved after selecting Symmetry.
I hope you enjoyed seeing my thought process as I designed a quilt for the challenge -- as well as how the quilts were created in EQ8.
I would love to see your use of my modified block. With a different set of fabrics or colors. If you would like to try the Random Color Generator, you can locate it here. Post you pictures on the Learning EQ8 Facebook group. Tech Know Quilters Working with Fabric Class
The first Tech Know Quilters class is all above working with fabrics and colors in Electric Quilt 8.
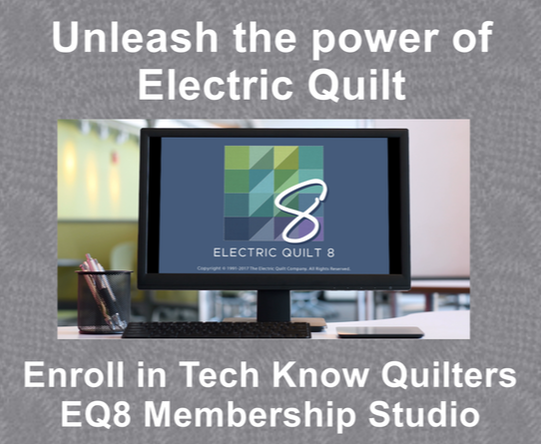
If you would like to join Tech Know Quilters ahead of the next open enrollment period, send me a note and I will send you information on getting started in September -- back to school for you.
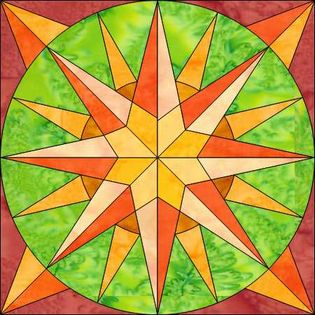
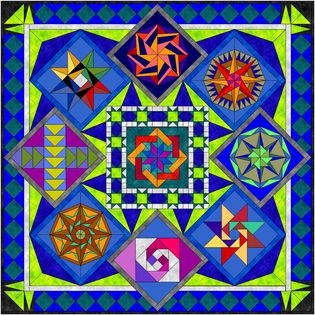
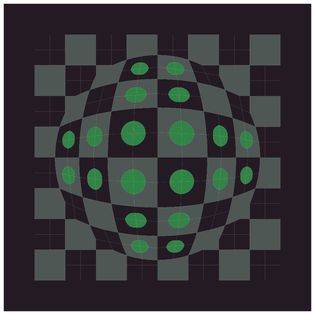
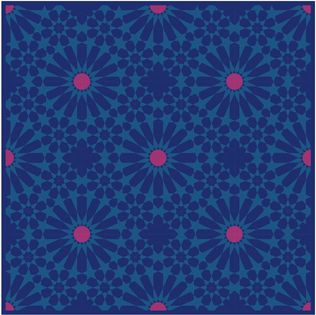
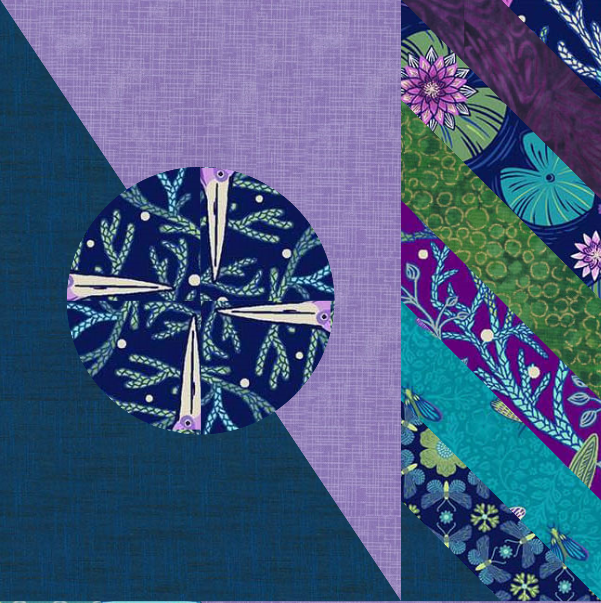
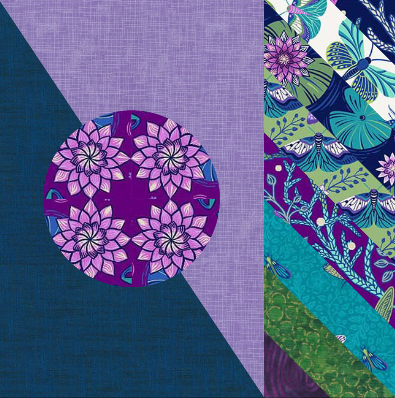
When I went to play with rotating and fussy cutting some of the Waters Edge fabric pieces, I quickly realized some of the fabrics had a very large repeat. This first piece in the collection was 25 inches square -- and it isn't even a full repeat of the design.
Waters Edge by Brett Lewis for Northcott (SKU 26719-49)
Trying to rotate and fussy cut a 25" piece of fabric in a 2-1/2" quarter circle, did not work very well for me. So I knew I needed to approach the process a bit differently.
I thought about the time I did a One Block Wonder quilt (a real quilt -- not an EQ design) where I cut the theme fabric into strips that were exactly the same section of the fabric (essentially cutting the repeats). I then aligned each of the strips and sub-cut them for each of the blocks. Then sewed together for a kaleidoscope type of design. The approach I chose for fussy cutting in my quarter circles in the Sashing and Block Combo EQ quilt was similar to that. However I chose to cut my strips larger than needed. Then I could have more options for fussy cutting the design to pick different elements to highlight.
I found that I could cut the 25" fabric swatch into 25 different 5" segments -- more than I need for the Sashing and Block Combo quilt.
In this weeks video tutorial, check out how I created smaller fabric swatches, rotated fabric and fussy cut in the quilt.
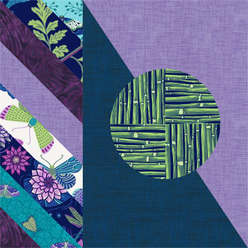
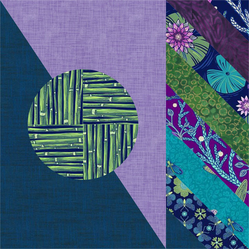
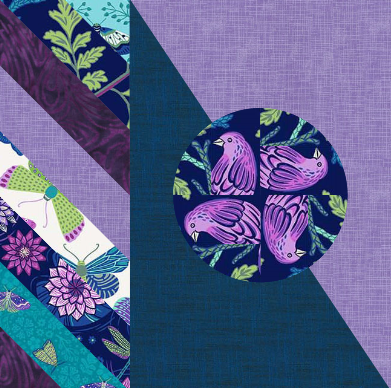
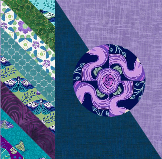
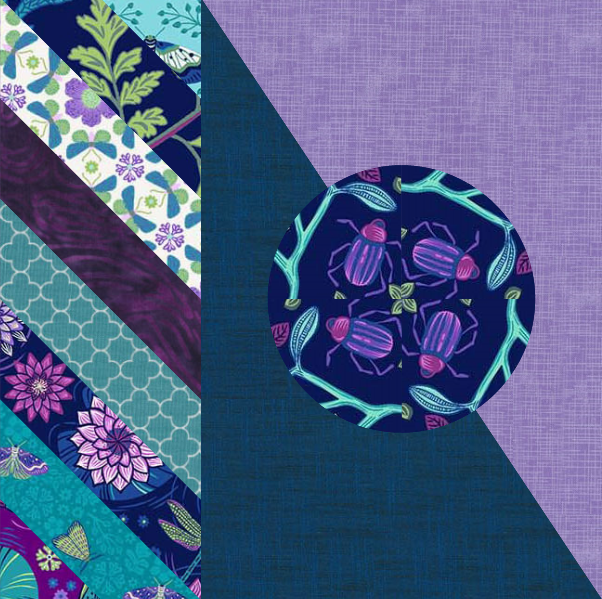
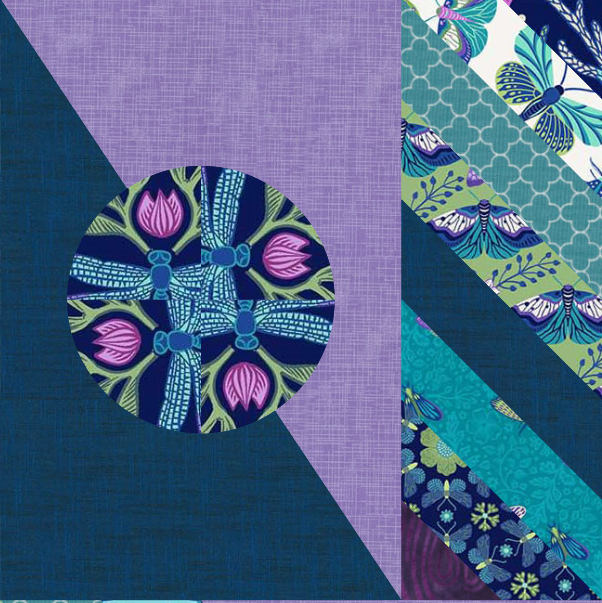
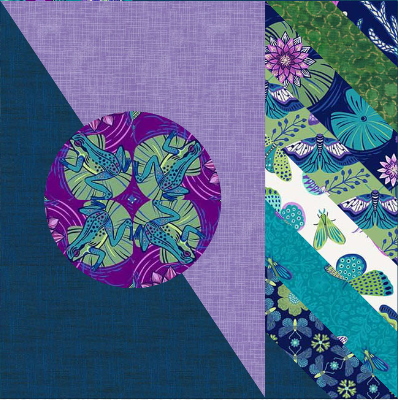
Here are my updated blocks. Check out the circle designs in each of them. The first 8 were from the fabric image shown above. Can you find the designs in the full fabric image?
Click on each block for a close-up view.
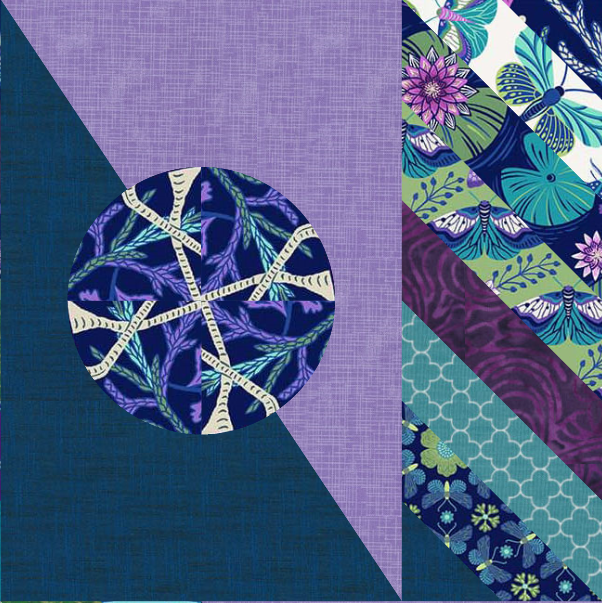
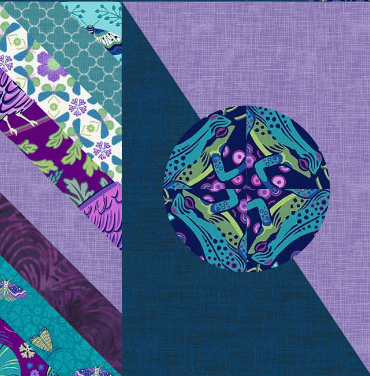
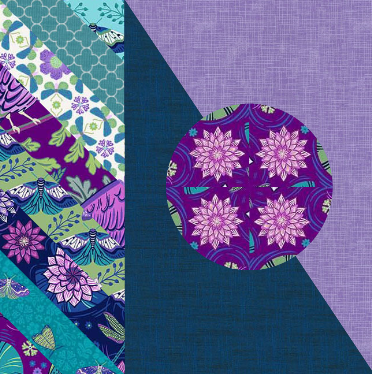
The last four were from the following piece. This is also from the Waters Edge fabric collection. This one had a full repeat both horizontally and vertically. The single repeat was 16-1/2" by 12-1/2".
Waters Edge by Brett Lewis by Northcott SKU 26711-86
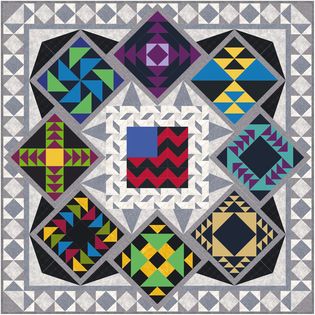
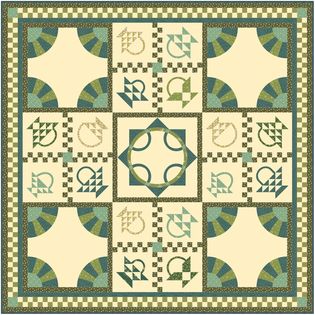
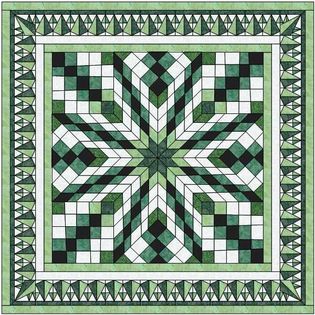
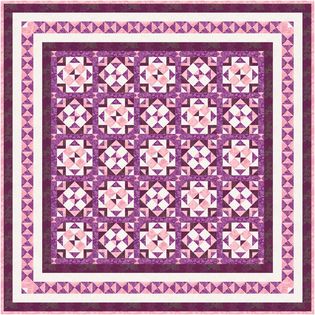
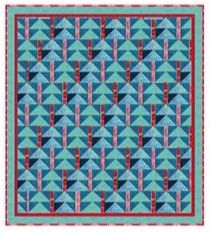
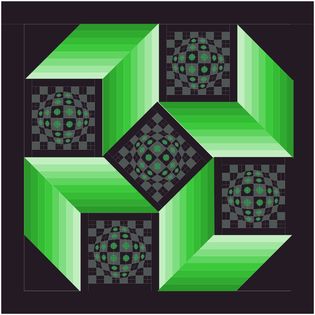
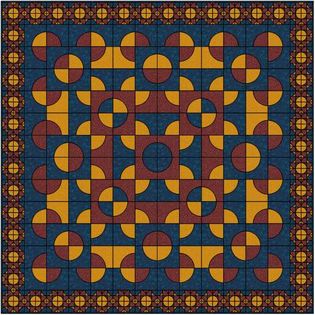
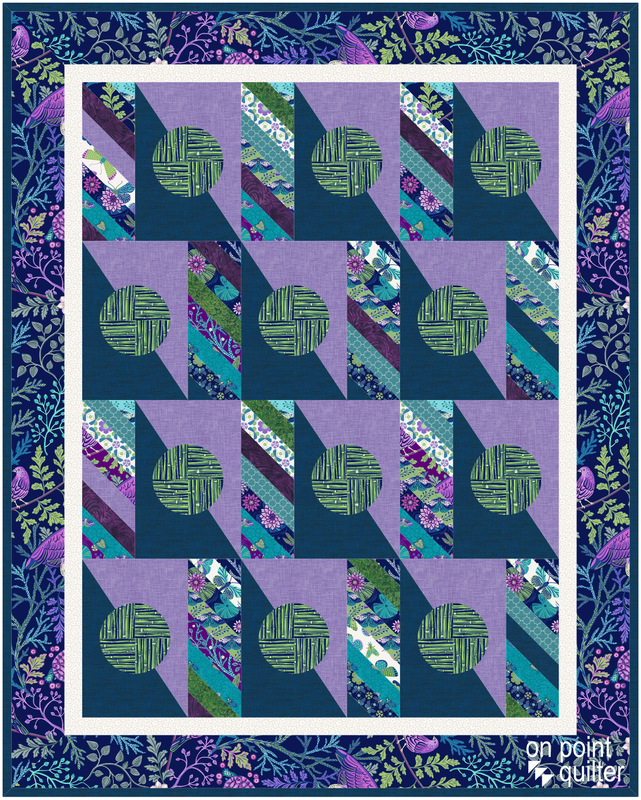
Here is the final quilt.
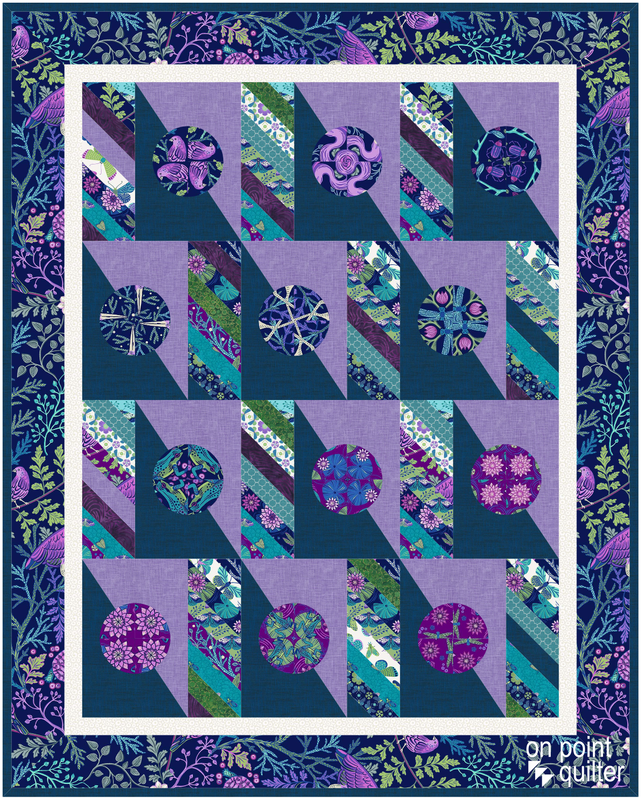
Sashing and Block Quilt with Rotating and Fussy Cutting of Theme Fabric
I look forward to seeing what you choose to do with fussy-cutting. Feel free to share a block (or two) in the Learning EQ Facebook group.
What to do about Pixelated Fabric?
I reached out to Electric Quilt who shared with me that it was a known issue. I suspect related to these super large fabric swatches. The workaround is:
I was able to fix this project. However I did find that it doesn't work 100% of the time. So we may need to deal with a few "pixelated fabric swatches". FYI -- I didn't find any issues after cropping the large pieces. Tech Know Quilters Working with Fabric Class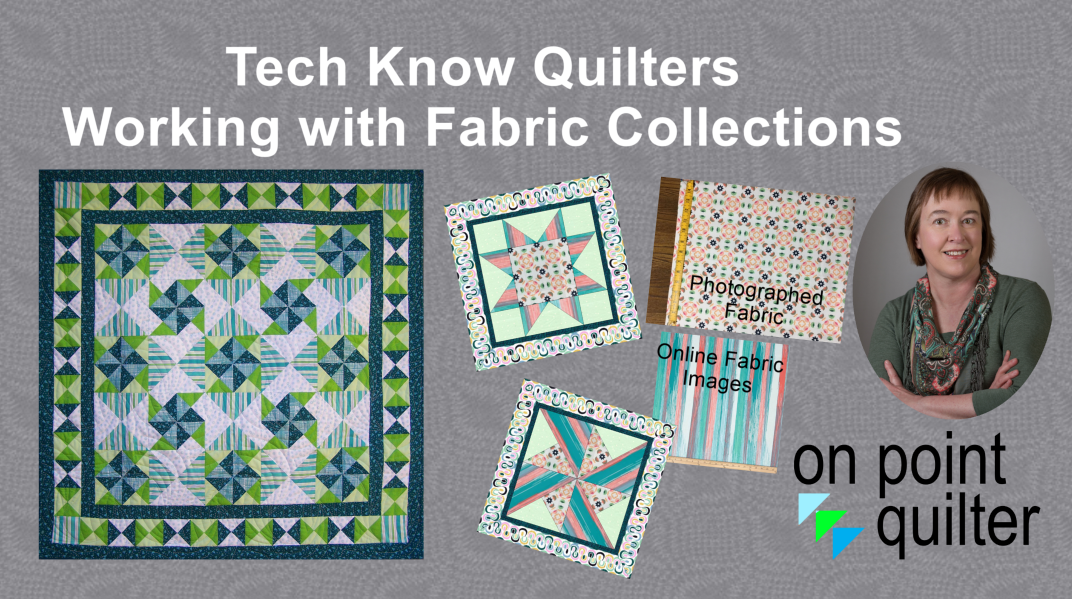
The first Tech Know Quilters class is all above working with fabrics in Electric Quilt 8. In addition to learning how to import fabric from multiple sources, you will even learn how to photograph and scan your own fabric. Won't that be a great stash busting option!
If you would like to join Tech Know Quilters ahead of the next open enrollment period, send me a note and I will send you information on getting started in September -- back to school for you.
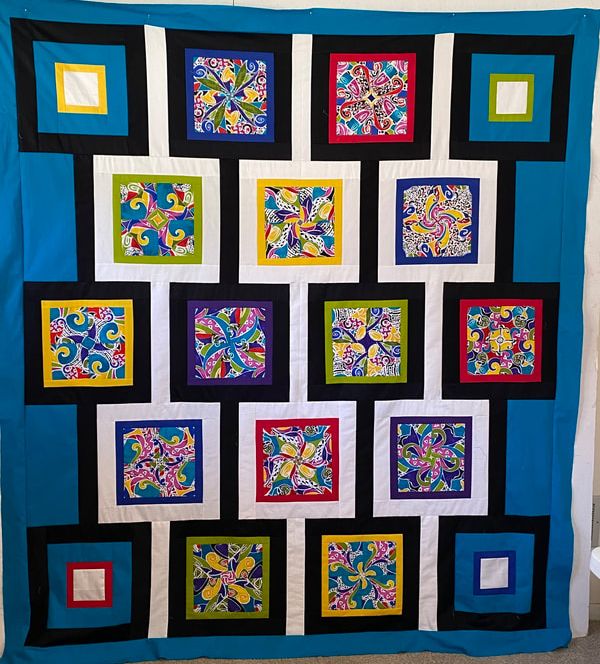
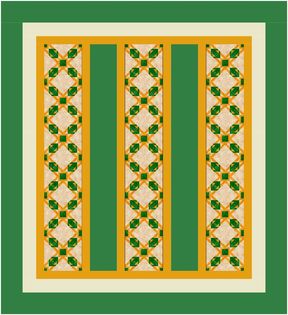
Last week I mentioned that I was away at a quilt retreat. It was so fun catching up with some quilting friends and even getting a bit of quilting done. Of course not nearly as much as I was planning on. But I did get the binding on two quilts and borders pieced and added on a third quilt. I thought those borders would take me 1/2 day -- boy was I wrong. But I do like how the quilt turned out.
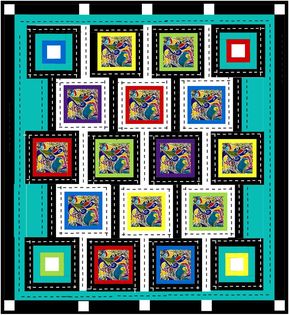
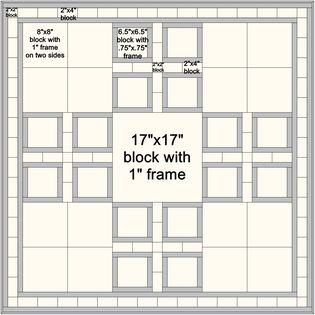
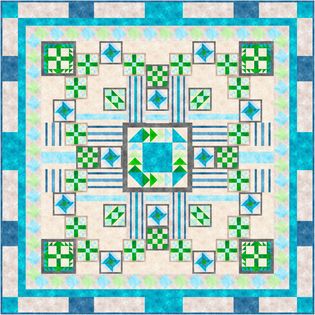
Sashing and Block Combo Design Using EQ8
The Electric Quilt tutorial today has a bit of a surprise in it. The quilt looks like a custom set quilt. But it was done with a horizontal layout.
In the video tutorial, I cover, drafting the blocks, working with the Ellipse applique tool and rotating fabric. The "sashing" can be pieced with 1-1/2" strips, making this a fun stash buster idea. The fabric used in the quilt was a combination of default fabrics and Waters Edge. Waters Edge was designed by Brett Lewis for Northcott. It is a free download from Electric Quilt.
Enjoy the video.
Here are the blocks and quilt from the video. Each of the blocks have a 9" x 9" finished size.
I would love to see what you decide to do with the combo block. Feel free to post in the Learning EQ Facebook group.
Spoiler alert -- I am playing with a different idea for the applique circles. I hope to be able to share that with you next week.
|

Free guide available for newsletter subscribers


Kari SchellElectric Quilt Expert and Educator and Pattern Designer. Categories
All
Archives
July 2024
|


 RSS Feed