|
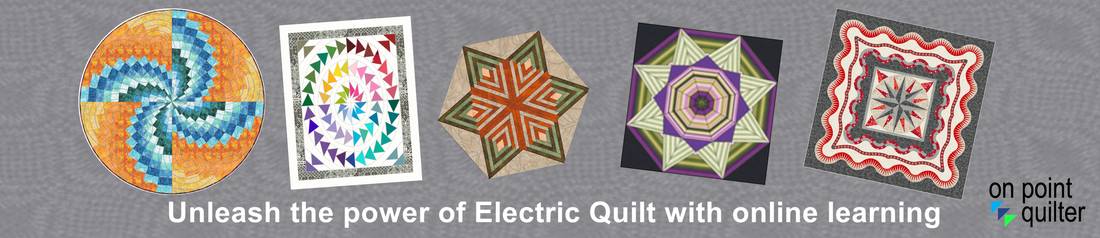
Do you sometimes find that you are over thinking your quilt design? Quilt designing does not need to be difficult -- particularly if you own Electric Quilt 8.
The quilt you will be learning to draft this week is super versatile. I started with 3 simple to piece asymmetrical blocks from the Electric Quilt block library. For those of you that purchased Block Base Plus, you could also pick your blocks from there. The blocks I chose to work with were a log cabin, simple basket and flower basket. These blocks would be super easy to foundation piece and don't have a lot of pieces.
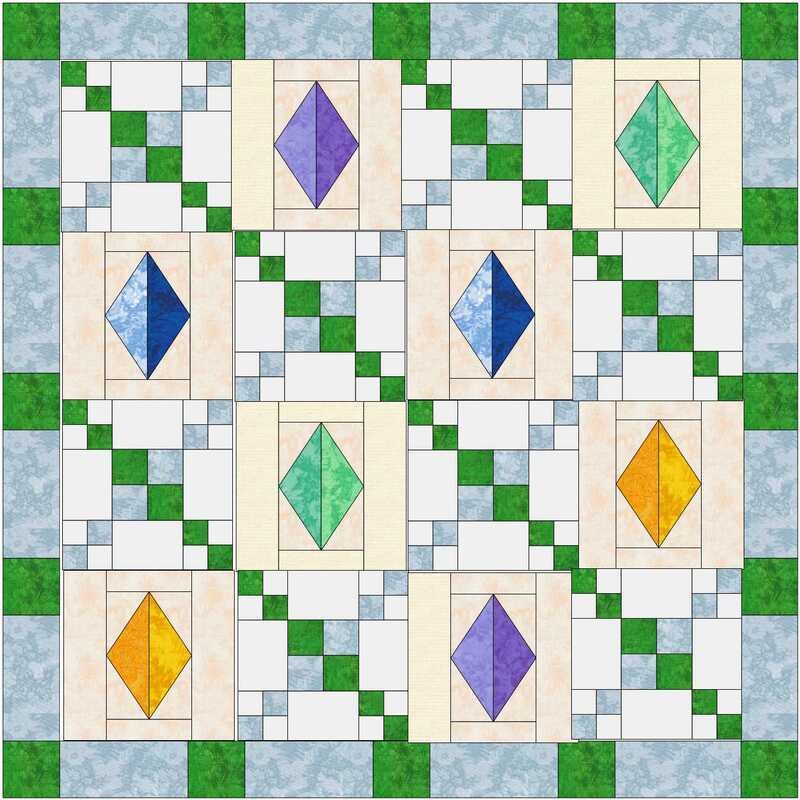
The magic comes in the layout. The layout I chose to work with is the first hexagonal option in the EQ Layout Library (under Layouts by Style). Within Electric Quilt you can put any square block in a diamond space and your block is now a diamond block. Or if you place it in one of the equilateral triangles, it will cut off half the block and it is now an equilateral triangle block.
You can even kept things simple when coloring the quilt -- choosing to work with colors rather than fabrics (giving the quilt a very modern vibe) and then focusing on the colors in the log cabin block.
This is a super quick video and one that you will find very easy to replicate. However if you are up for flexing your designing muscles, consider swapping out the blocks and the layout.
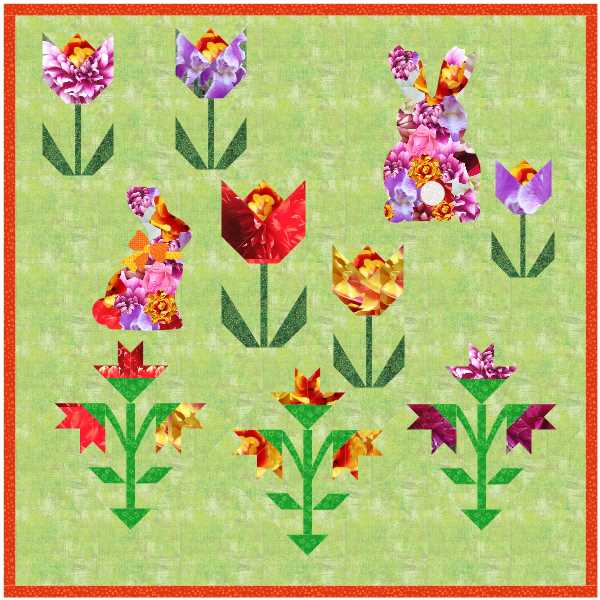
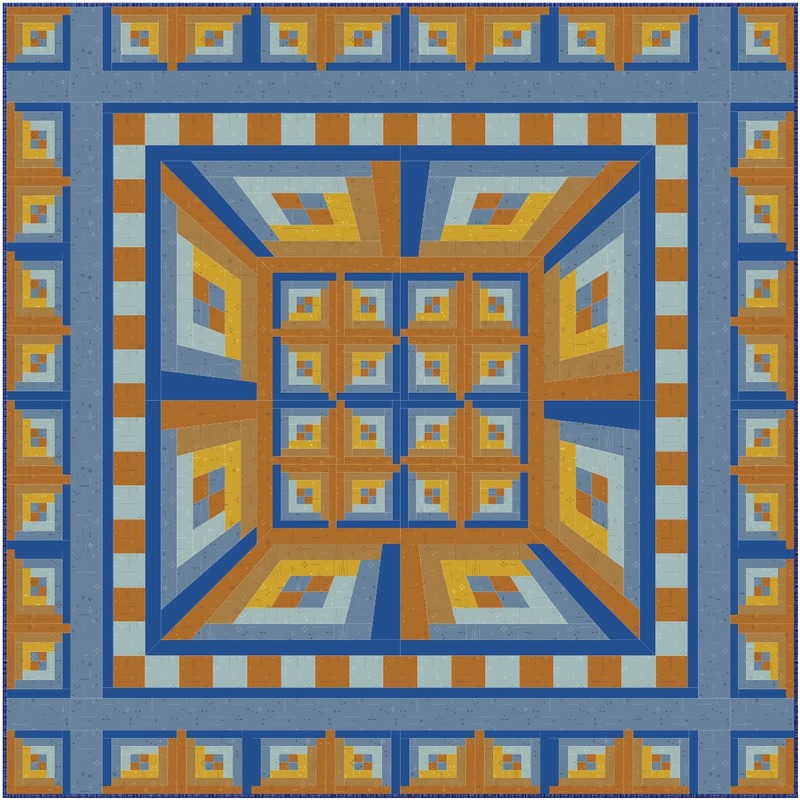
Here is the hexagon quilt from the video.
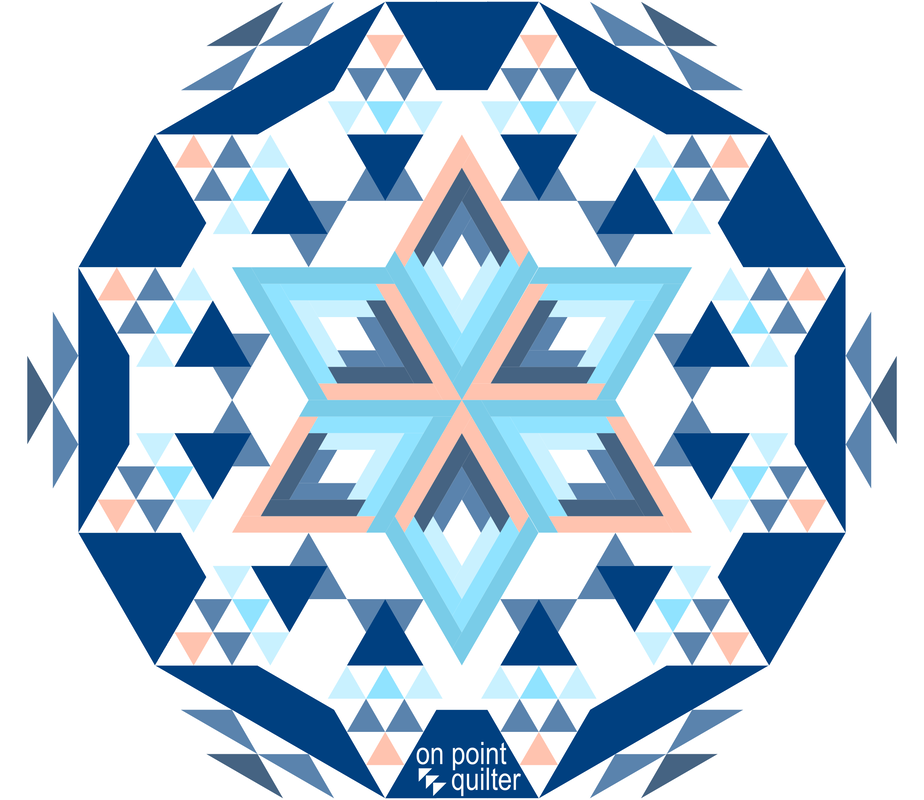
Easy Hexagon Design by Kari Schell using EQ8
I would love to see what you do with this concept. Feel free to share in the Learning EQ Facebook group. I've set up a post for you to include your designs.
In Minnesota flowers and trees are starting to bloom. Going for a walk is enjoyable (not too hot nor too cold) and it is fun discovering new bits of color each day. From my kitchen window, I can see my flowering tree with pretty pink blossoms. I admit that I have no clue of the type of tree this is -- but for two weeks each year I am able to enjoy this lovely burst of color.
I began to think about how I could save this view (other than stashing the picture on my iphone with hundreds of other pictures). 
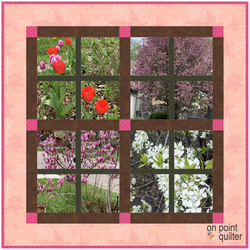
Since I am a quilter, my thoughts turned to how I could incorporate a photo of the tree in a quilt. I took my phone outside and snapped a photo of my tree along with a few photos of plant life in a couple of neighbor's yards. (It was about to rain -- so I didn't have much time.)
Here are the pictures.
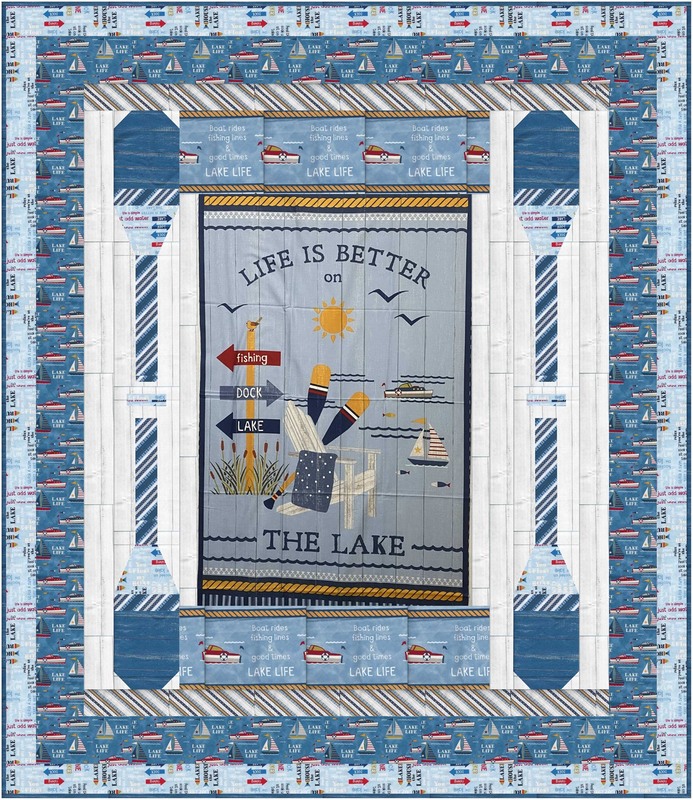
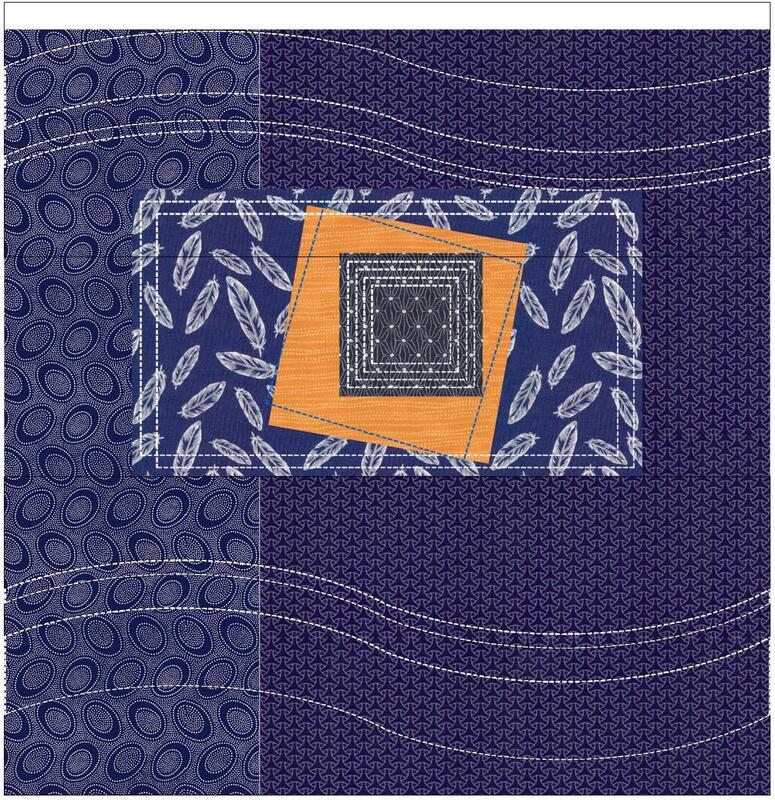
In this EQ tutorial, I will share how to work with these simple photos to create a windowed photo quilt using Electric Quilt 8. Techniques include:
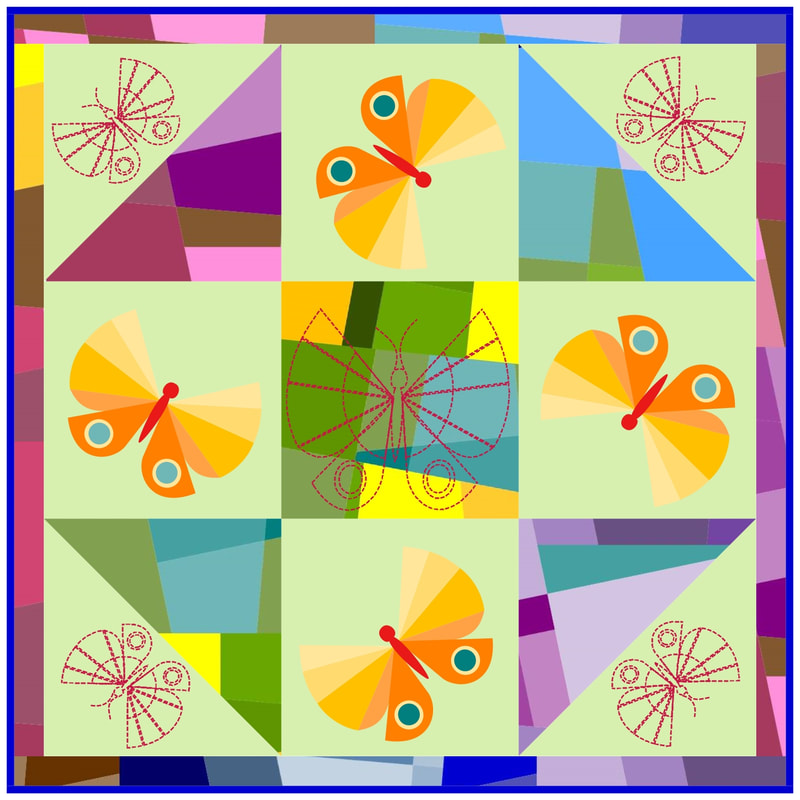
Here is the final quilt from the video.
If you have some time, take a few of your own snapshots and create a photo quilt. I would love to see pictures. Feel free to share in the Learning EQ Facebook group. I've set up a post for you to include your designs.
Have you received offers to join Tech Know Quilters -- but were hesitating as you weren't sure what you would learn each month? Tech Know Quilters is a training program that teaches you how to master Electric Quilt 8 -- from the comfort of your home.
Here is an opportunity to see the exact blocks and quilts you will draft during your second month of training.
During Month 2 of Tech Know Quilters, you are given a choice between two different drawing classes. The choice is up to you. If you are not currently in Tech Know Quilters, sign up for the wait list to receive emails during the next open enrollment period.
One of the things we all want to be able to do is either draw our own blocks or recreate blocks from patterns we own. Using Electric Quilt 8 allows us to audition fabrics or even swap out one piecing technique with another. EasyDraw is the most useful set of drawing tools in Electric Quilt, as most quilt blocks are designed based on square grids. It also is the method that is closest to working with pencil and graph paper. Option 1 Introduction to EasyDraw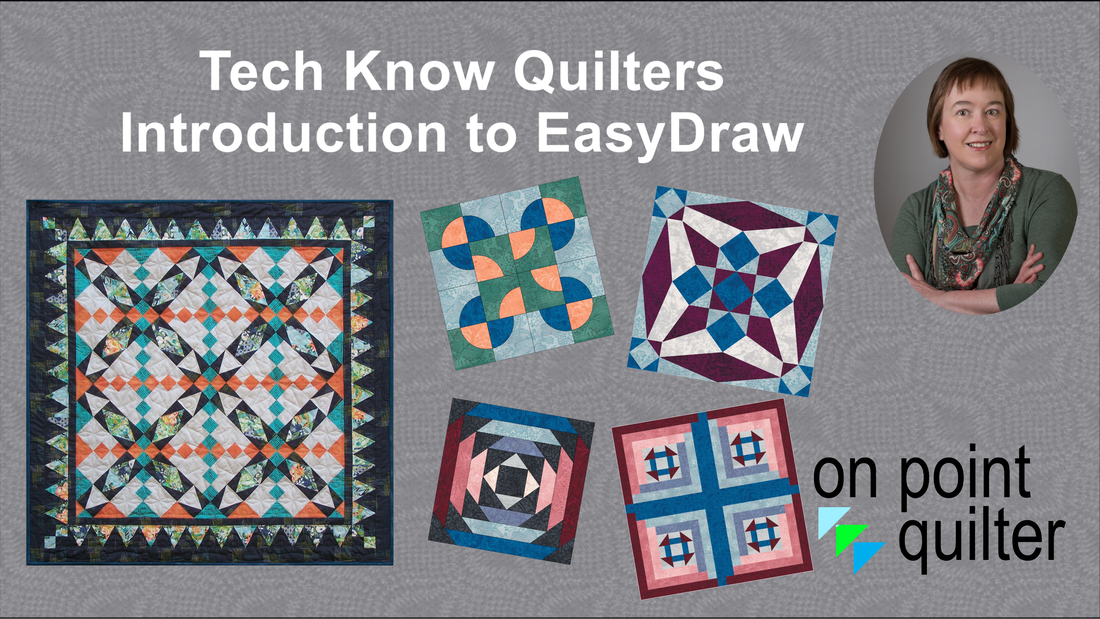
Many of the blocks and concepts in this option were covered in my EQ8 Drawing Blocks book. So if you did the exercises in that book, you may be better suited for Option 2.
Benefits:
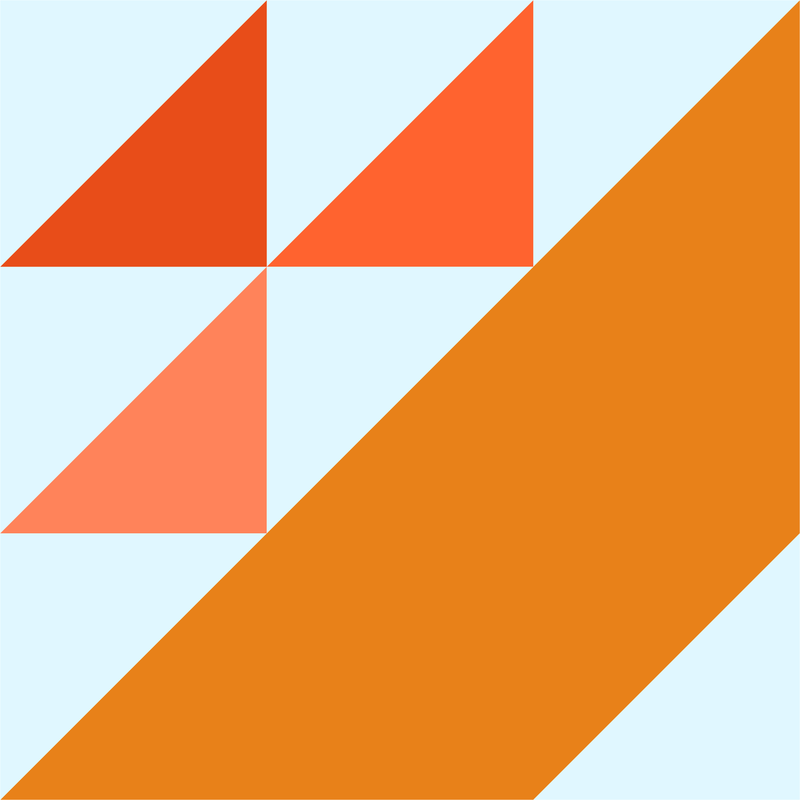
In the reveal video, check out the agenda for the Introduction to EasyDraw class along with the blocks and quilts you will be designing.
If you prefer to get started now, this class may be purchased ahead of joining Tech Know Quilters.
Option 2: EasyDraw Kaleidoscopes
I've talked to a number of you who are fairly proficient in EasyDraw. Quite a few participated in my Easy Peasy EasyDraw class back in the EQ7 days and drew some amazing blocks and quilts as part of the class. While the look and feel of EQ8 is very different than EQ7, the Easy Draw tools are actually very much the same. They are just residing in some different places in the new program.
So for those of you who are Intermediate EasyDraw block drafters, I wanted to create a more advanced class that focused on EasyDraw Kaleidoscopes.
Benefits:
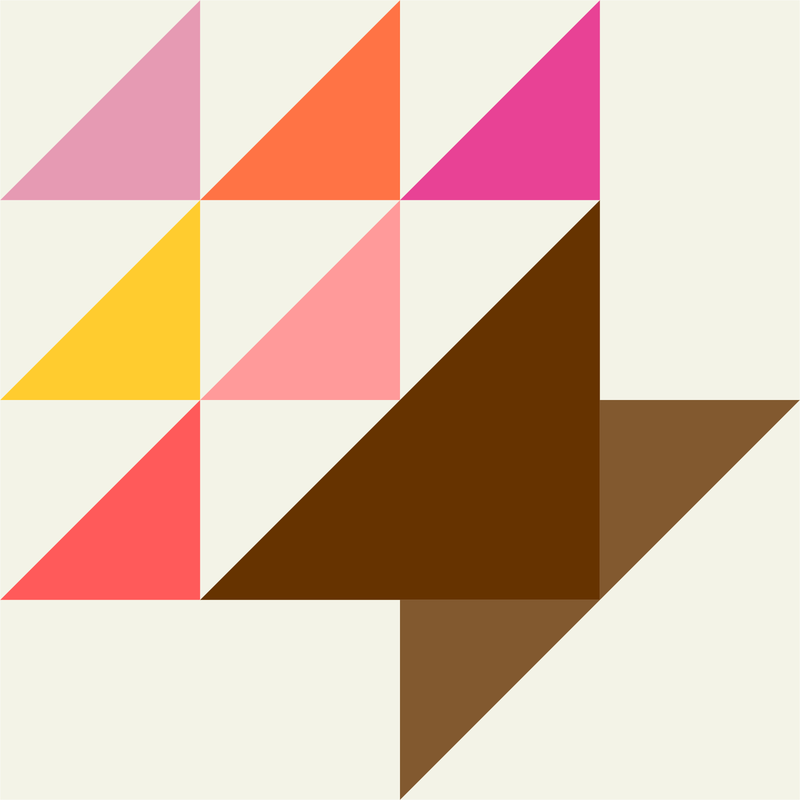
In the reveal video, check out the agenda for the EasyDraw Kaleidoscopes class along with the blocks and quilts you will be designing.
If you are on the fence between Introduction to EasyDraw and EasyDraw Kaleidoscopes, go back through the first video and see how many of those blocks you can draw on your own (with no guidance from me). If that was doable -- then you are definitely ready for EasyDraw Kaleidoscopes.
For those currently enrolled in Tech Know Quilters, you also have the option of taking both classes. If you wish to do that, make sure to send us a note so you can receive a discount coupon for the second class. Tech Know Quilters March Showcase
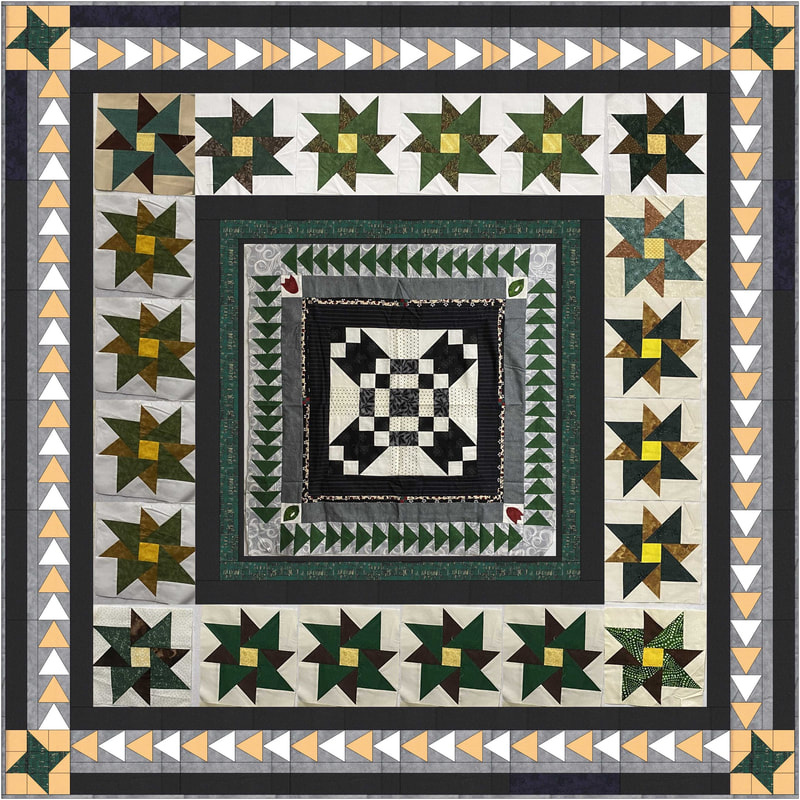
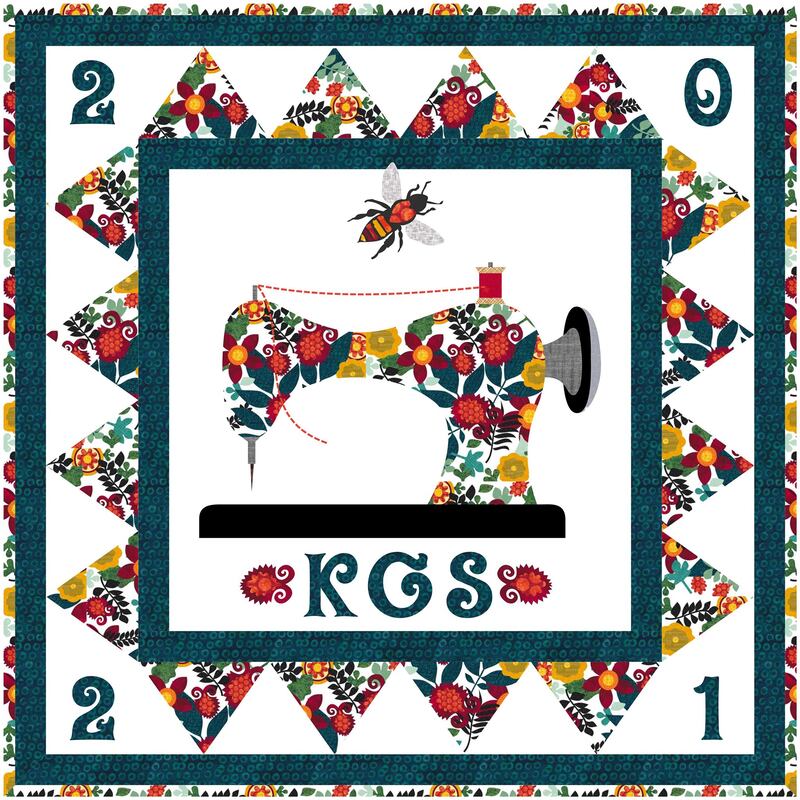
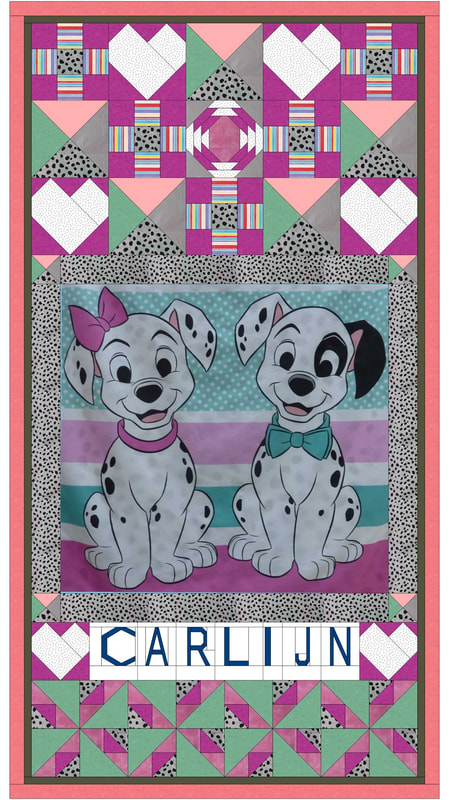
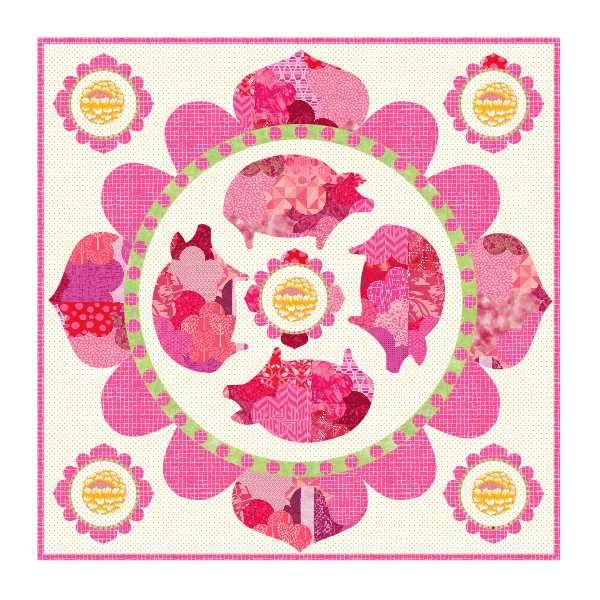
Tech Know Quilter members shared how they applied the concepts from their March 2021 class.
Tech Know Quilters is a membership of Electric Quilt 8 owners who are mastering Electric Quilt through online training. At the end of their March class, they were encouraged to apply what they learned during the month of March. Tech Know Quilters is open to new members only a few times a year. You can learn more and sign up for the wait list for the next open enrollment period here. I love having people at different stages of the EQ journey submitting designs. I am so proud of this group of quilt designers.
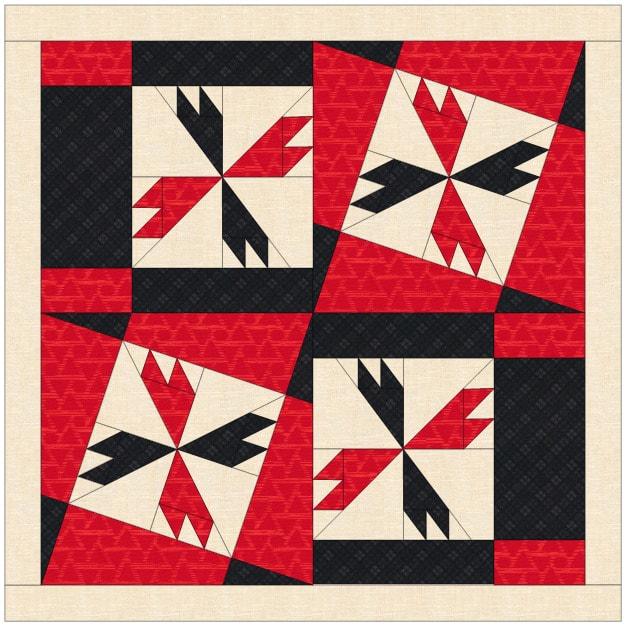
Electric Quilt has released an updated version of BlockBase+. BlockBase+ provides us with over 4,000 blocks from Barbara Brackman's Encyclopedia of Pieced Quilt Patterns.
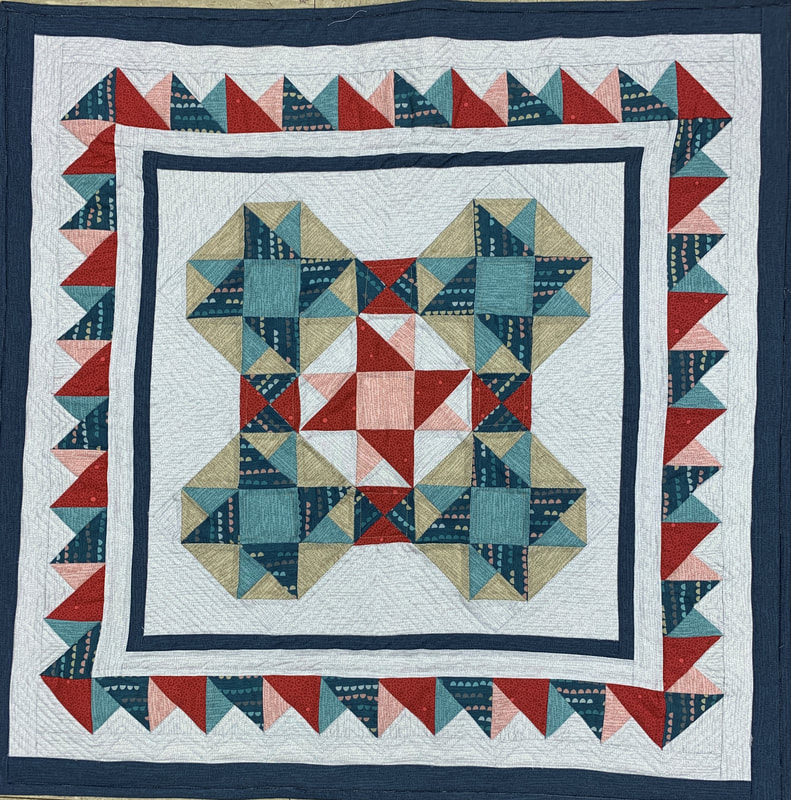
Last week I shared how I took the Magic Cross block from BlockBase+ and created personalized quilt in Electric Quilt. We can now go back to BlockBase+ to export the templates as an SVG file. These SVG templates are compatible with all electronic cutting systems including Cricut, Silhouette and Brother. This video will show you how to use them with Cricut Design Space and a Cricut Maker to easily cut out the patches for all your block.
Correction: In the video I mentioned that you needed 3 of the teal blocks. You actually need four of them. Fortunately it was easy to go back and cut an additional block.
I really adore my Cricut Maker for cutting fabric. With the pink mat (for fabric) and the rotary cutting tool, there is no special prep work required. Just lay the fabric on the pink mat and run it through your machine.
Fabric Shopping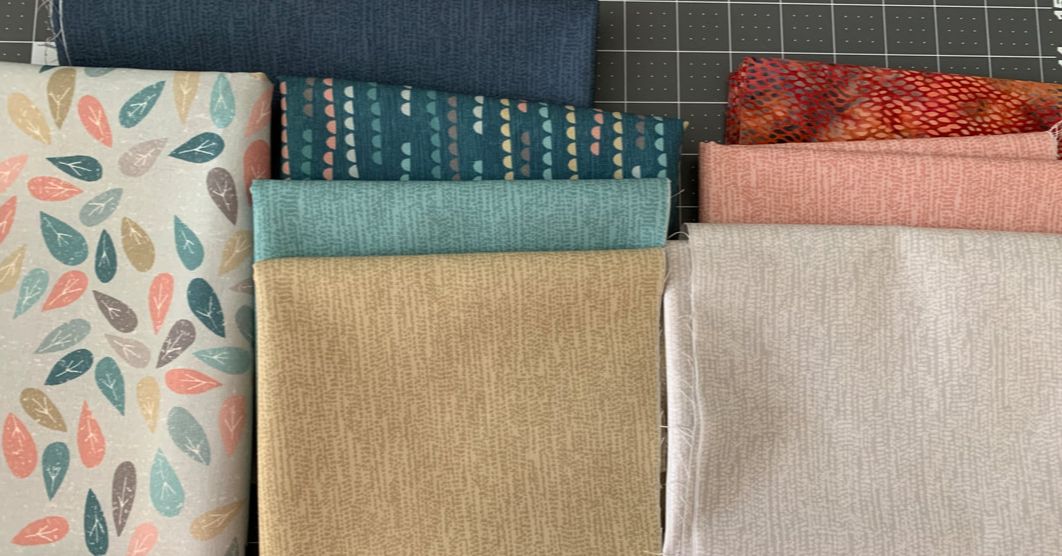
I was unable to locate the fabric collection I used for designing my quilt in Electric Quilt. So I ended up picking up some new fabrics at Twin Cities Quilting. The fabrics were from the Breeze and Elements collections by JoJo Coco Design for Dashwood Studio. These fabrics were brand new to the shop and I was able to score the first cut off the bolts.
I also needed a darker pink. I purchased the batik -- but when auditioning the fabrics in EQ decided it really didn't work. So a second shopping trip yielded a more dusty pink. I also added the leaf print on the left for backing and the dark blue for binding. The shop was not cutting fat quarters so I ended up getting 1/3 yard cuts. Which turns out to be the perfect size of working with the 12 inch mats for Cricut. I think 1/3 yard cuts are going to become my new default quantify for smaller fabric purchases. Piecing the Magic Cross Block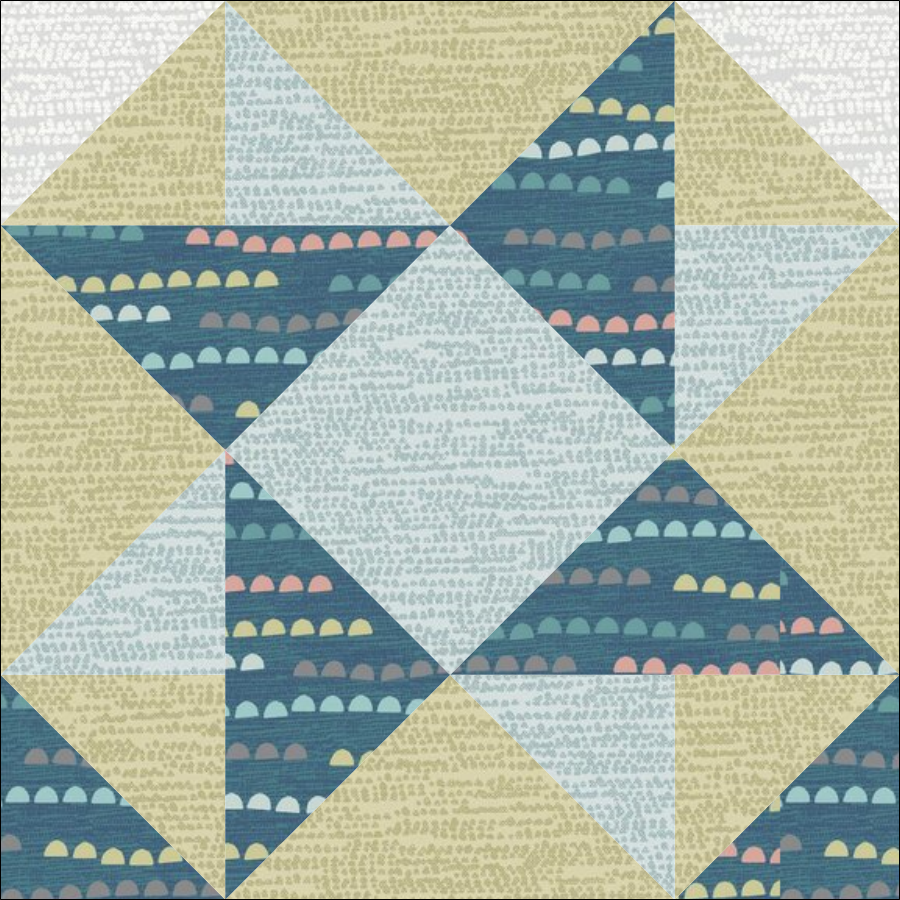
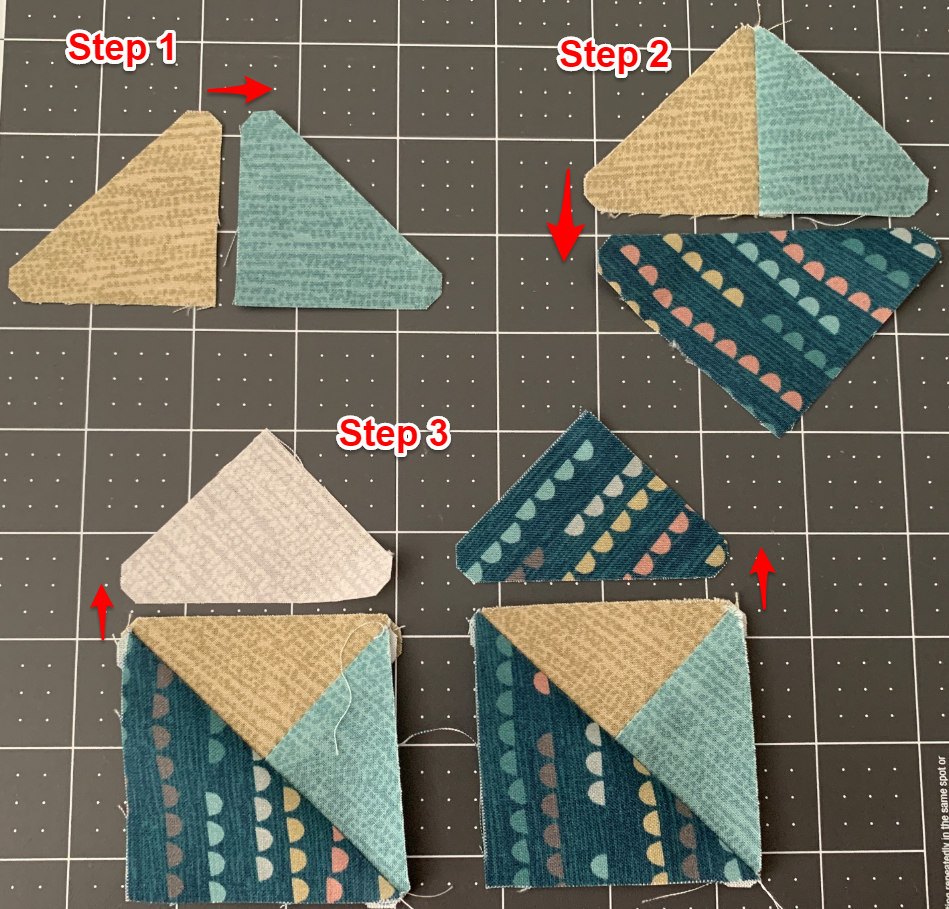
Step 1: Combine two of the smaller half square triangles.
Step 2: Add the darker teal/blue to the bottom of the previous unit. Step 3: To half the units add the lighter background to the top. To the other half, the darker teal/blue.
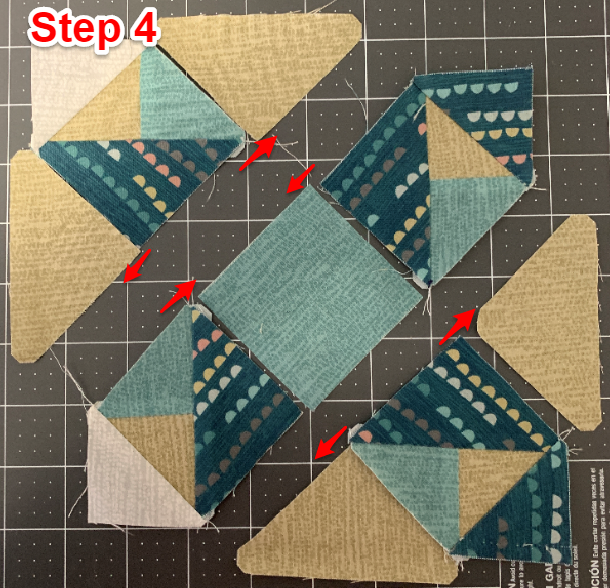
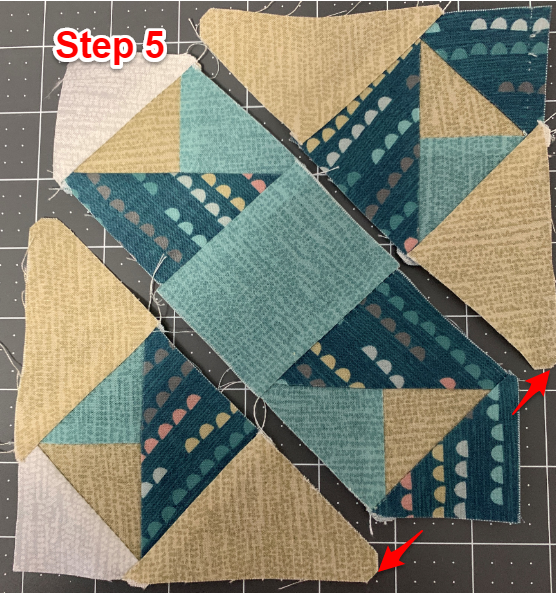
Step 4: Create rows per the diagram.
Step 5: Add diagonal rows together.
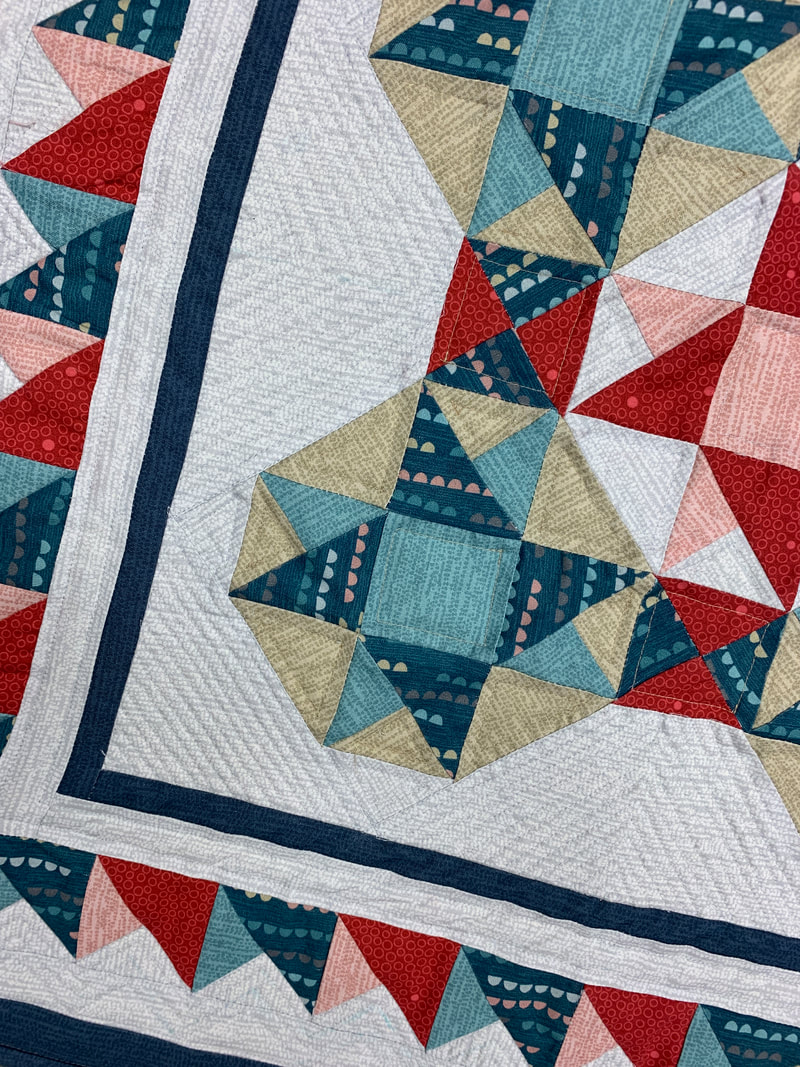
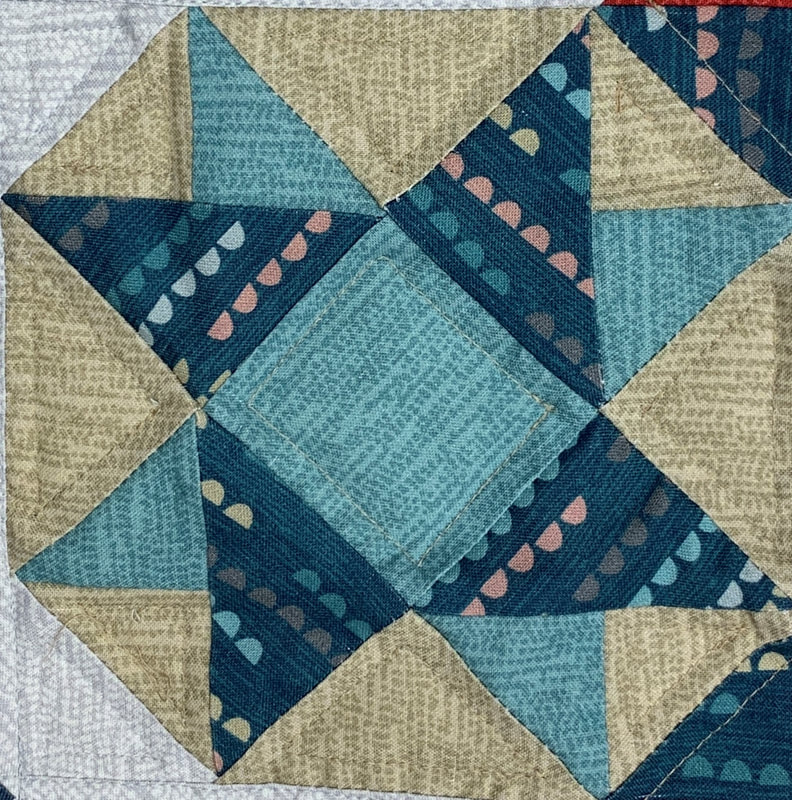
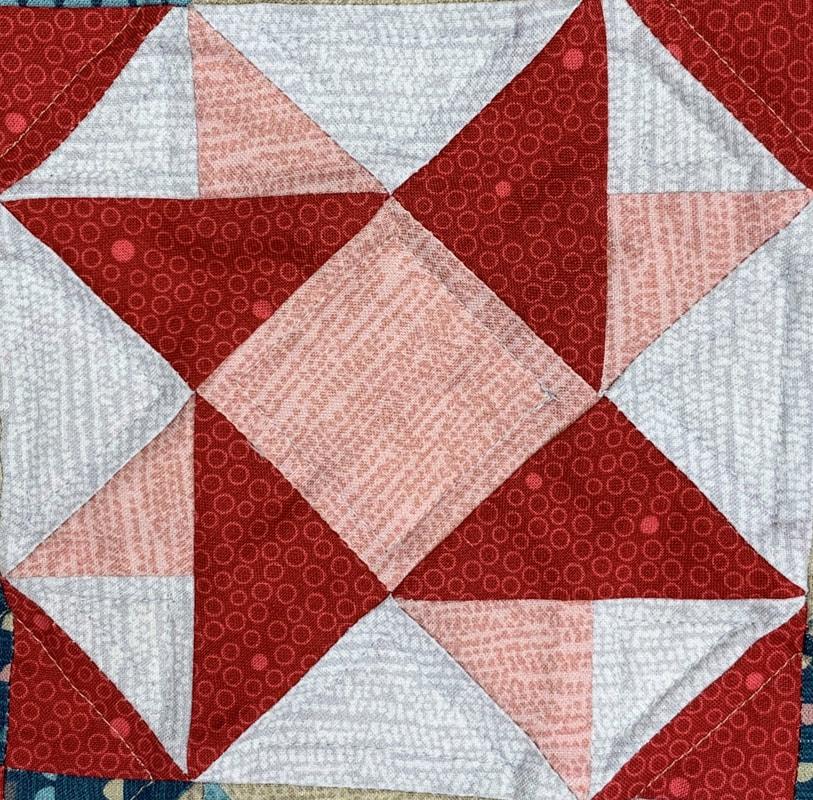
Here are my finished blocks.
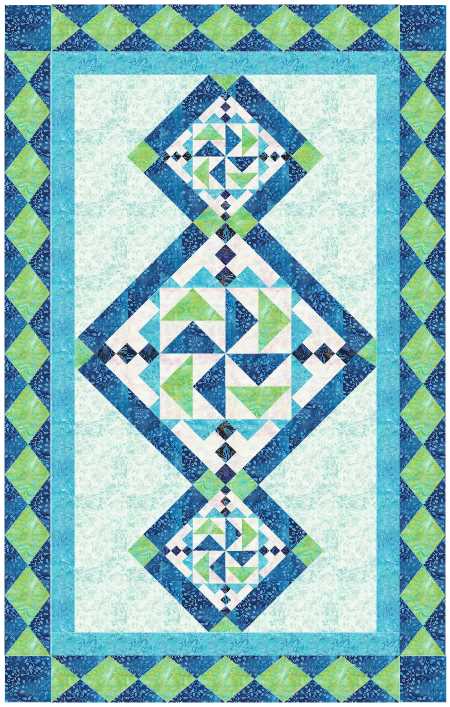
Here is my finished quilt. I was able to use the same corner units from the block to cut the pieced border units on my Cricut Maker as well. I did end up rotating the pieces in Cricut Design space so there was straight of grain on the outside of the units.
I decided to quilt this on my domestic machine and decided on straight line quilting in the negative spaces for a modern look.
Blocks become much more appealing when you work with your favorite fabrics. Before piecing the blocks, bring them into Electric Quilt 8 so you can audition the blocks with a fabric collection. Pick a collection from either a favorite manufacturer or a collection of your personal fabrics.
The video will not only show you how to include a block from BlockBase+ in an Electric Quilt 8 project, but will also show you how to design a quilt starring the Magic Cross block. The fabrics used in the Magic Cross quilt were from the April 2021 Free Fabric Collection -- Decostitch Elements by AGF Studio.
If you are having problems accessing your purchased BlockBase+ blocks in EQ8, make sure you have purchased and installed BlockBase+ on your computer and you have downloaded and updated your EQ8 software. The EQ8 update is free. You can obtain the most recent version of EQ8 from your your account on the EQ website.
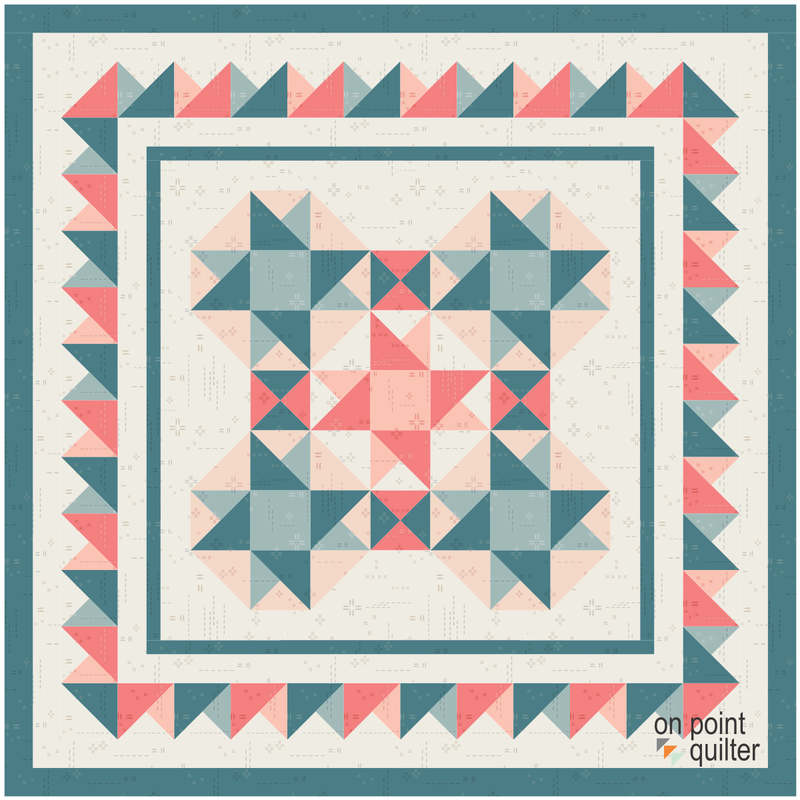
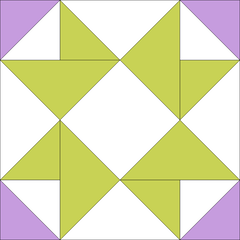
Magic Cross Quilt Designed by Kari Schell in EQ8
If you wish to piece this quilt, you will need five six inch blocks. Four of the blocks in teals and one in pinks. There are also 40 2 inch blocks for the tile square border.
What will you do with the Magic Cross block?
|

Free guide available for newsletter subscribers


Kari SchellElectric Quilt Expert and Educator and Pattern Designer. Categories
All
Archives
July 2024
|


 RSS Feed