Background: I owned a Silhouette Cameo (first edition) and had pretty mixed results with cutting fabric. I had some nice cuts but wouldn't have achieved that without some great advice from my blog readers. Check out my paper snowflake project last year -- which was done on the Silhouette Cameo.)
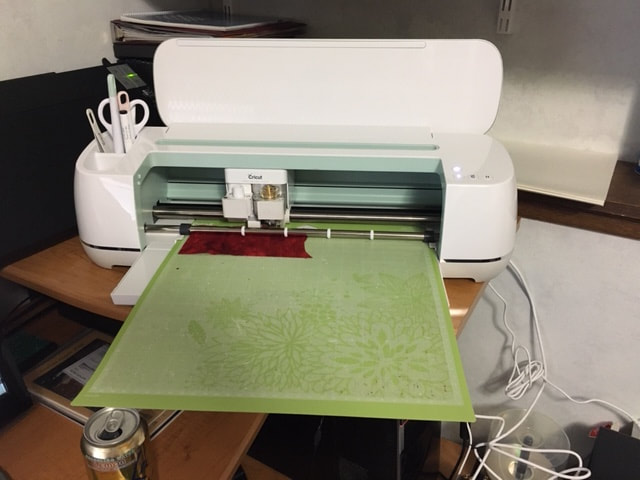
Given my fairly frustrating learning curve on the Cameo, I will admit to being a bit gun-shy. However, I have a retreat coming up next week, and realized that if I actually wanted to make my snowman project, I needed to cut it out -- NOW! I experienced a couple of glitches with Cricut Design Space including designs not showing up in the import and modifications to design in Inkscape not carrying over to Cricut Design Space. But once my design was loaded, the cutting process was a dream. Not one bad cut in my first time cutting fabric with the Cricut Maker.
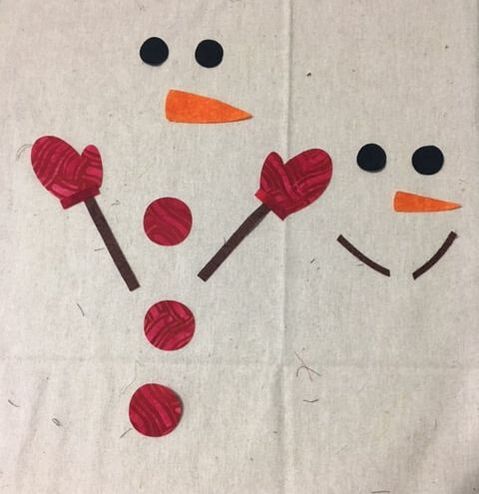
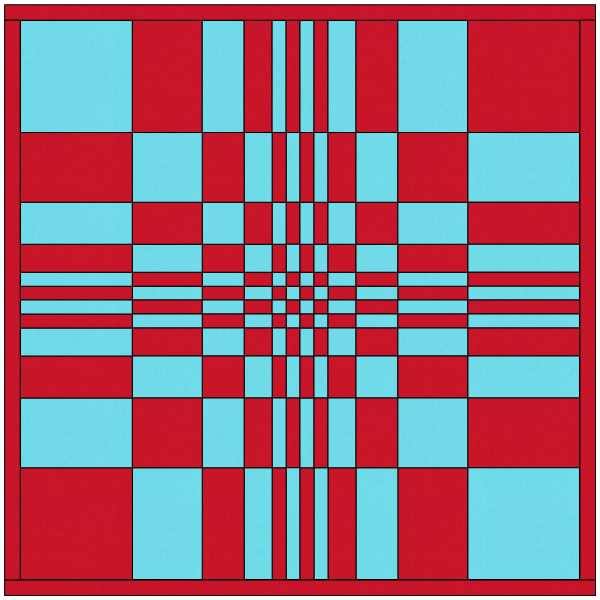
Here was the block I created for the TKQ Calendar Quilts class. I want to piece the block at the size 20 x 15.
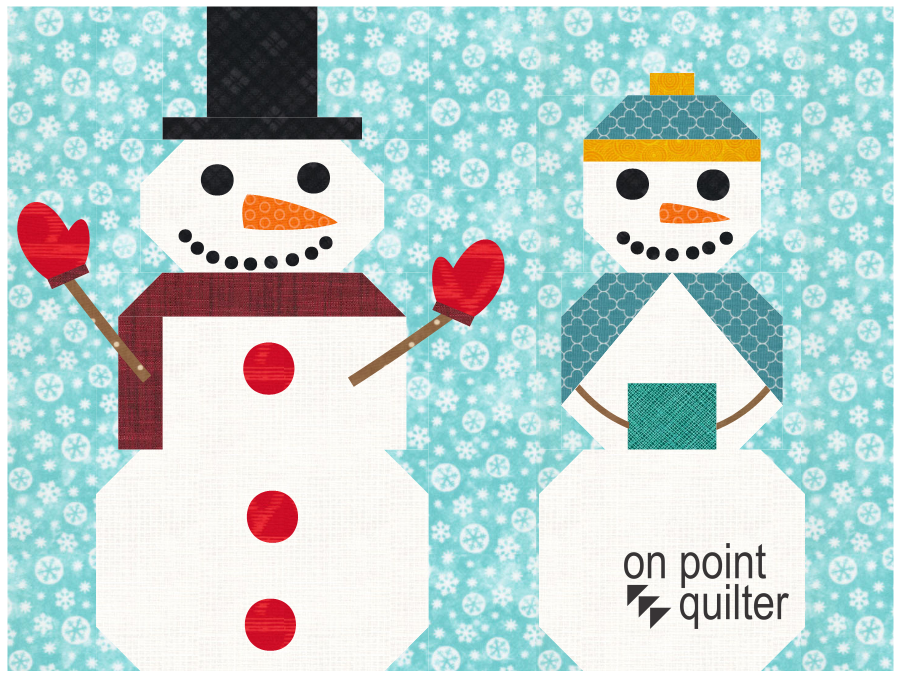
Snowman Block designed by Kari in EQ (for a Tech Know Quilter class)
Here is the video describing my process. Not sure if I figured out the most efficient way to do everything -- but I figured I needed to start with the basics.
In the video, I explain that I printed my block to a pdf writer. In the video I used Cute PDF Writer. However the actual pdf writer is not important. Feel free to use what you have available to use on your computer.
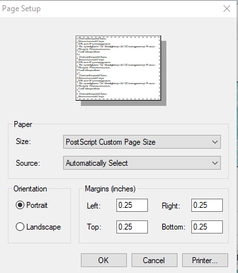
Look to see if you have a setting for your pdf writer called Post Script Custom Page Size. I just discovered this setting a few months ago -- but essentially it lets you pick a page size (even one that is larger than any of your installed printers). This is particularly useful for larger sized blocks.
If you don't have this option, just pick the largest paper size you have installed on your computer. You make have some tiling which will require multiple Inkscape files.
The intermediate software I used to convert my design from the pdf format to an svg format is Inkscape. Inkscape is a professional vector graphics editor for Windows, Mac OS X and Linux. It's free and open source.
Inkscape can seem overwhelming to use when you open it for the first time. However you only need to use a couple of tools within Inkscape -- so this really is a piece of cake. You can download Inkscape here. Inkscape will allow you to create an SVG file which may be used in any electronic cutting system (Cricut Design Space, Silhouette Studio, or Brother Canvas Workspace). So what is an SVG file? An SVG file is a graphics file that uses a two-dimensional vector graphic format. Unlike raster formats such as JPG, GIF, and PNG, an SVG image remains crisp and clear at any resolution or size. 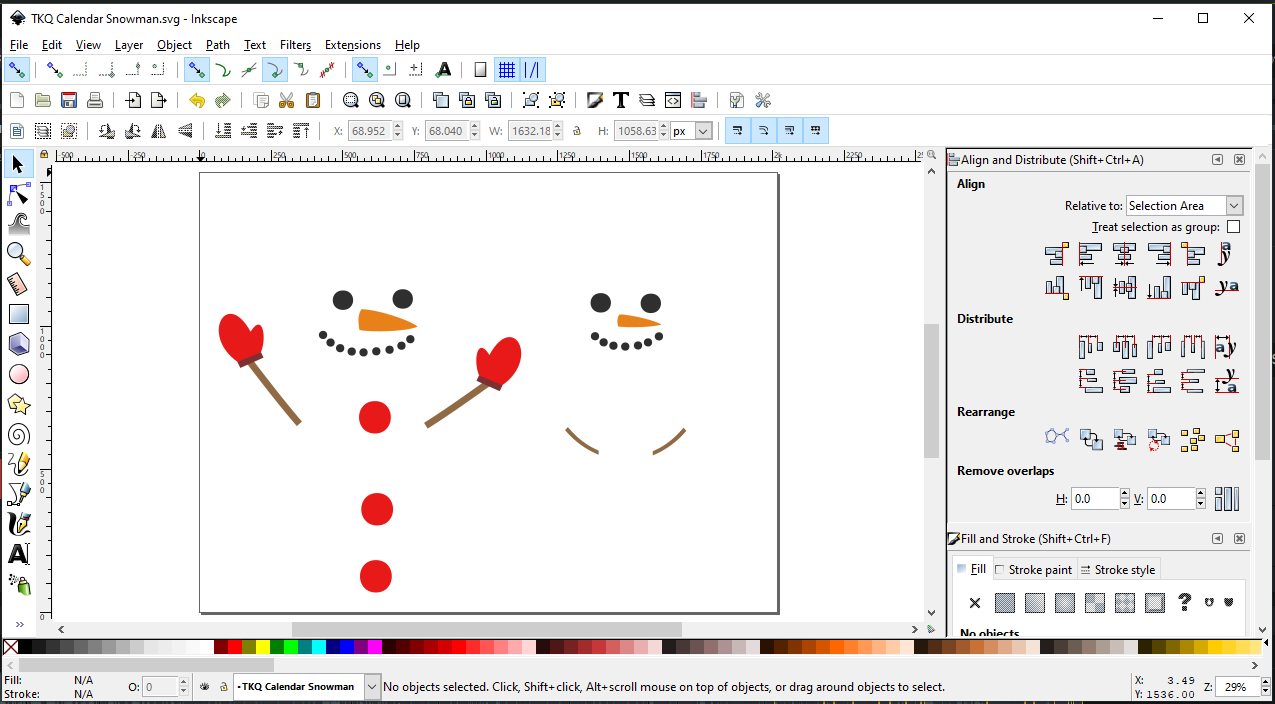
In Inkscape, ungroup your image and select and delete any patches that you don't want to cut with your cutting system. Then save as an SVG. (Update: Make note of the size of the svg objects.)
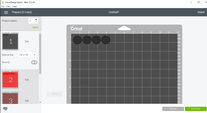
In Cricut Design Space, select Upload Image and navigate to the SVG file. Select Save. Select the Image and select Insert Images. (Update: Resize the grouped images to match the size noted in Inkscape.) Make any modifications. I chose to remove the circles for the mouth as I think it will be easier to use a decorative stitch on my sewing machine rather than appliquing 1/4 inch circles on my block.
I chose to back my fabric with Soft Fuse Premium. I love the soft hand of this fusible -- it actually feels like there is none. I ironed the fusible to the fabric (3 seconds with a dry iron), removed the paper and placed it fusible size down on the Cricut mat. I used the green mat -- but after I was all done found that they actually recommend the pink mat.
Cutting with the rotary cutter blade was an absolute dream. I had absolutely no problems with shifting material and there were no snags in the cut (both issues that I had with my old Silhouette Cameo). (Note -- I had the first version of the Silhouette Cameo and based on conversations with others who have upgraded, I think the later versions are less troublesome.)
New Years Eve Celebration Block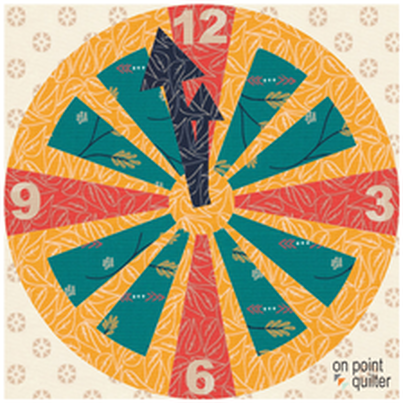
Growing up, our parents would let us stay up on New Year's eve. We would closely watch the clock so we would know exactly when it was time to blow our paper horns and wish each other Happy New Year.
If you are a clock watcher on New Year's eve -- create your own clock using Electric Quilt 8. This tutorial will share how to use PolyDraw and add some simple Applique shapes. PolyDraw has some unique features that often makes is the best option for working with blocks based on a circular grid.
The block in the video was colored using the October 2019 free fabric download from Electric Quilt 8 -- Valley by Sherri & Chelsi for Moda. You can find and download the collection here.
November Apply What You Learned Challenge
Enjoy the virtual quilt show as Tech Know Quilter members shared what they learned during November. If you would like to join the wait list for the next open enrollment for Tech Know Quilters, you may sign up here.
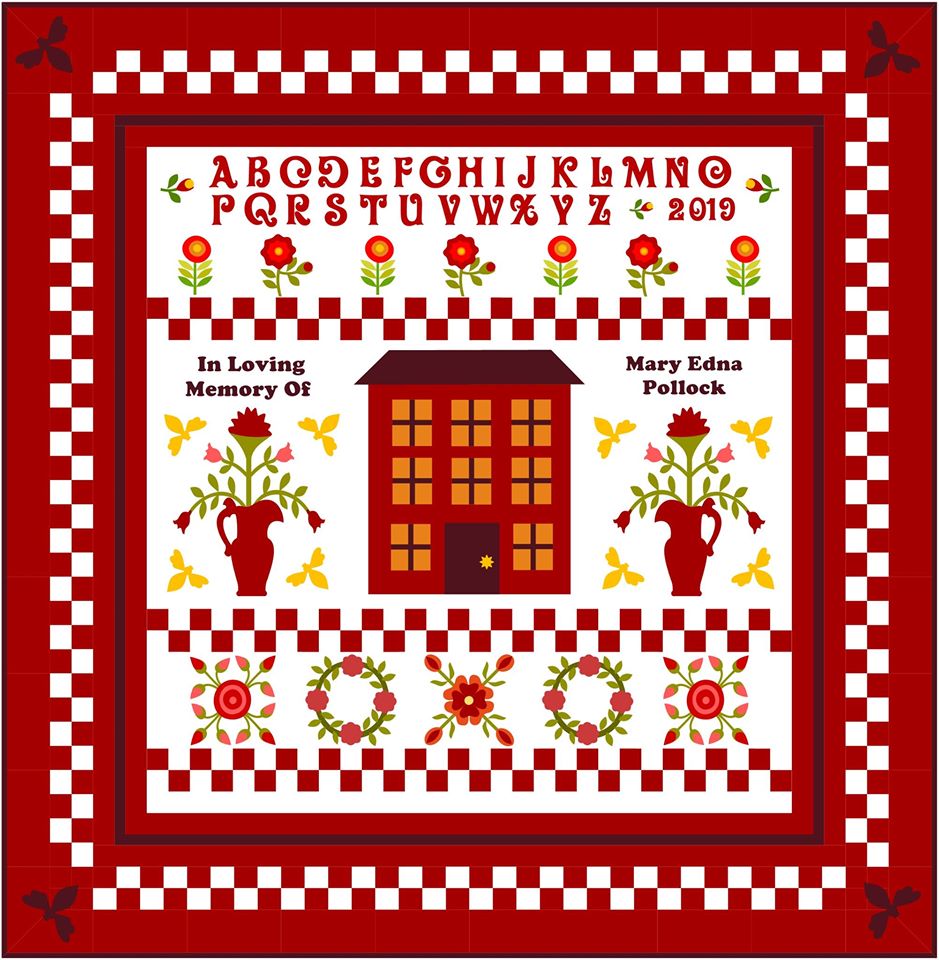
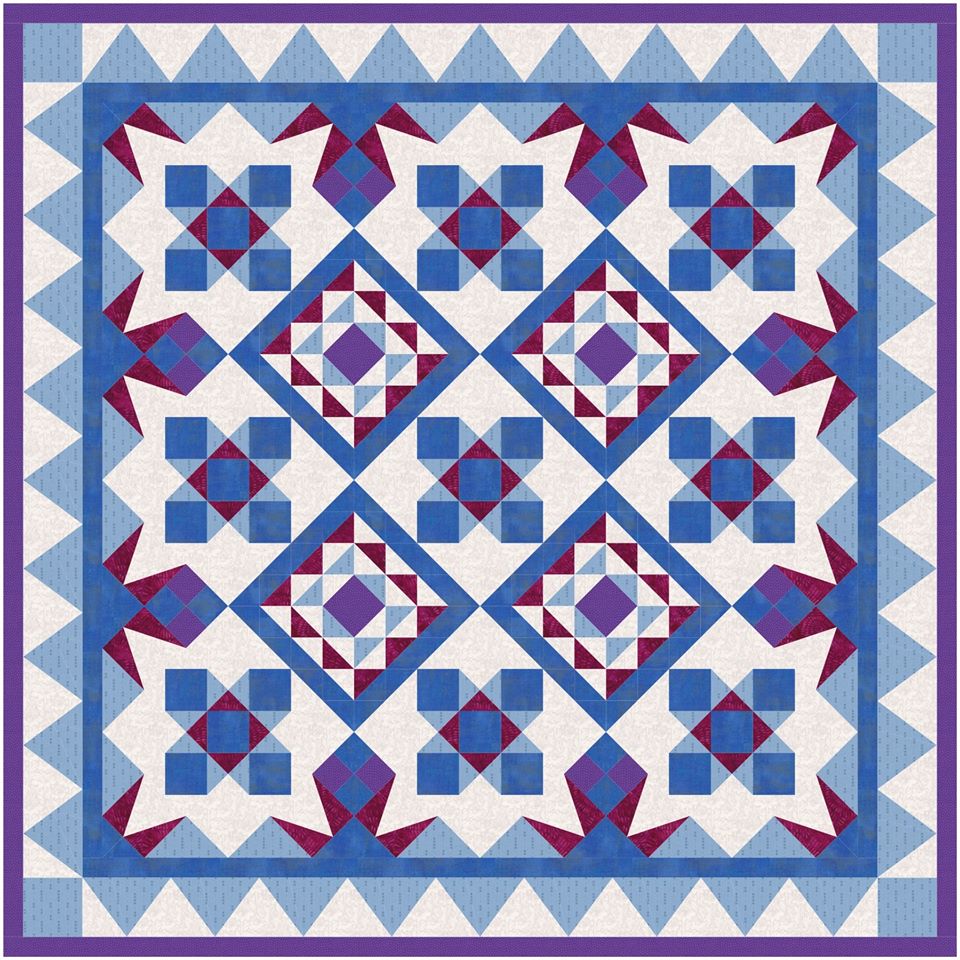
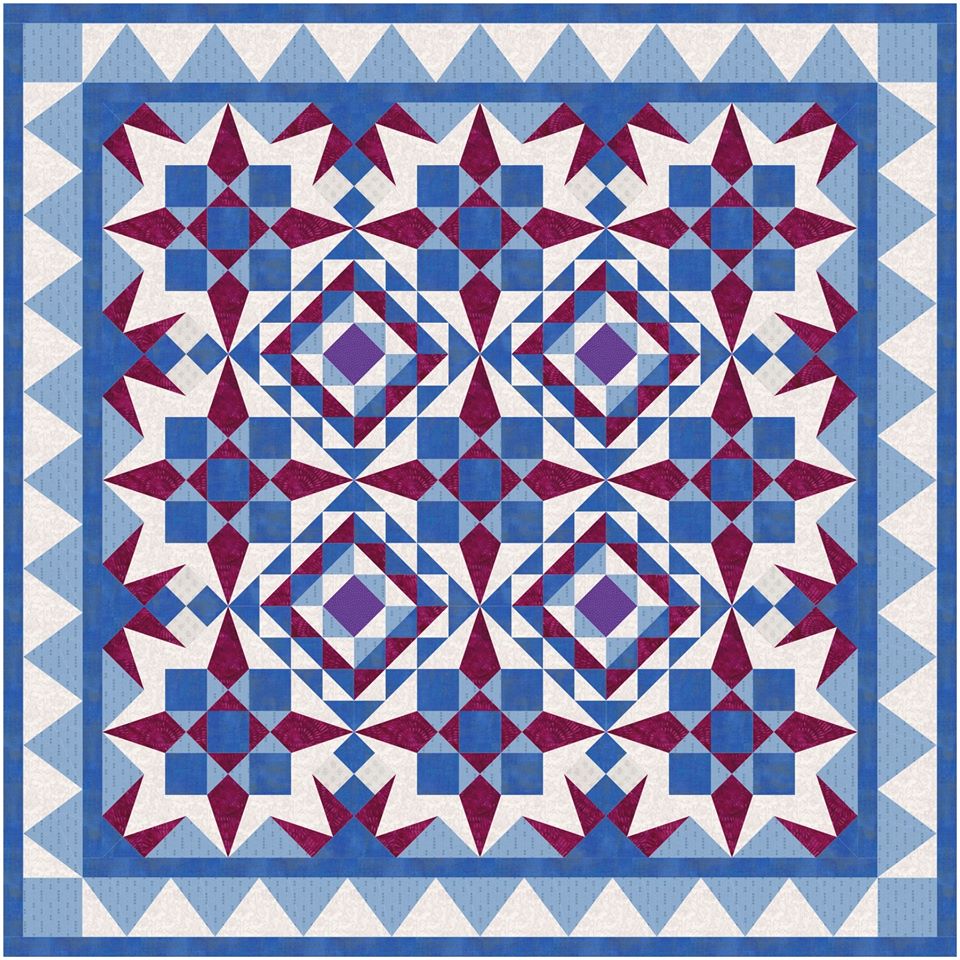
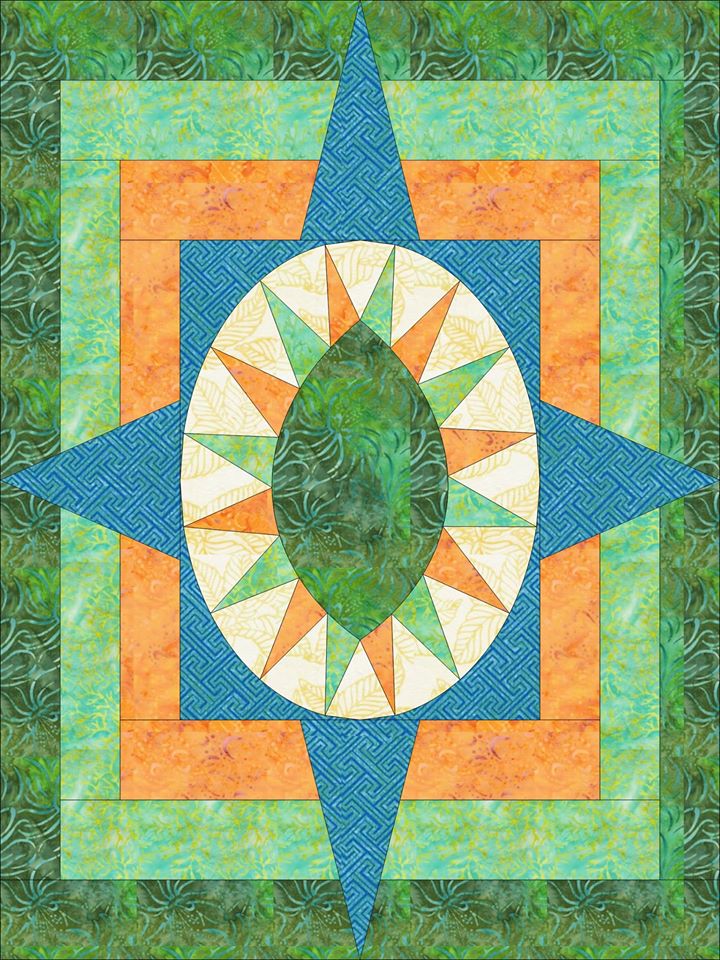
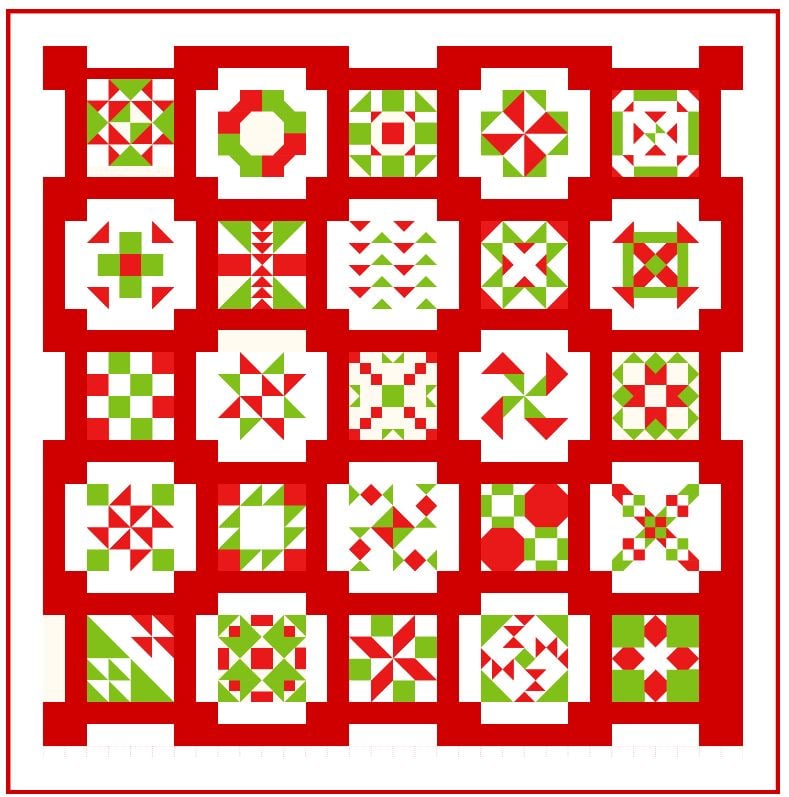
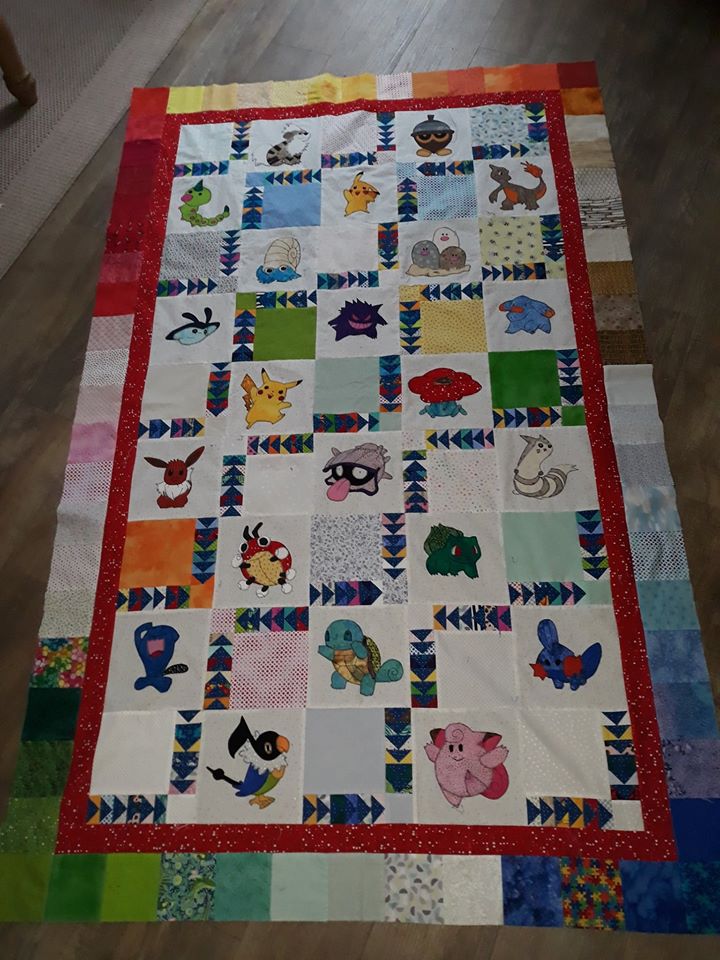
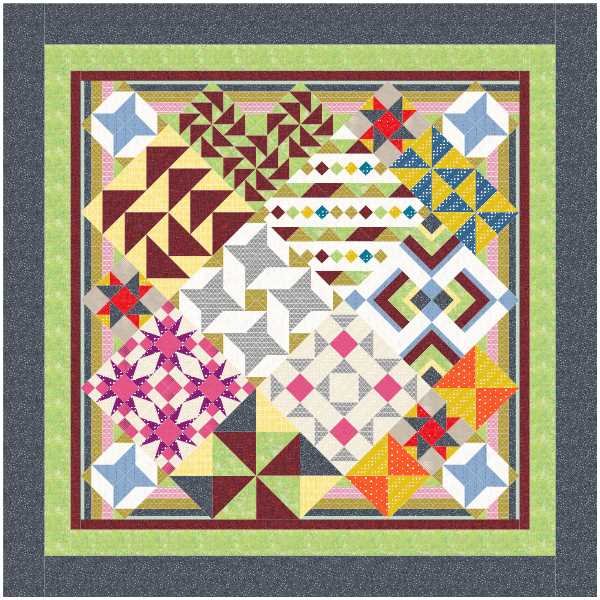
Kristy Goodin Soard -- Immediately upon learning I was to design a sampler quilt, my mind harkened back to my days of designing counted cross stitch samplers for various publishers. I also wanted to make a memory quilt to honor my maternal grandma, and when those two thoughts meshed this quilt resulted.

Collien Kaseberg
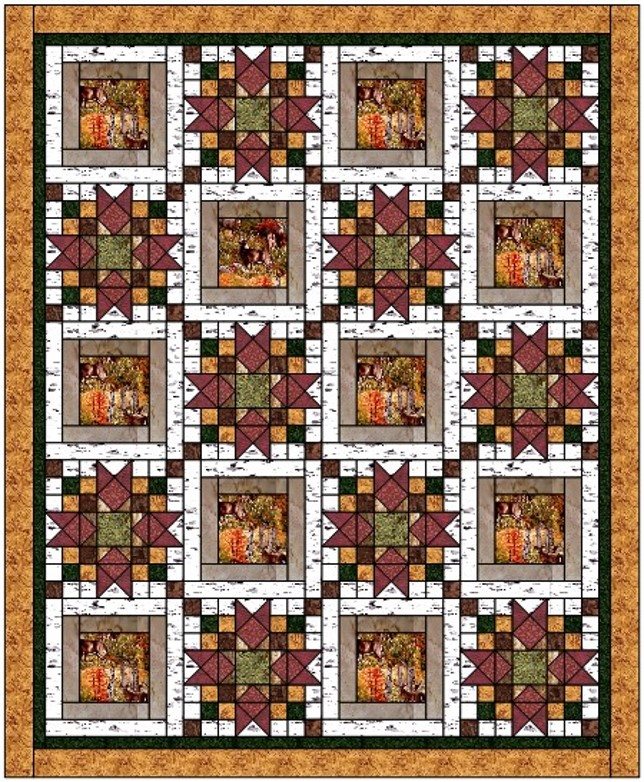
Donna Carter Deer and Star Throw is a quilt I designed and just finished making. I put a fleece backing on it. Learning how to upload my own fabrics and create and modify blocks has really skyrocketed my design abilities and ideas using what you’ve taught us in EQ8.
Sabine Neuberger I love the patterns of Elizabeth Hartman and the technique she uses. Therefore I always wanted to draft a pattern, where I can apply this technique. Well, some of my blocks are pieced traditionally, but that does not bother me. I have used fabrics from my stash and I am sure, with some other nice fabrics it could even look better.
Nancy Messuri For this month's challenge I reinforced wreath maker and other applique skills.
Julie Pedersen -- In the Sampler Quilt class. I had fun designing as usual. I think this is one of my favorites as it is an assortment of blocks made in 3 sizes. Kari made it easy to include the different sizes in the same block.
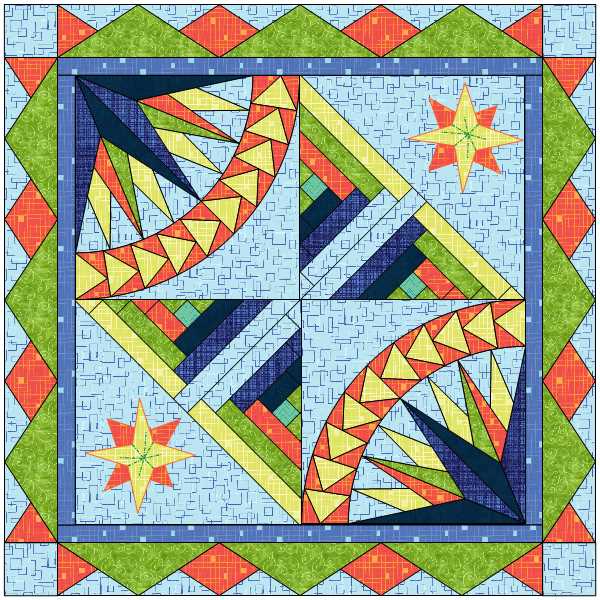
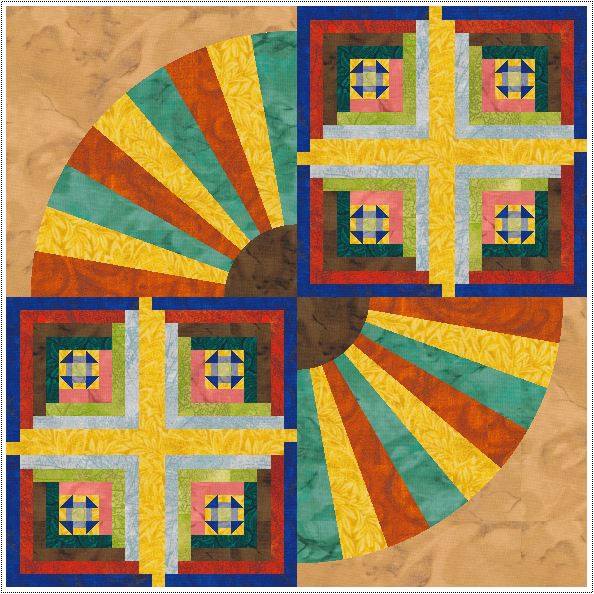
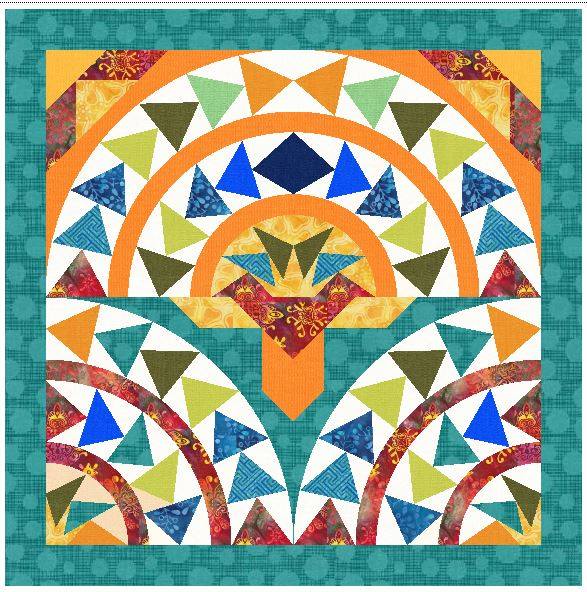
Tina Rohde This is from the Easy Draw class. used several of the blocks I created to put this together. "Italian Mosaic" reminds me of being in Ostia Antica, Italy - amazing mosaic floors.
Joanne Legault
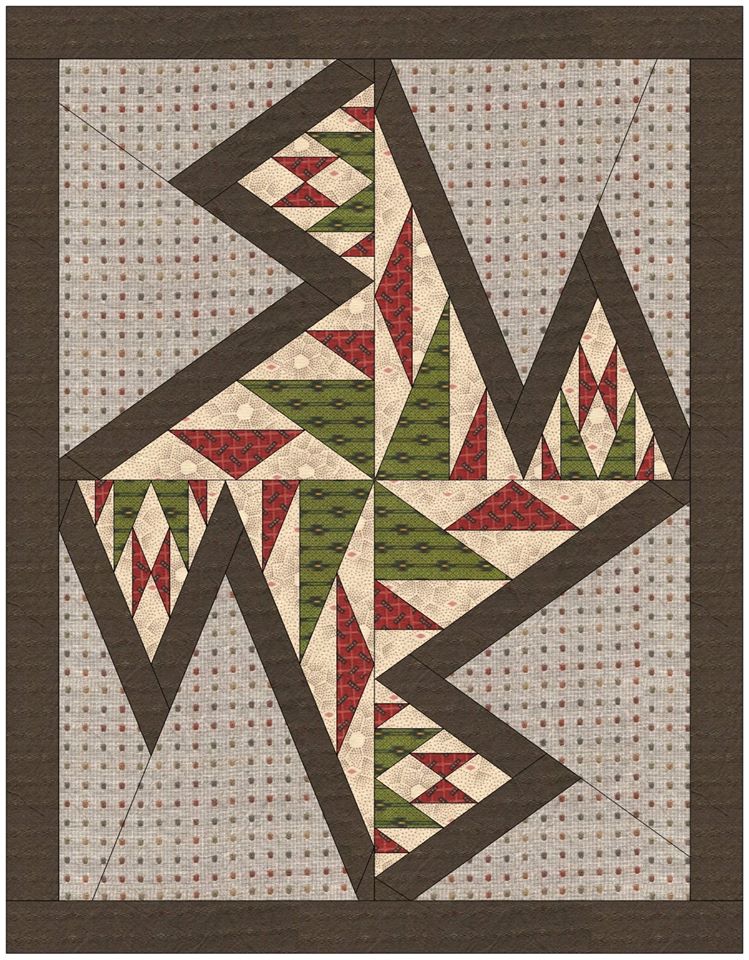
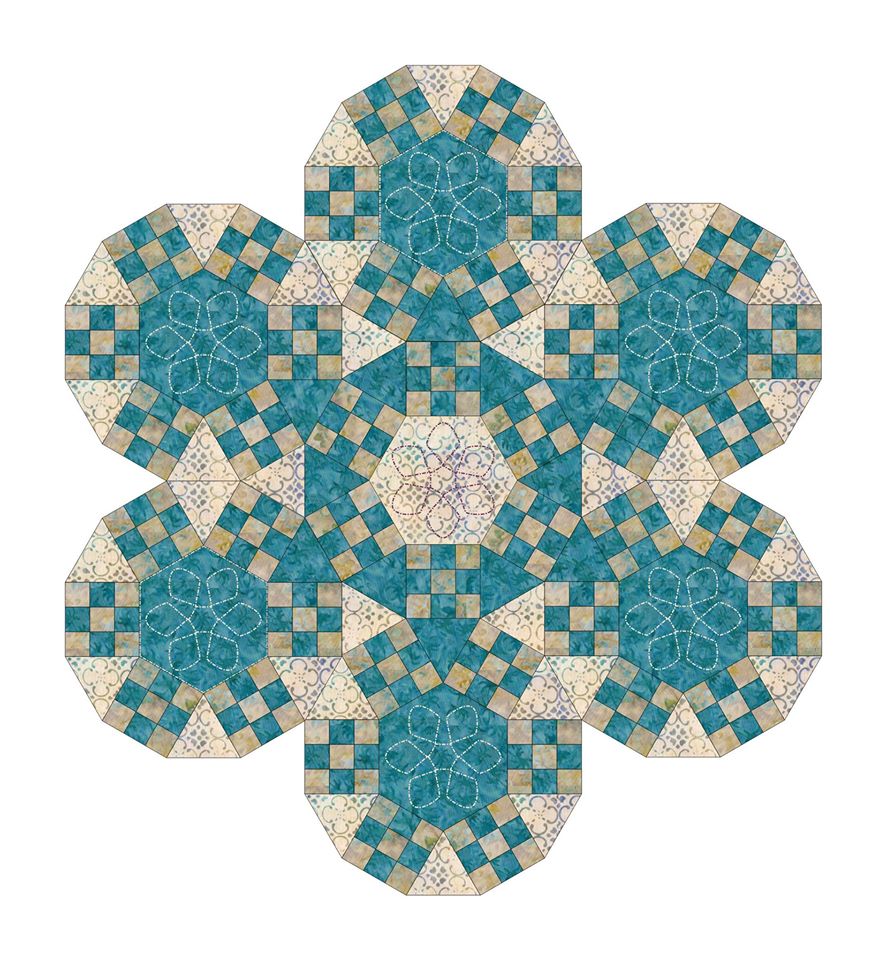
Camille Lechliter I'm doing Intro to Applique and I love being able to work with curves. Barbara Brackman posted a photo yesterday of an old quilt at an Oregon show that I fell in love with. Here's my quilt. I made one wedge and then stretched and pulled them to fit. As I was laying in bed last night I realized this being rainbow colors that there are 6 x 2 pieces.
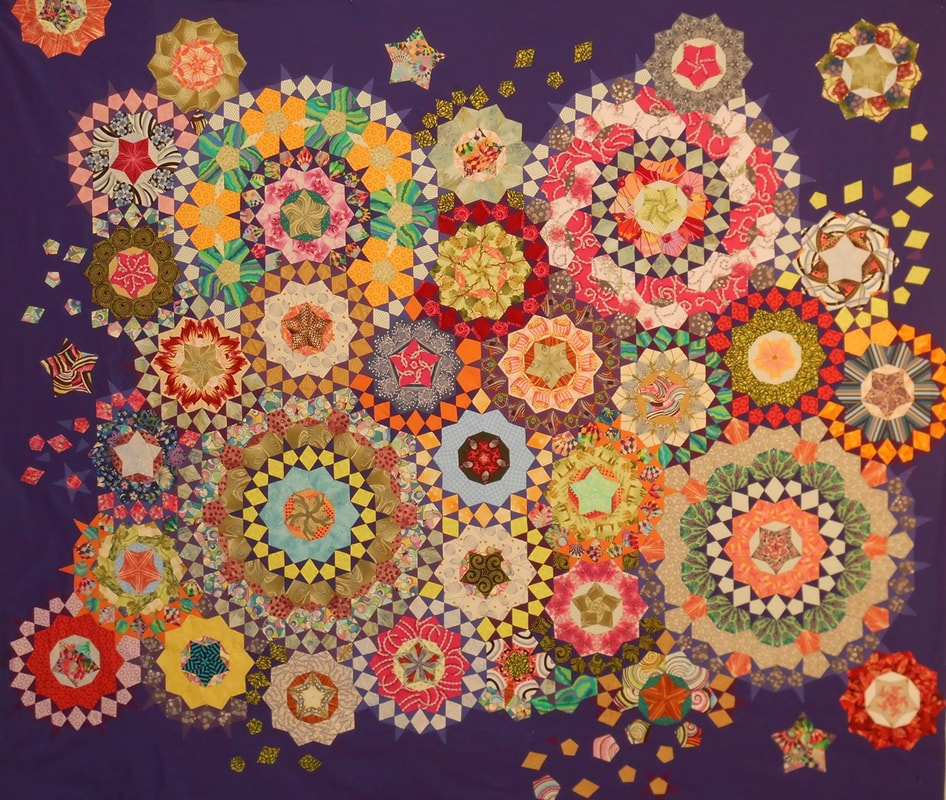
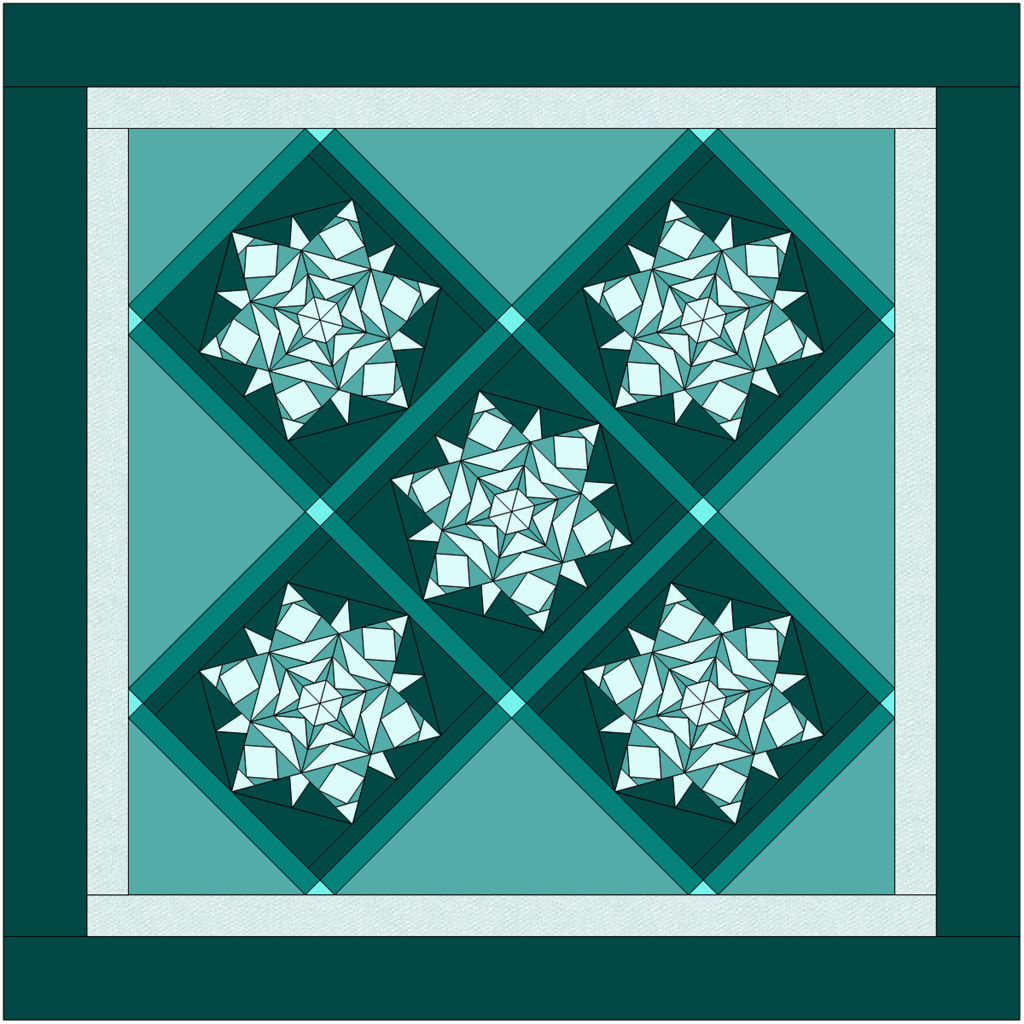
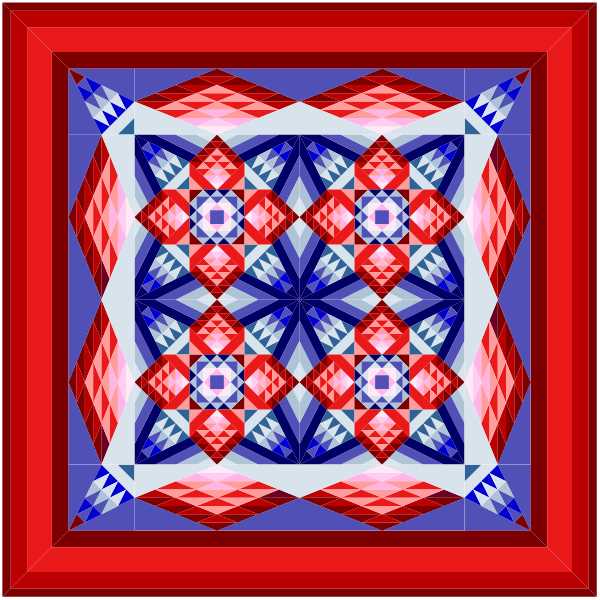
Dorothee Ilgner After two and a half years my Passacaglia is finally finished.
Other Tech Know Quilter Projects
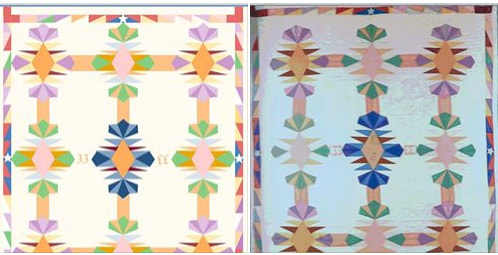
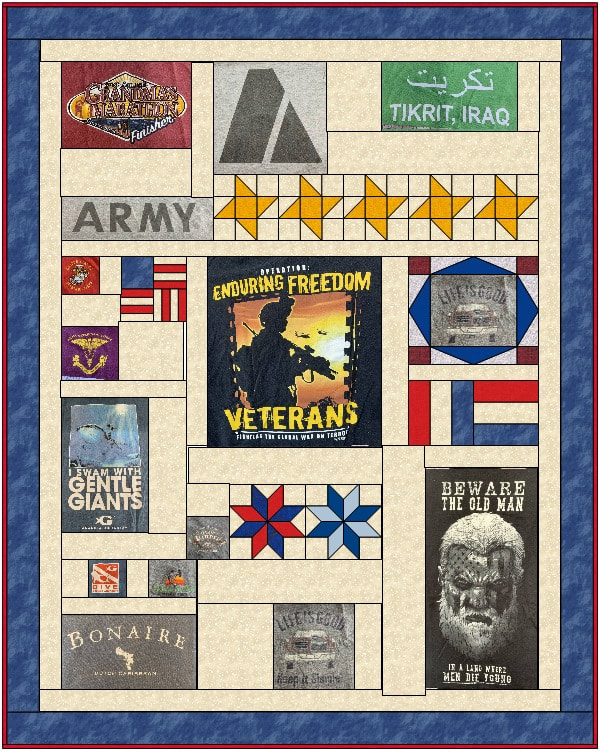
Cat Edwards Beckstead With some help from Kari I was able to draft a quilt from one of my history books. The quilt was intended for the 1933 Worlds Fair but the quilter got sick and wasn't able to send it in. This is a quilt that I will make.The picture on the left is my draft. The one on the right is from the book.
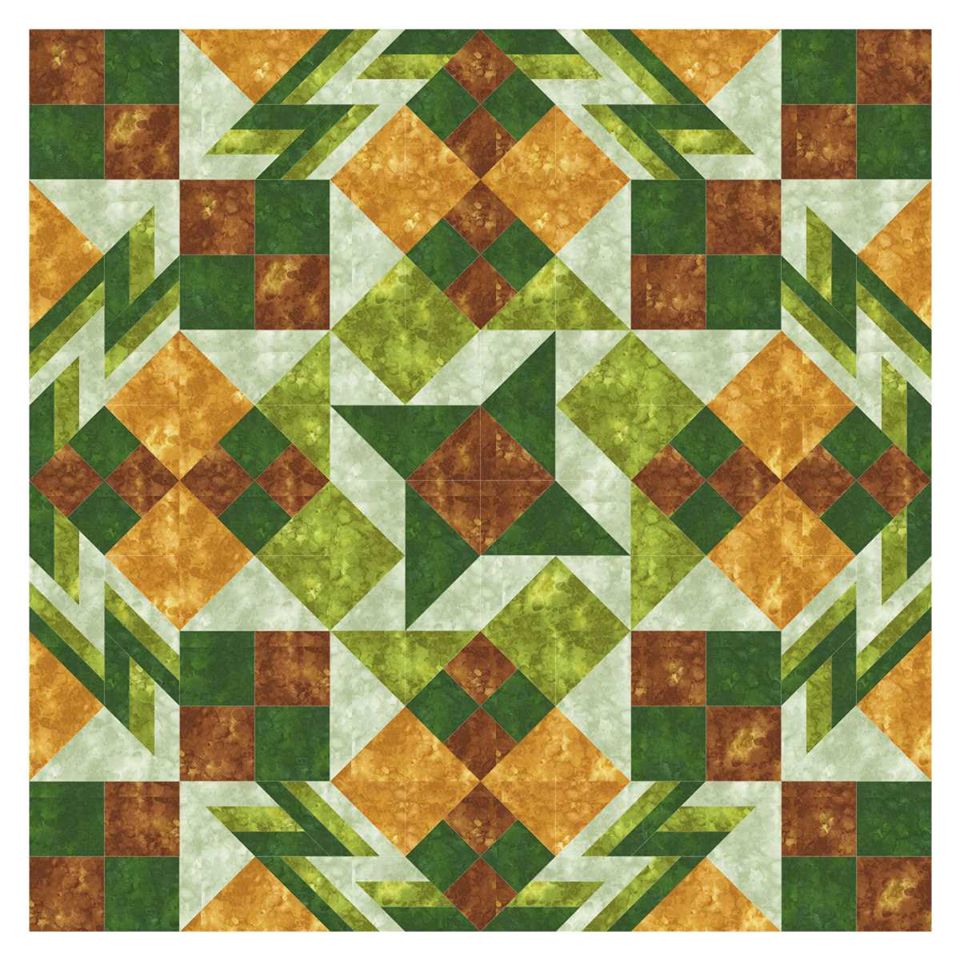
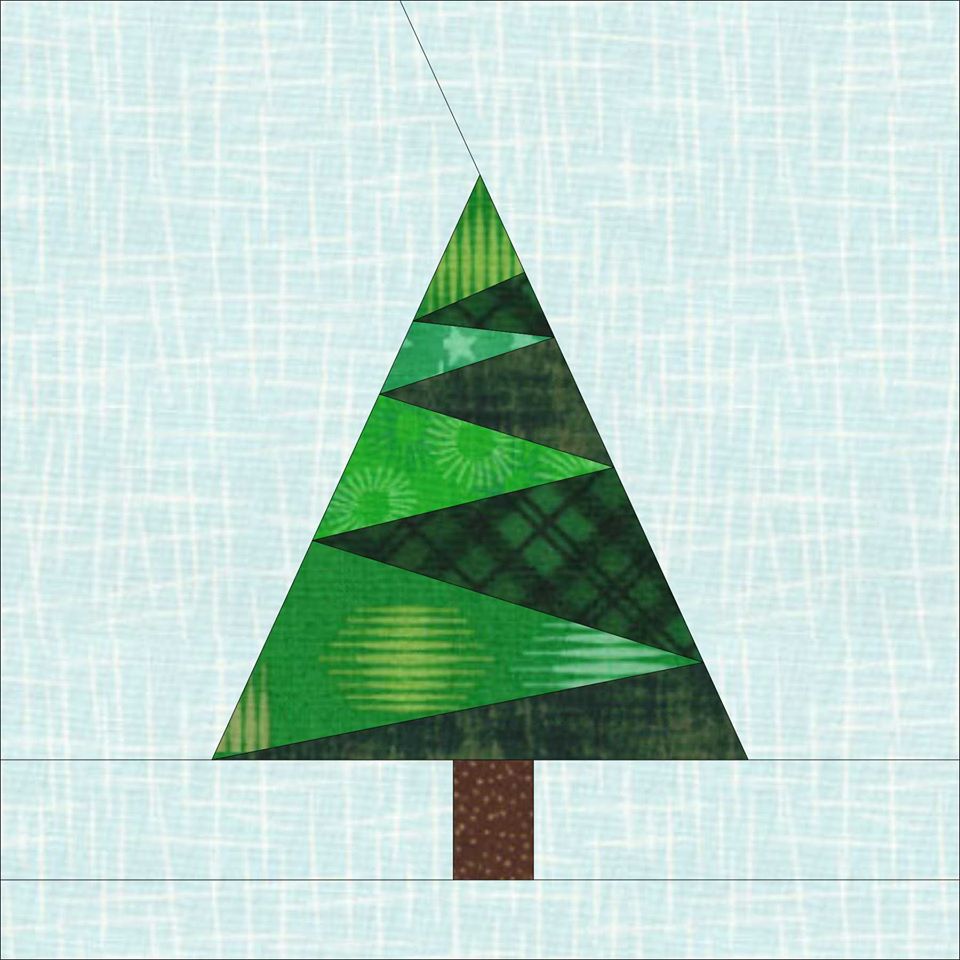
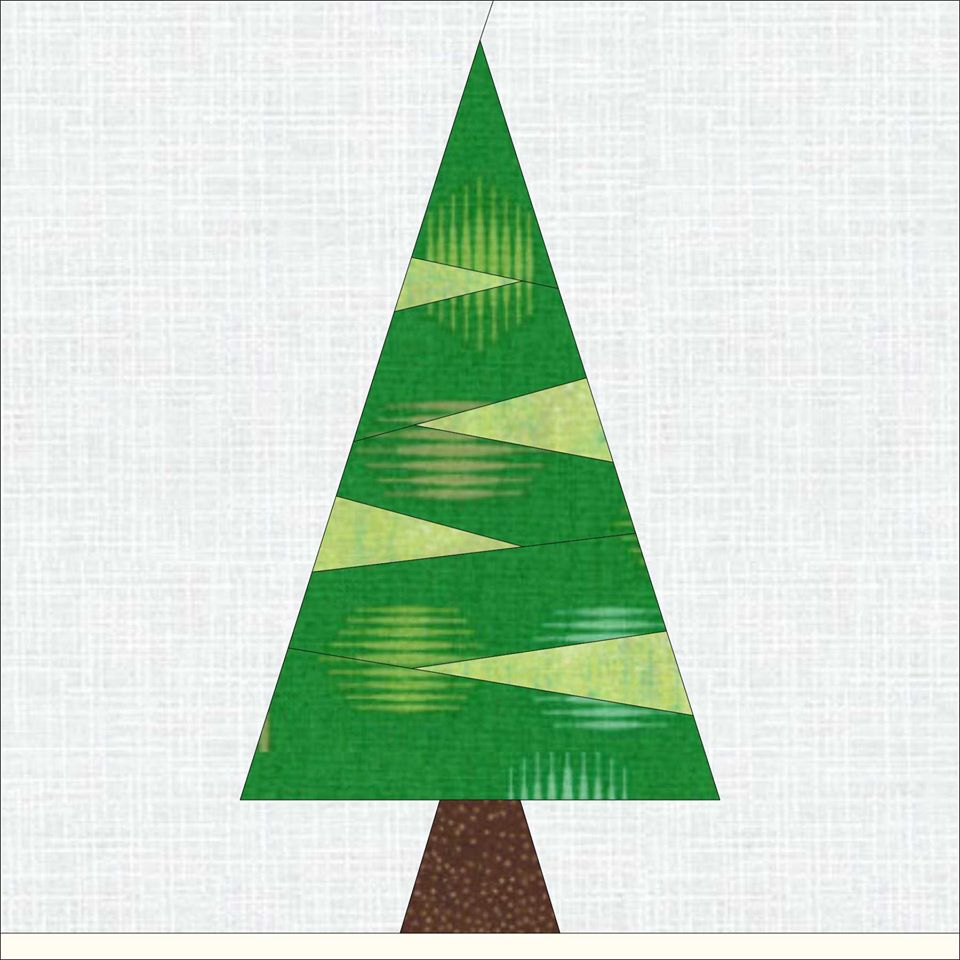
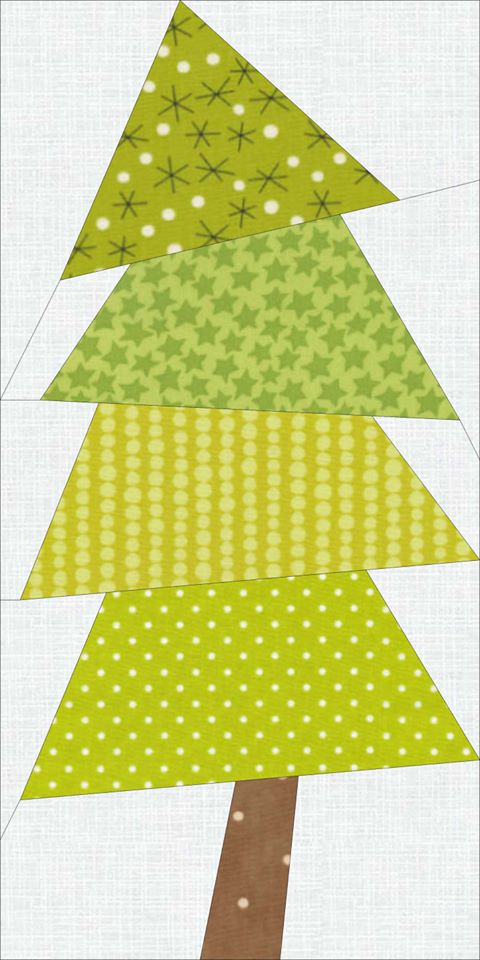
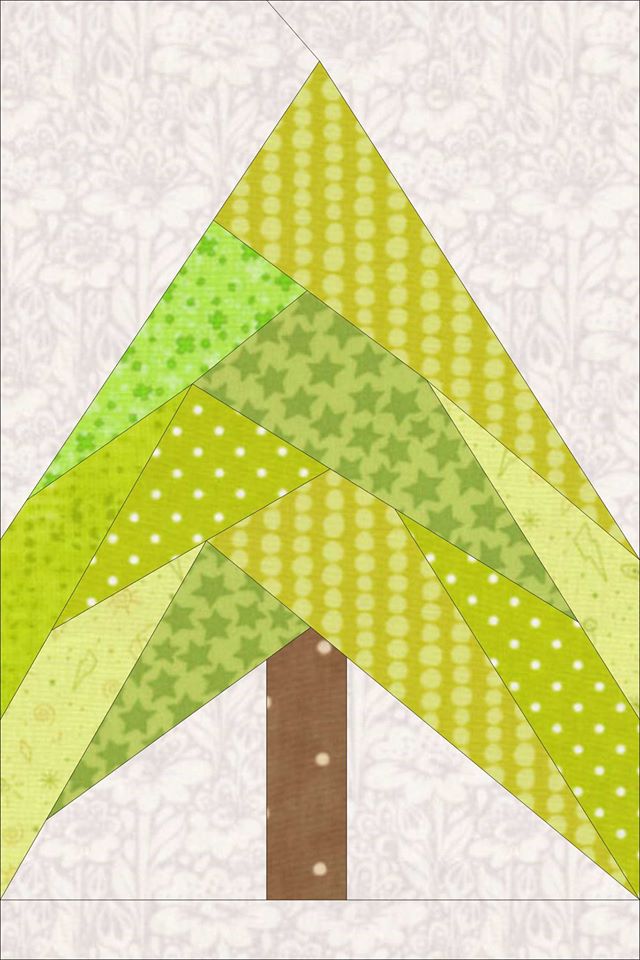
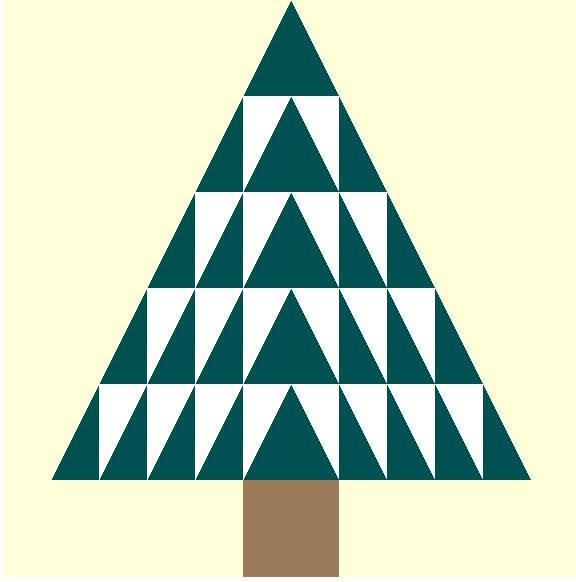
Foundation Tree Design Challenge
If you have been thinking that 2020 is your year for mastering Electric Quilt 8, now is the time to subscribe to the TKQ Wait List. There just may be an opportunity to lock in at 2019 prices before the end of the year. But you must be on the wait list to hear more.
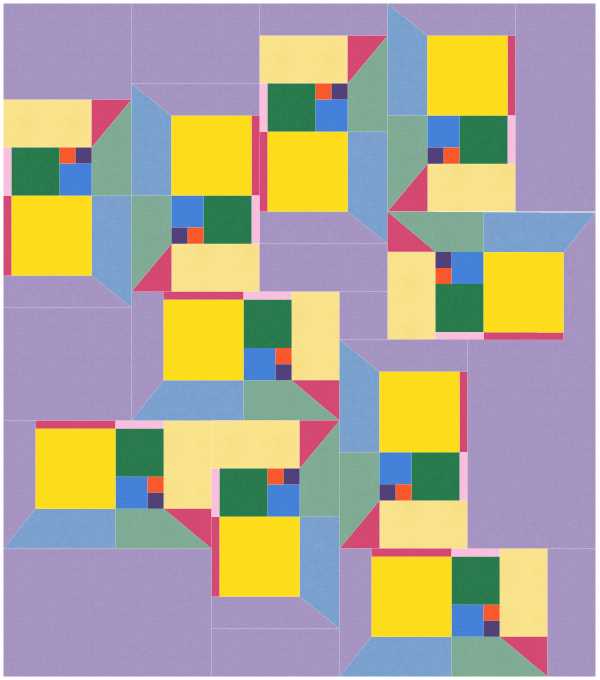
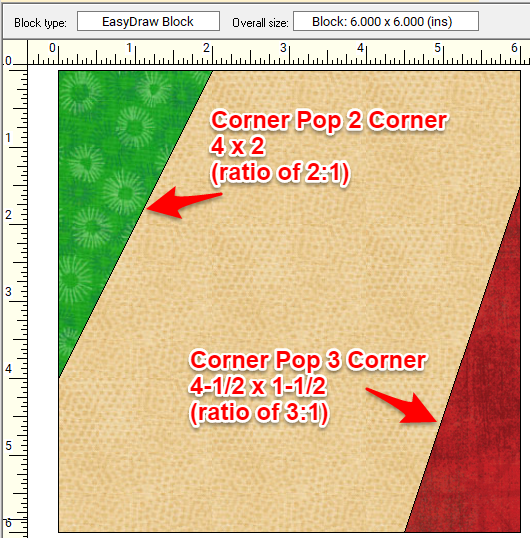
Corner Pop
Deb Tucker's Studio 180 Design announced the release of a couple of new tools. If you like using Corner Pop as a replacement for the the folded corner technique, you will love how you can expand on the concept with these new offerings.
These corners don't need to be restricted to simple squares and rectangles. I wanted to explore what would happen when I added them to a pieced block.
See how to do this in my EQ8 video tutorial. In addition to designing the Corner Pop 2 friendly block, learn how to use Shrink and Fit for a new block and Serendipity to play with block rotation in the Quilt Worktable.
Here are some quilt ideas using the block from the video.
In the last option, you can see how you can carry the block design into the border as well. Make sure to use Tile Square border for blocks that are square. Otherwise, they may not be Corner Pop 2 friendly.
End of Year Sale -- Shoot for the Stars with EQ8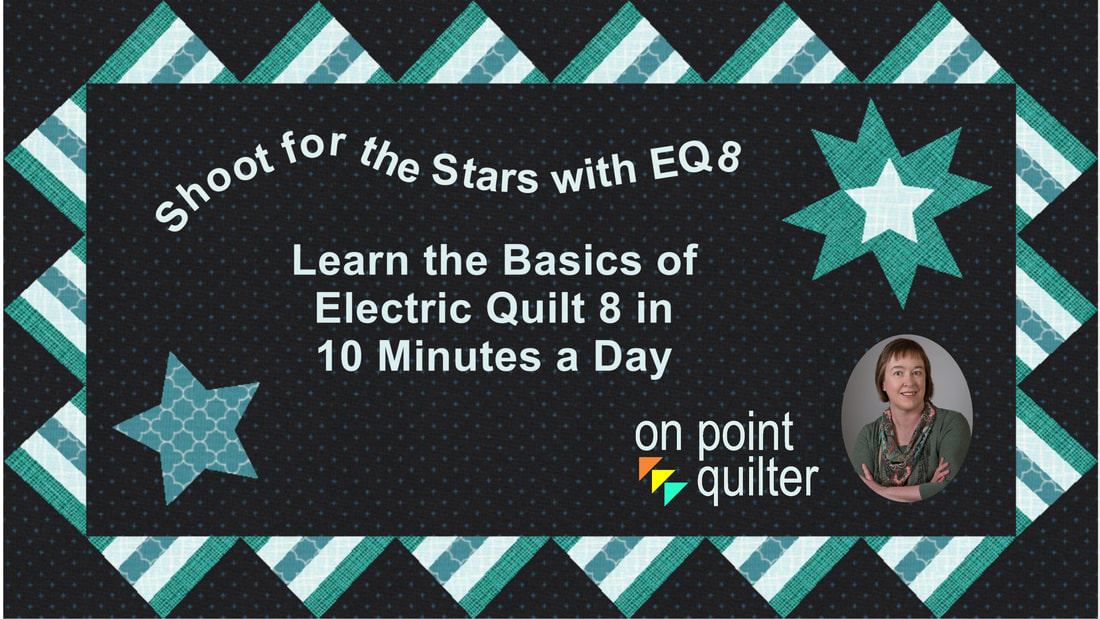
Are you just getting started with Electric Quilt 8 and need some help?
Shoot for the Stars is designed to get you started with Electric Quilt 8 through training delivered straight to your inbox. This series includes 14 short (i.e.. 5-10 minute) videos delivered over the course of a month allowing you to learn the basics of this complex program in bite size increments. The class is currently on sale for $30 (regular $50). Join now. (Sale ends January 1, 2020.)
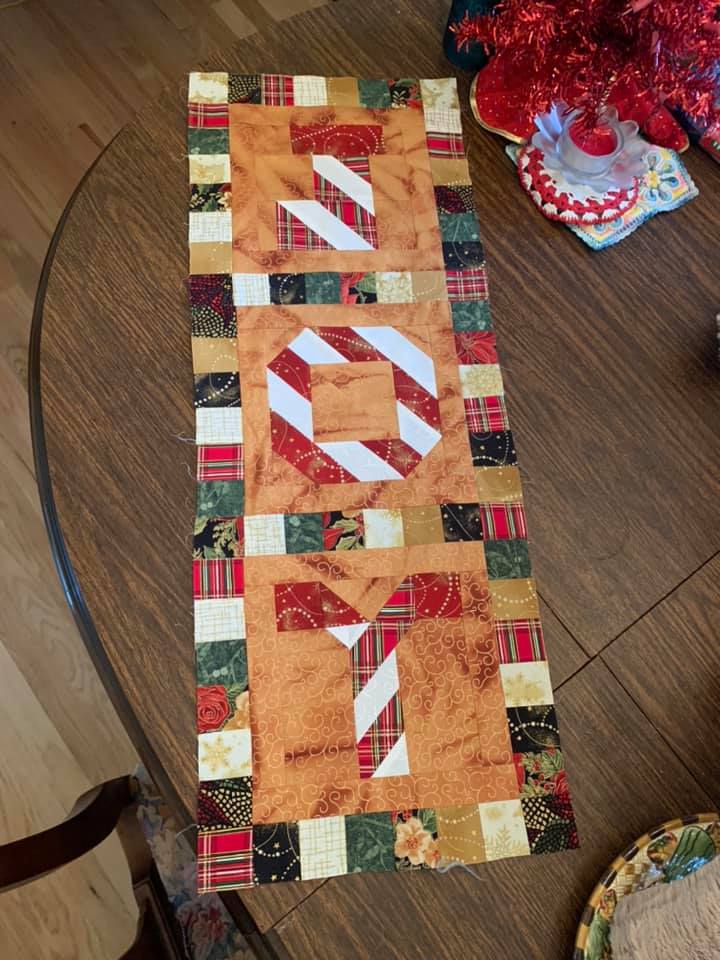
Scroll down for the Canday Cane Joy Tutorial!
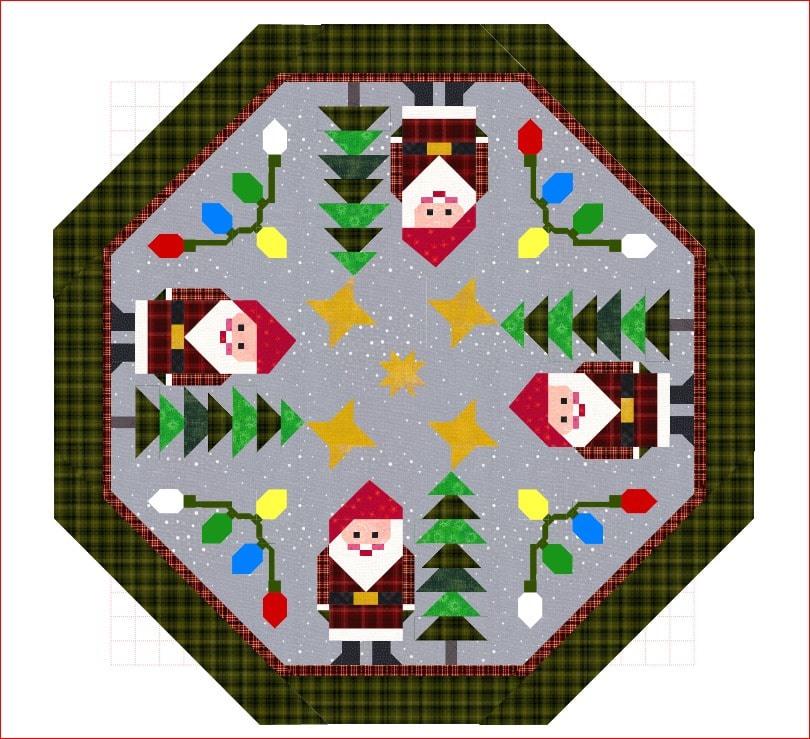
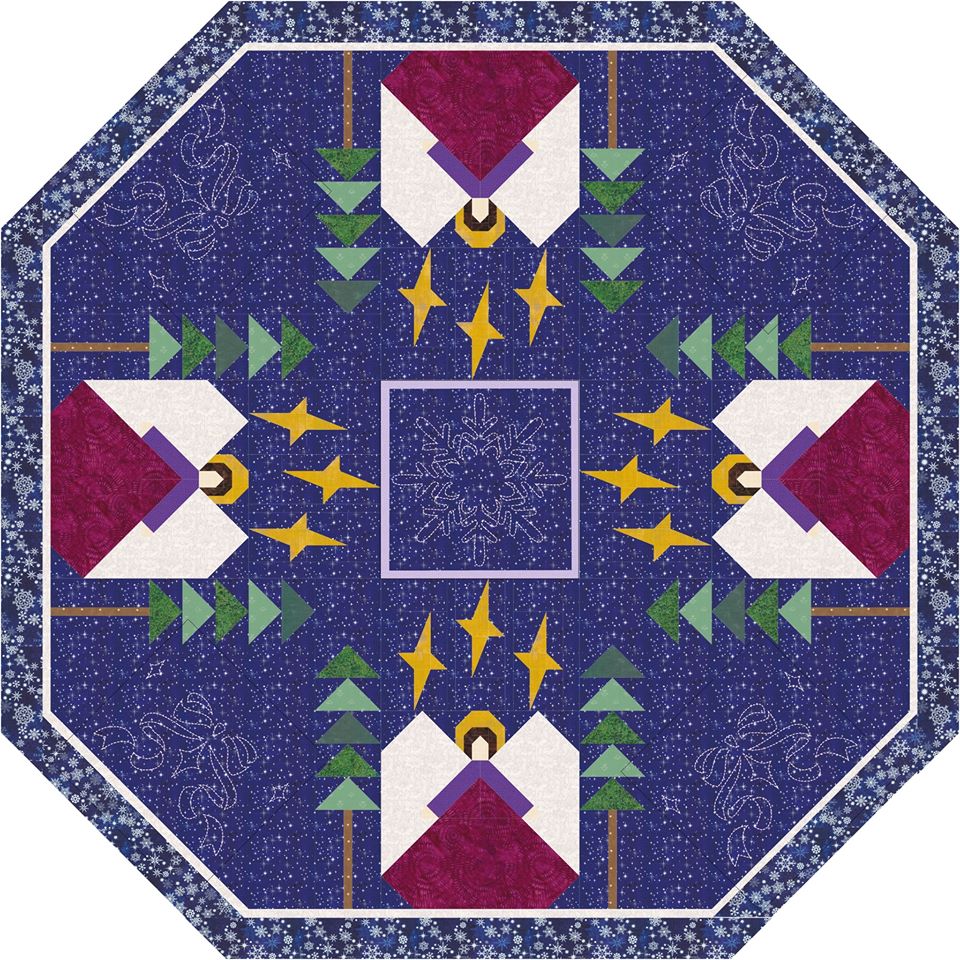
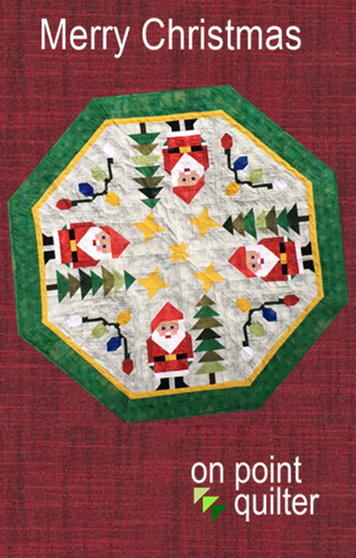
Converting Merry Christmas to a Wrap Around Tree Skirt
Step 1: Simplify the quilt. Eliminate the star in the center and replace it with a 4-1/2" x 4-1/2" piece. Eliminate one of the holiday lights blocks and replace it with an 8-1/2" x 8-1/2" piece.
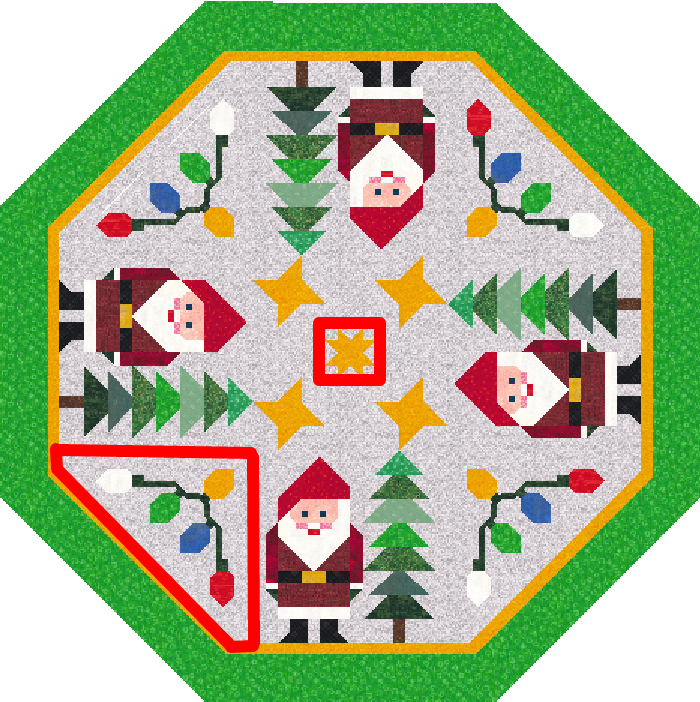
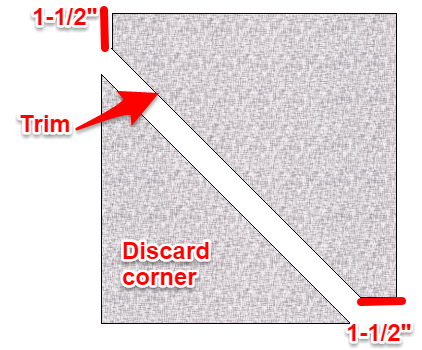
Step 2: Trim the 8-1/2" piece 1-1/2" from the upper right and lower left corners. Discard the smaller corner.
Step 3: Layer with batting and backing and quilt.
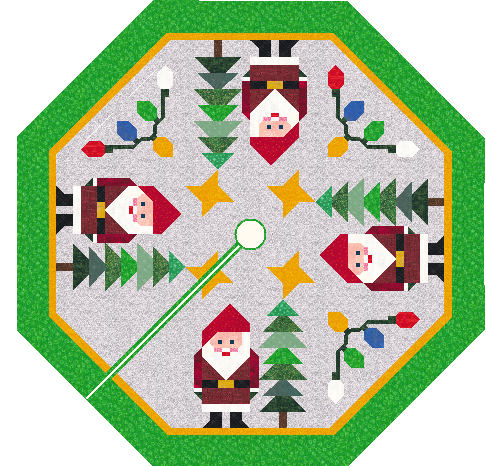
Step 4: Before binding, cut through all layers from the center of the edge with the plain setting triangle to the center of the quilt. Cut a circle 4" in diameter for the center. Depending on the size of your tree trunk you could make this larger or smaller. 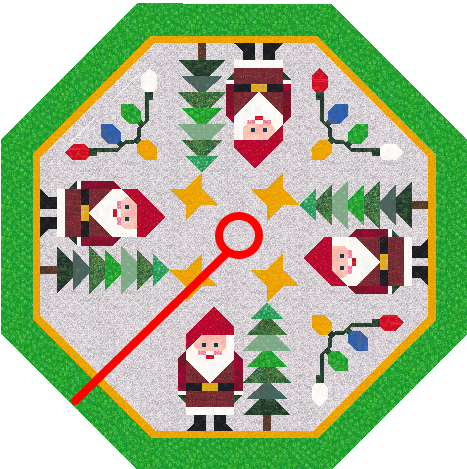
Step 5: Bind the quilt including both sides of the slice line and the center circle. Note that a bias binding would be easier to use for the center circle.
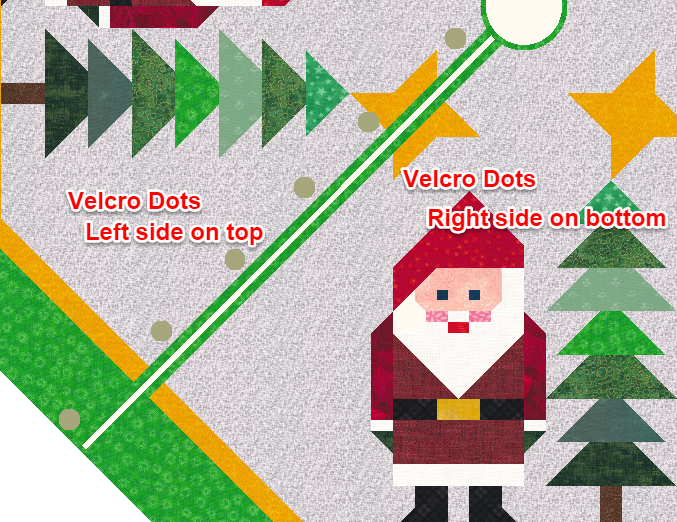
Step 6: Add iron on velcro pieces along the cut edge. Space them about five inches apart. The number needed will vary depending on the size of your quilt. The bottom velcro pieces (on the left side) should be applied to the top of the quilt and the top velcro pieces (on the right side) should be applied to the bottom of the quilt.
Joy Candy Cane Quilt
I went to the alphabet blocks and found a couple that I thought might work.
After some playing, I realized I couldn't nicely just add the candy cane stripes. So I decided to just start from scratch and create the blocks in Easy Draw.
My video tutorial this week will share with you how to draw these candy cane blocks for yourself.
Would you like to piece this quilt. Click on each image to obtain a download of the foundation pattern printed from EQ8 (9 inch finished size)

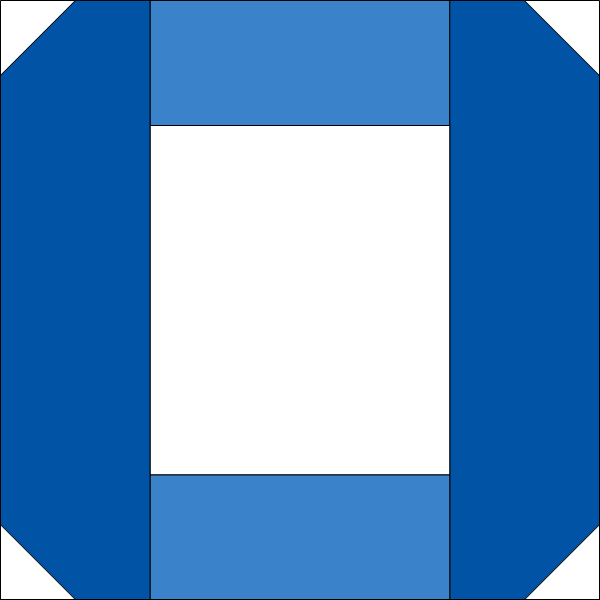
j Candy Cane Block (a variation of a block from the EQ8 Library)
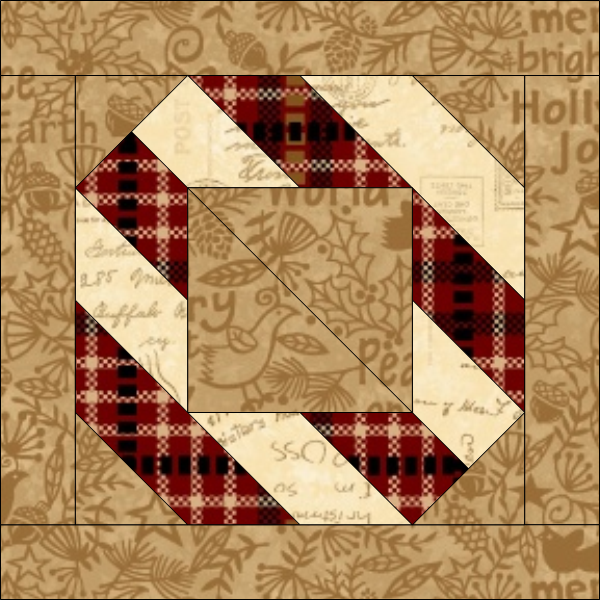
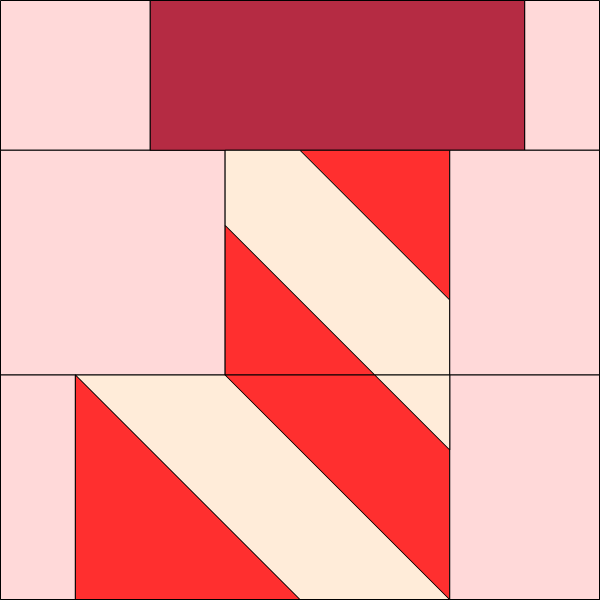
O Candy Cane Block Designed by Kari Schell
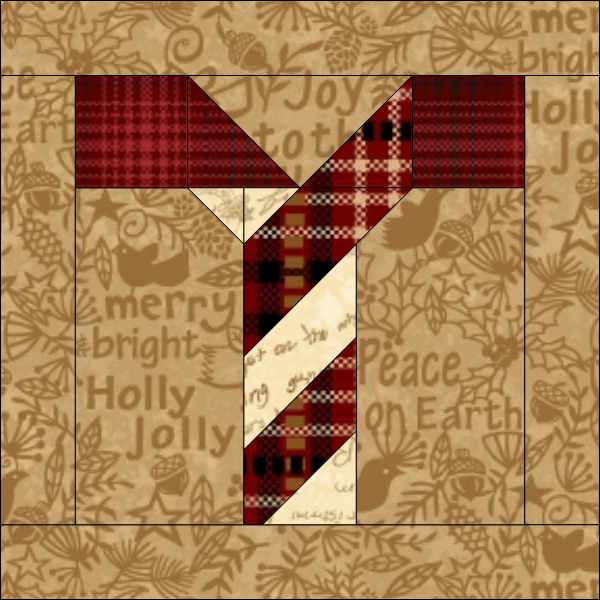
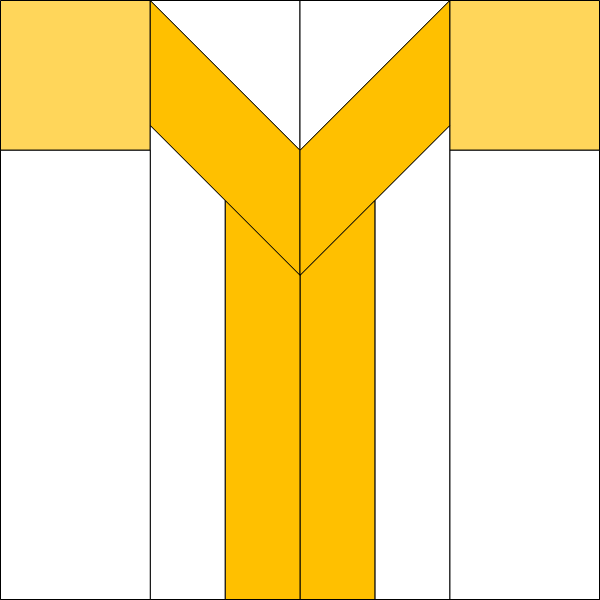
Y Candy Cane Block designed by Kari Schell

Sashing Foundation Block (finishes 9" x 1-1/2")
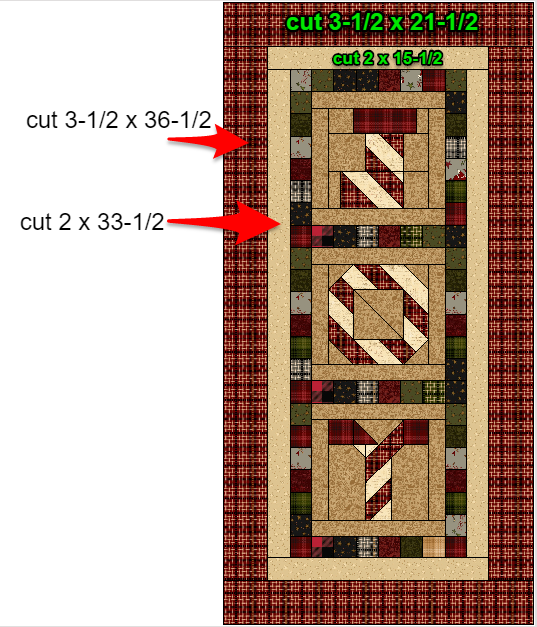
Joy Quilt - Border Cutting Instructions
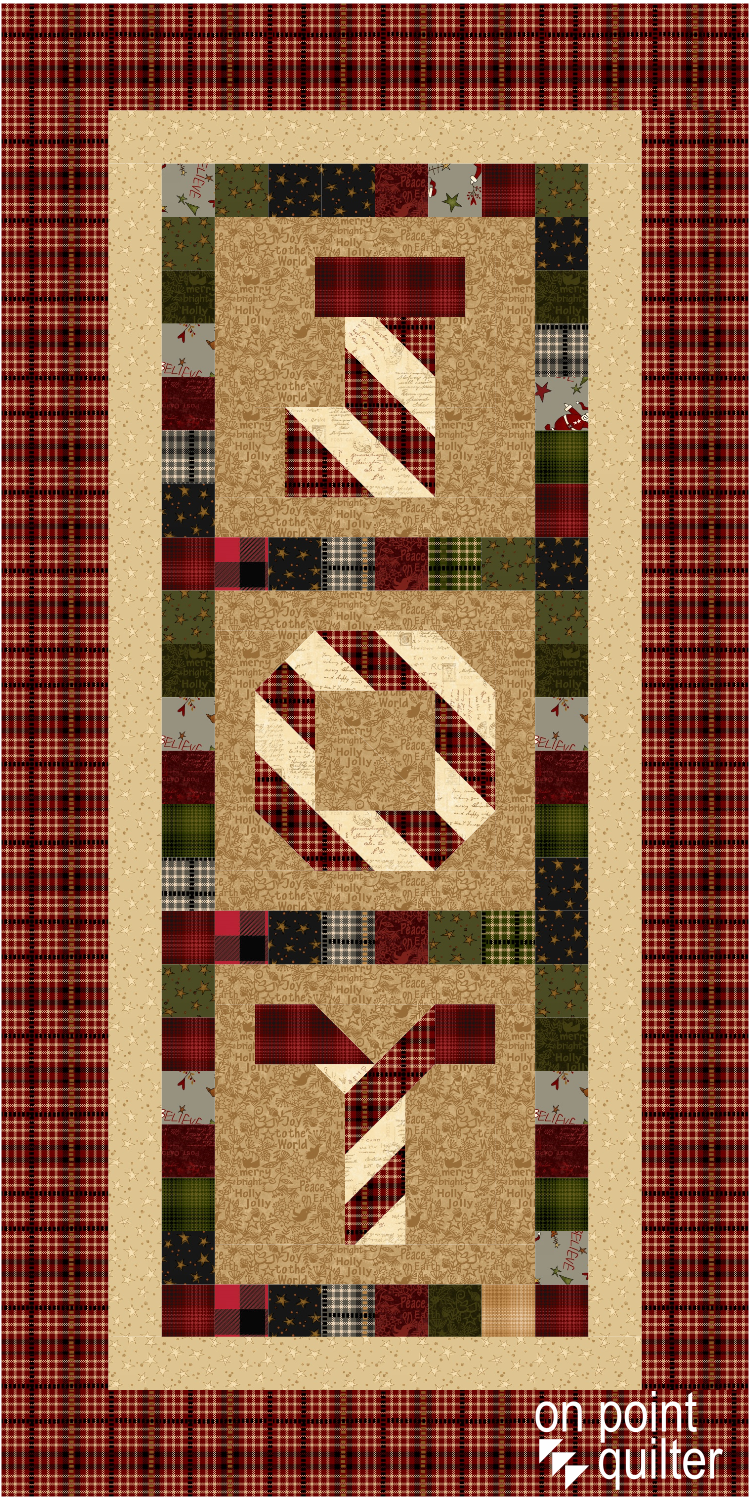
Joy Candy Cane Quilt by Kari Schell
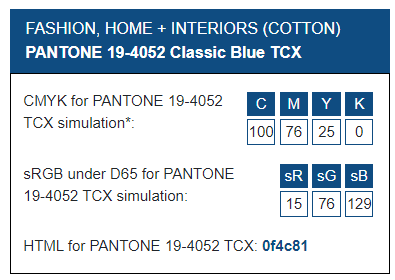
Pantone Color of the Year
My guess is that you will start seeing this color pop up everywhere -- including in quilts.
If you would like to be on the cutting edge in designing a new quilt for this color, start by adding the color and (related fabrics) to your EQ fabric library. See how in this video tutorial.
Here are a few of the fabrics that matched my search for Classic Blue in EQ8.
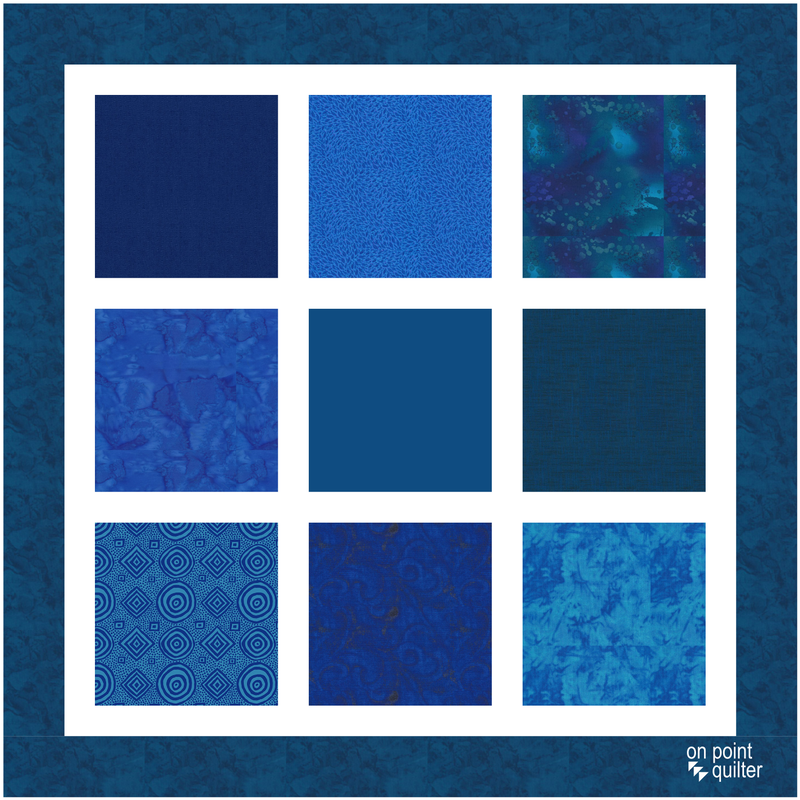
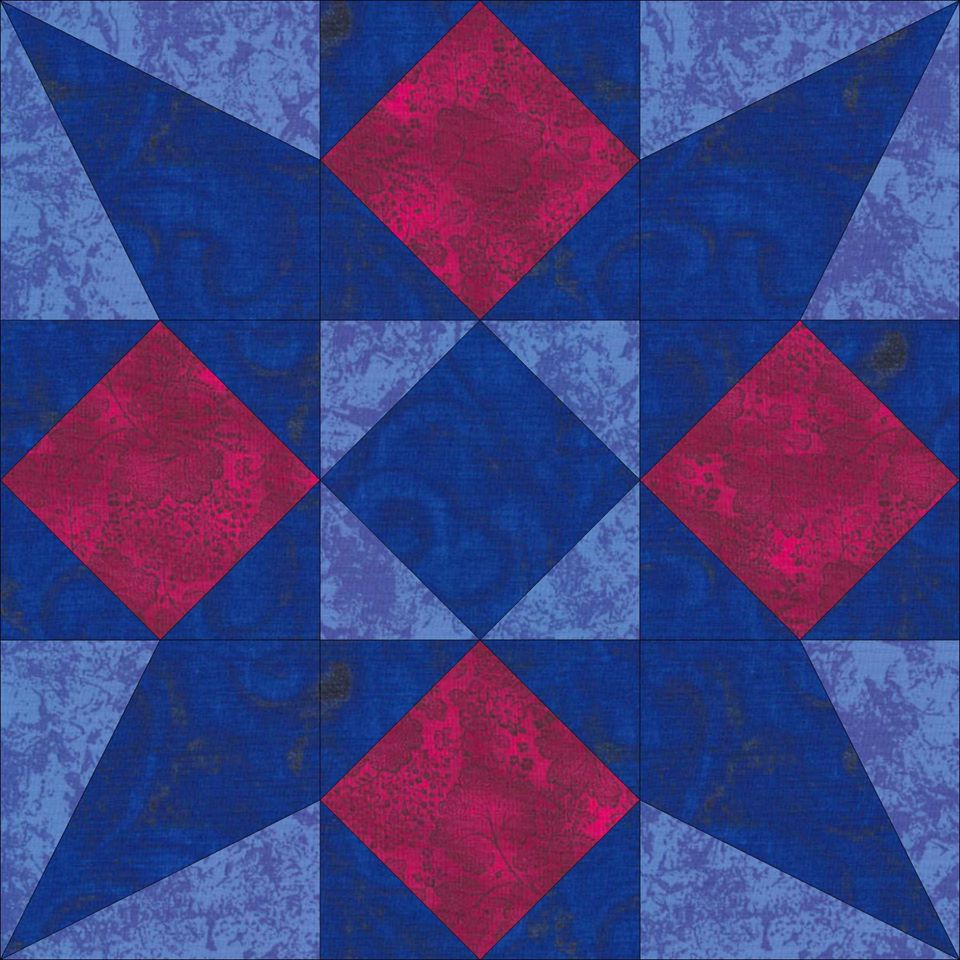
Kari's Pantone 2020 Quilt with Slate Blue.
If you have been thinking about joining Tech Know Quilters, please be sure to add yourself to the Tech Know Quilter Wait List. Prices are scheduled to go up in 2020 -- and there just might be a final opportunity to lock in on 2019 prices later this month.
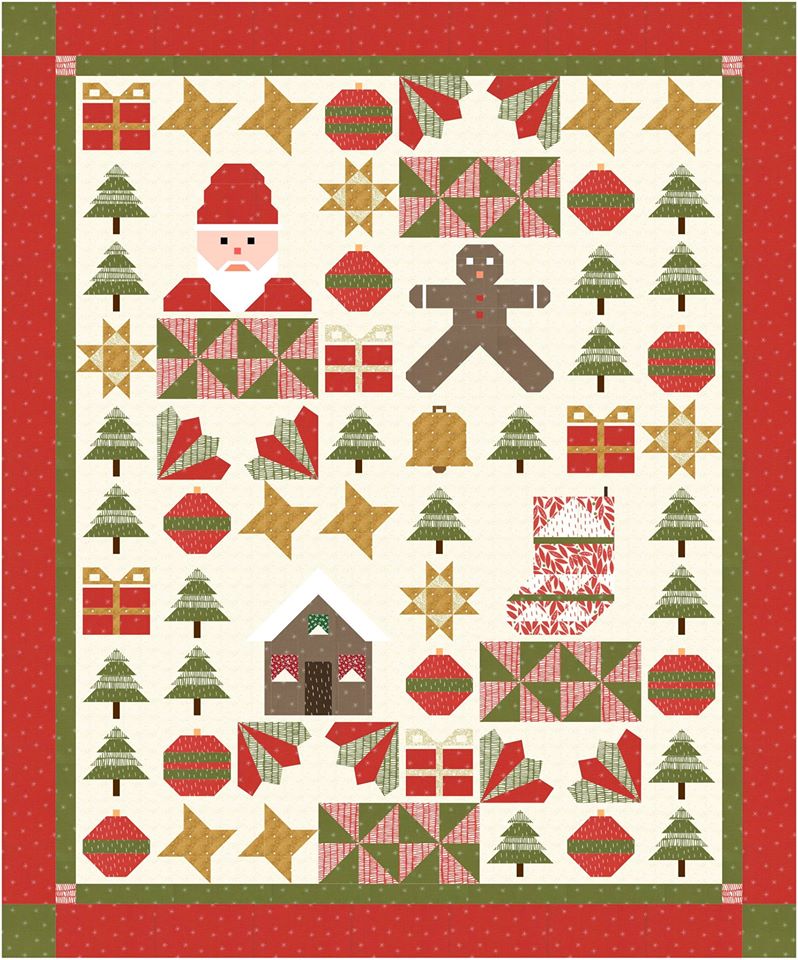
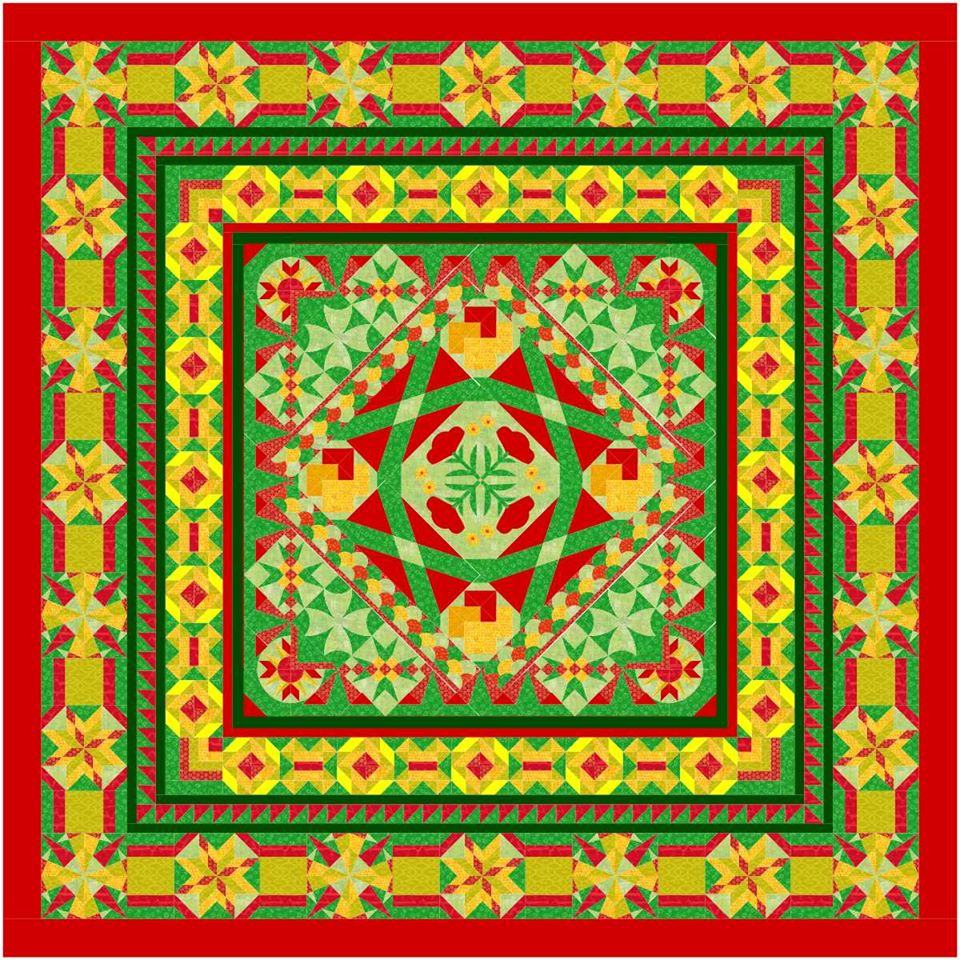
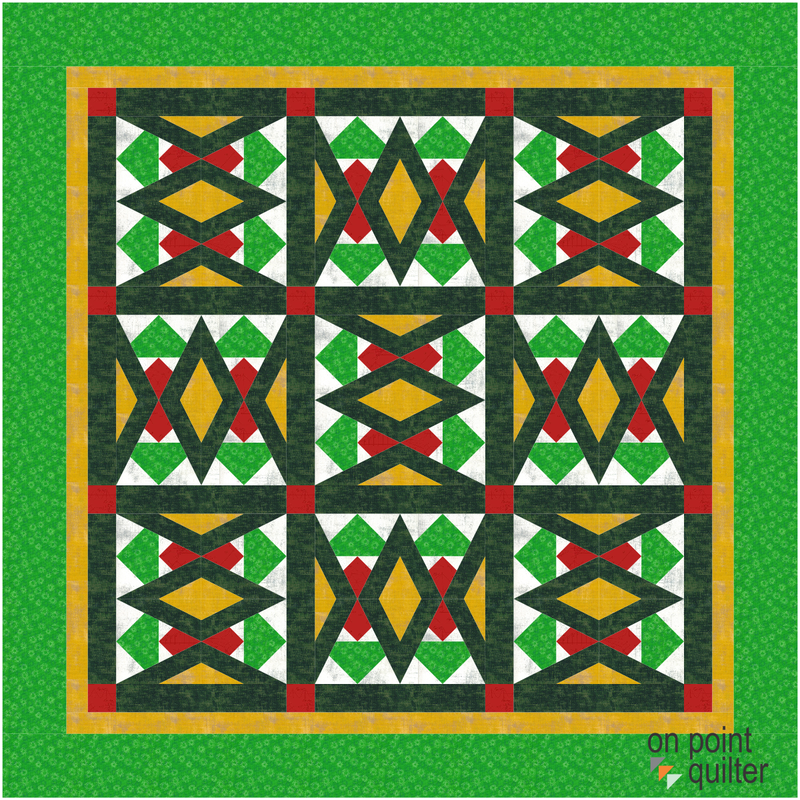
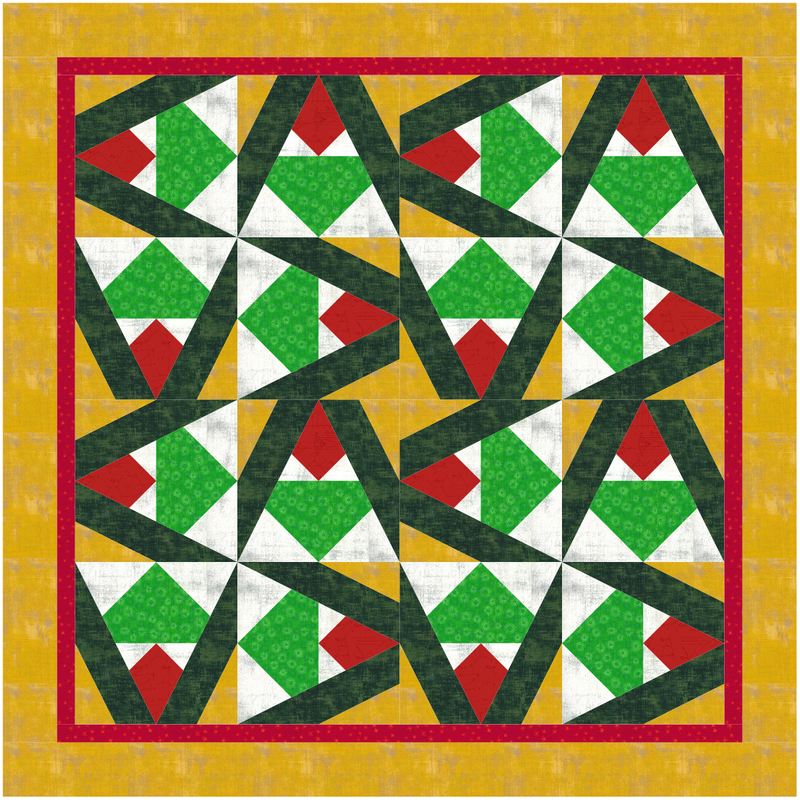
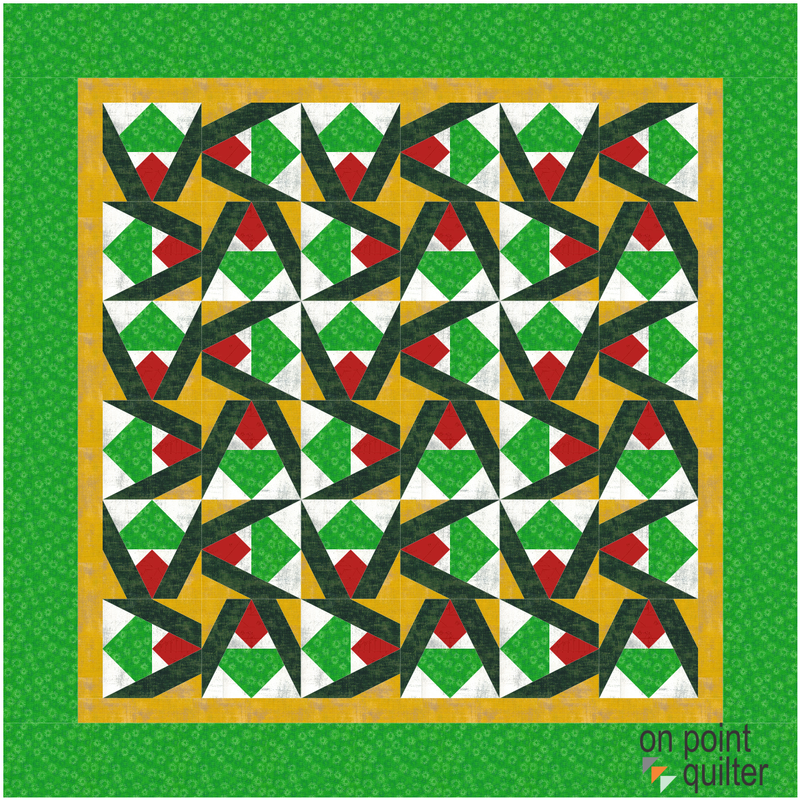
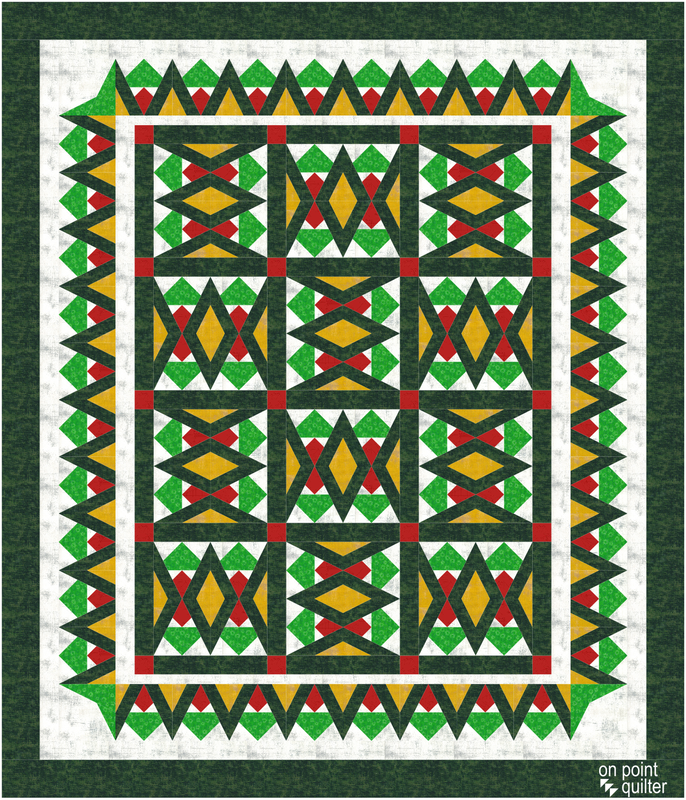
Merry Christmas - New Pattern Release
|

Free guide available for newsletter subscribers


Kari SchellElectric Quilt Expert and Educator and Pattern Designer. Categories
All
Archives
July 2024
|


 RSS Feed