|
I was going to label this post -- are you a cheater? Then remembering this is the internet and thought I needed to tone it down a bit. Back when I started quilting, I had a book from Mary Ellen Hopkins entitled "It's OK if you Sit on My Quilt Book". In this book she introduced the quilting world to connector corners. I think this may have been one of the techniques that revolutionized modern day quilting. Over the years I have heard a number of names for the technique including "cheater corner" and "folded corner". The technique refers to a method of adding triangles to a quilt block. It is frequently the suggested method for creating snowball blocks, square within a square units and flying geese units. Although I've used the technique over the years, I found that I would have some fabric slippage or I would stretch the fabric in the pressing process -- resulting in less than perfect results.
A couple of months ago my friend Karen S. introduced me to the Perfect Corner Ruler™. It is built off the Folded Corner concept. However the variation on the technique gets rid of some of the challenges with the folded corners. The Perfect Corner Method™ and Ruler™ were both developed by Ruthanna Grihalva, Forever In Stitches, LLC. 
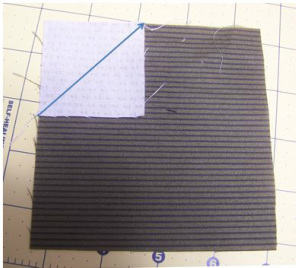
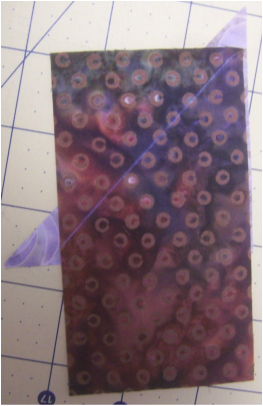
How to Use the Perfect Corner RulerUsing the ruler, draw a diagonal line on the wrong side of the base piece of fabric (this is the piece the corner will be added to). The measurement to use for this line is exactly the same as your folded corner measurement. 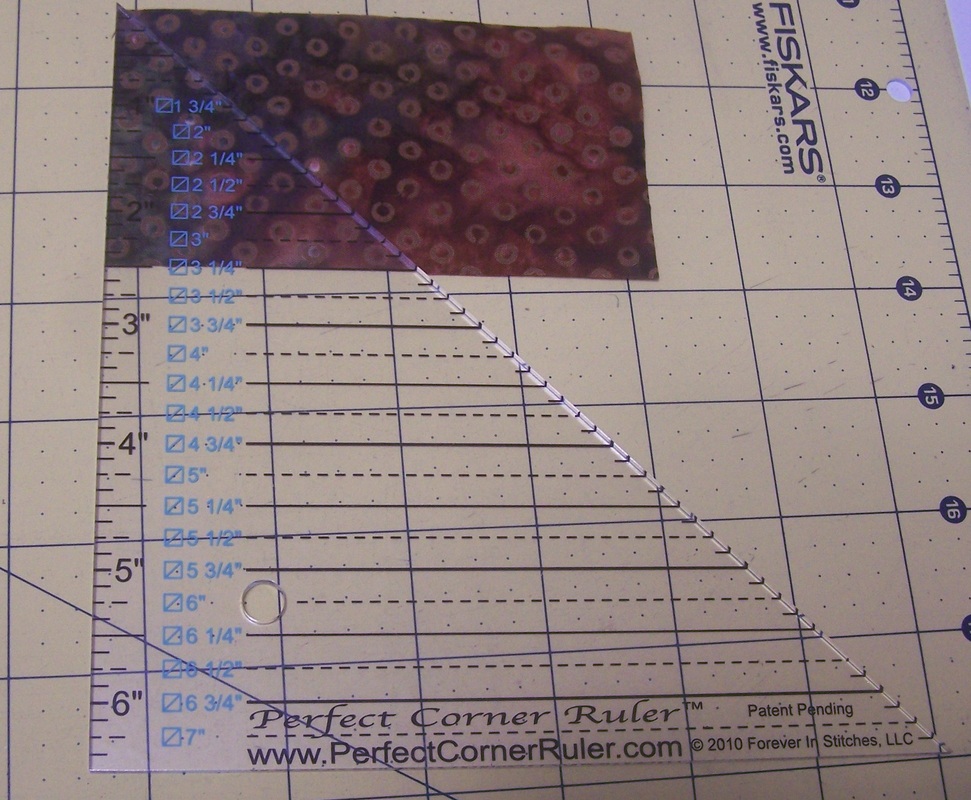
Perfect Corner Ruler Used to Draw Lines
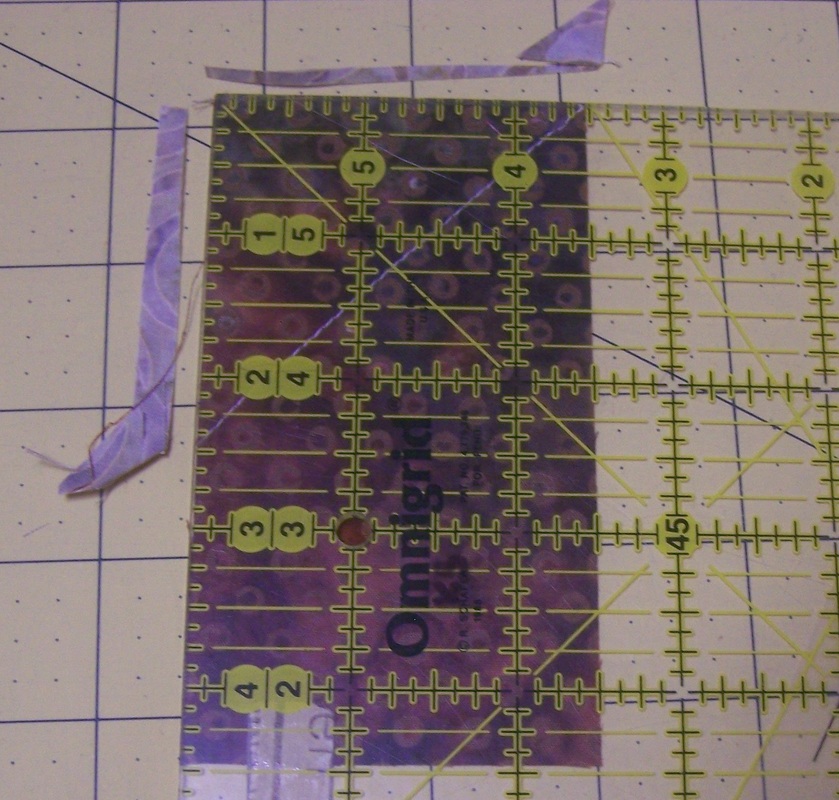
Cut corners. The square these corners are cut from will be 3/4" greater than the drawn line square. (The ruler will tell you what that measurement is. And when I incorporate these instructions in a pattern I do the same.) 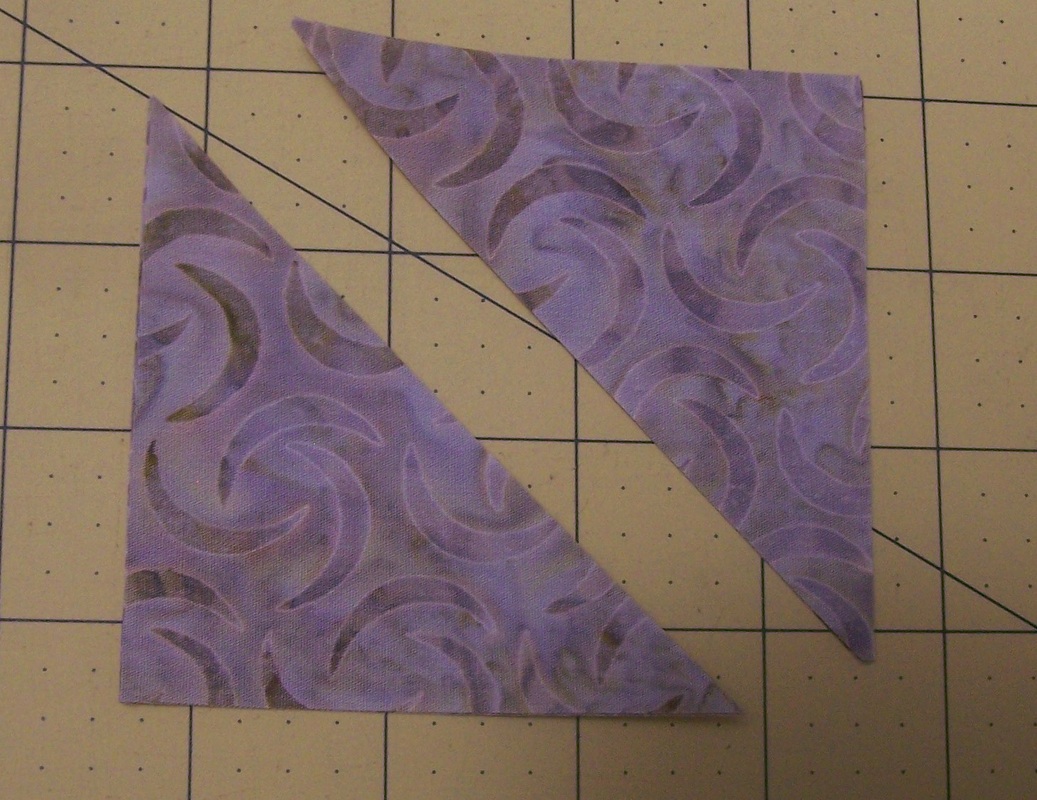
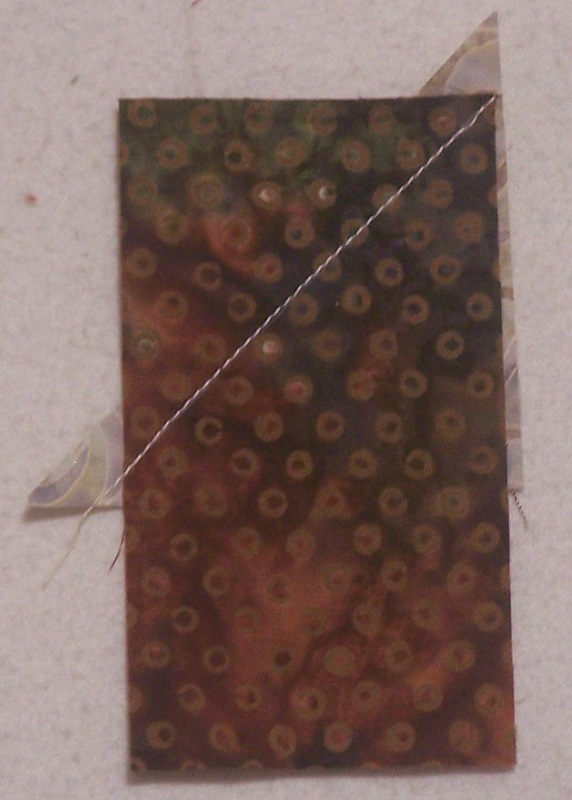
Place one of the Corner Triangles underneath the Base unit (right sides together). You will want to make sure that about 1/4" of Corner Triangle extends beyond the sewing line. The sew directly on the line.
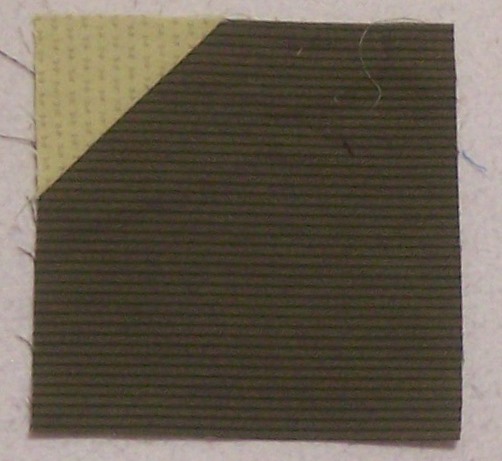
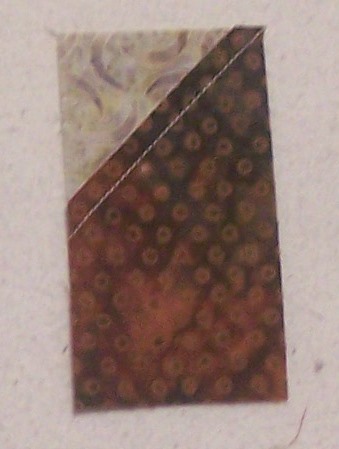
Fold the Corner Triangle into position. An added benefit is that the seam allowance can be pressed either away from or towards the corner. 
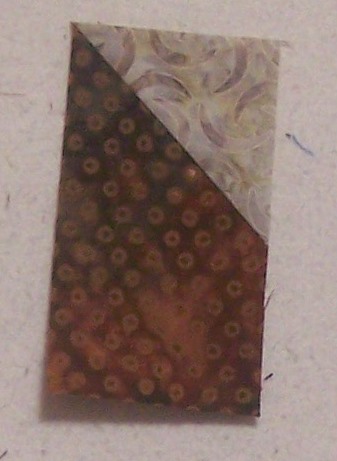
Unit with Perfect Corner after Pressing
Here is the MAGIC! Align a square ruler to the original size of the Base Unit and trim off the excess Corner Triangle fabric. Finish by folding the Corner Triangle down out of the way and trimming the excess base unit fabric.
I have found that I am more accurate when I use this technique. It can be done without the "official" ruler -- but I can't resist adding another tool to my quilting supplies. And I think the ruler makes the process go a little bit faster. I've incorporated the technique in my latest pattern - Theodore, Ted and Tad Bowties. Take a look if you are interested in a fun "guy quilt". 
Theodore, Tad and Ted Bowties - Miniature Version
On Point Quilter Goes SocialI officially launched my Facebook page this week. To celebrate I will be doing a drawing for all my Facebook fans. The winner will receive copies of my two latest quilt patterns (It’s a Mystery and Theodore, Ted and Tad Bowties) along with the Perfect Corner ruler which can be used in the bowtie quilt. Like my page by November 17th to be eligible. 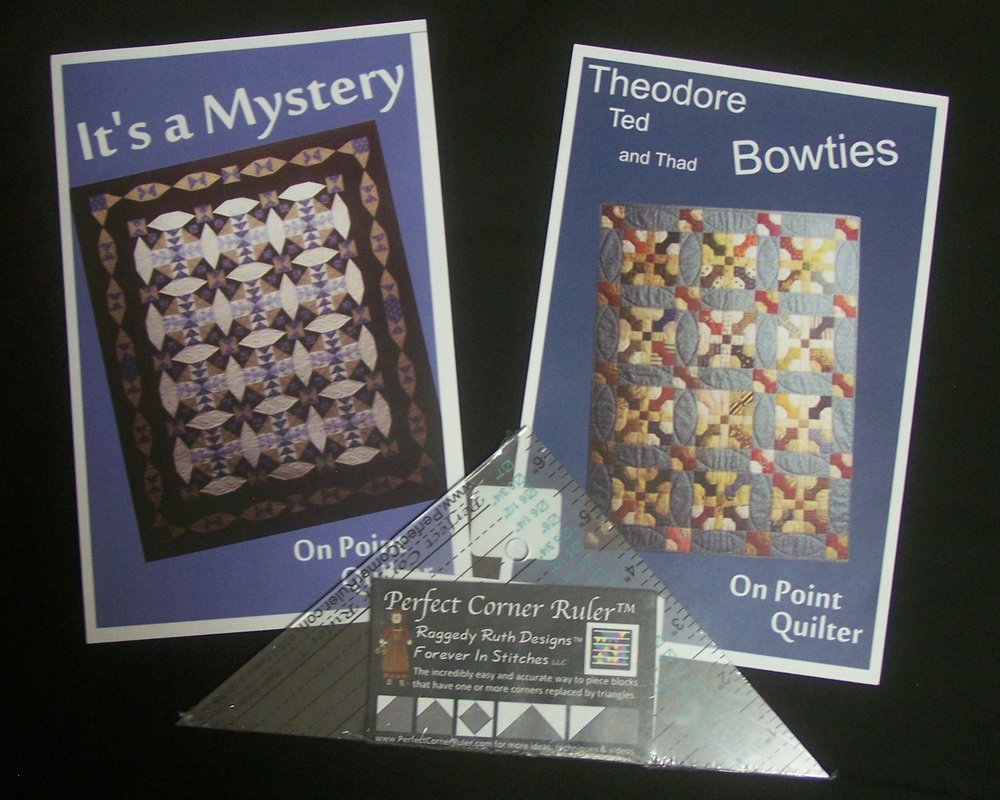
Facebook Giveaway
Happy Quilting.
Exciting news. I've just finished my first You Tube video. It is on a technique I frequently use in pressing my quilt blocks. I call it either a split seam or twisted seam concept. I used this technique in my latest pattern - Tad Ted and Theodore Bowties. 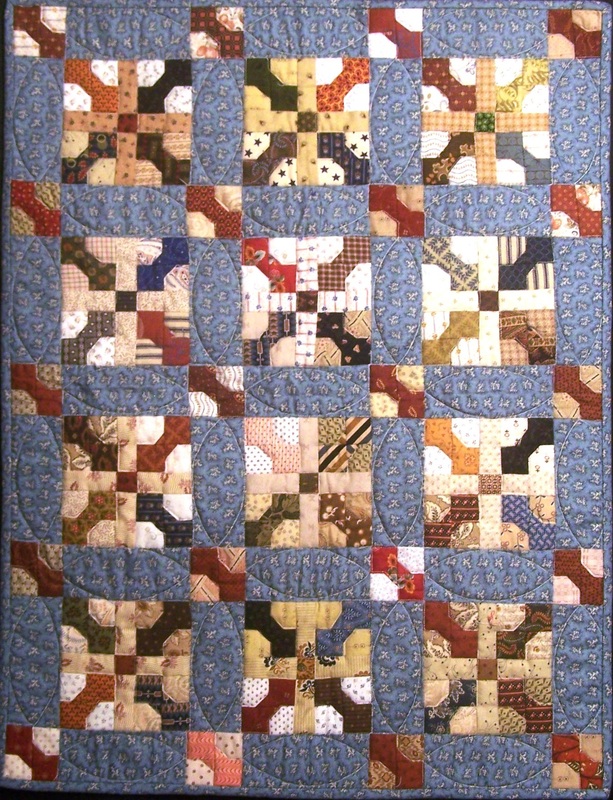
Tad, Ted and Theodore Bowties
There are three different size blocks (2", 4" or 6"). The finished projects have exactly the same layout -- but the size of the block determines the finished size. The 2" Tad bowties produces a miniature quilt (22" x 29"). The 4" Ted bowties produces a 44" x 58" quilt -- perfect for a baby quilt. The 6" Theodore bowties result in a 67" x 87" quilt which would be a great lap quilt. My version was the miniature. I did some basic quilting on this one -- stitch in the ditch around the bowties and arcs in the sashing. Even though it is a small quilt -- I still quilted this on my APQS Millennium with Intelliquilter. Happy quilting.
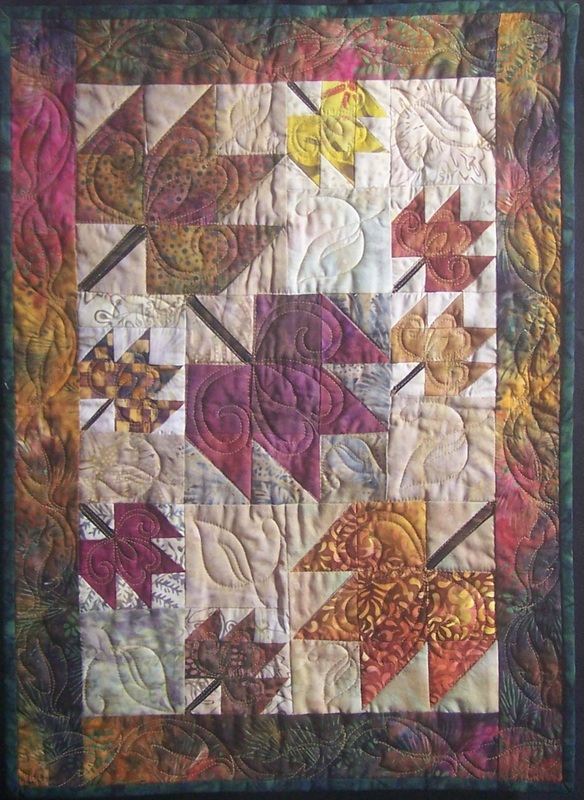
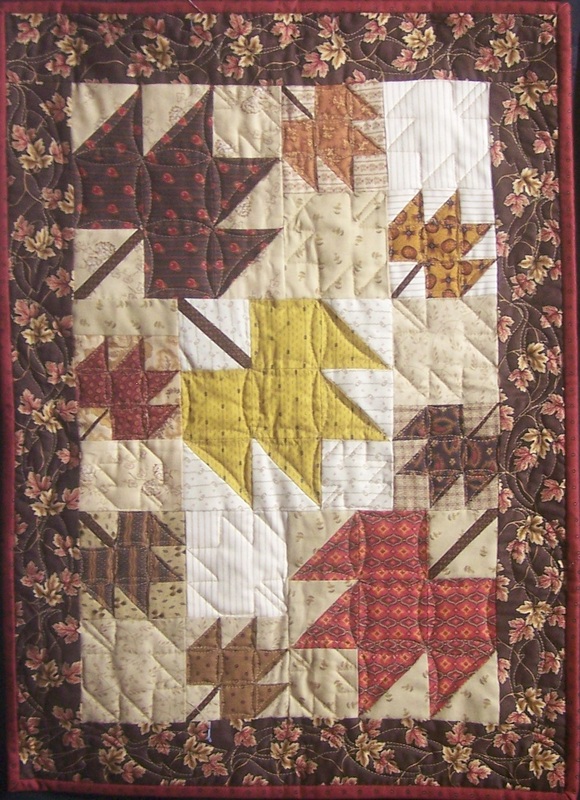
Kari You may have noticed that I now have a sign-up form on my website. This will allow you to receive e-mails from me which includes updates for my latest blog posts. I would love to get as many of you signed up as possible. To provide an added incentive for you to sign-up I would like to offer you a copy of a new pattern I just released entitled Maple Leaf Fun. I designed this quilt to hang on my Mom's door to celebrate fall. It measures 16" x 22" and would also work well as a small table runner. Fall is my favorite time of the year. So I had to make two versions of this quilt. One in batiks and one in Civil War reproduction prints.
This project was actually a variation of a quilt we did for our Pastor and his wife to celebrate their retirement. For that quilt we added a 9" maple leaf block. We asked each person participating in the project to bring fat quarters of fabric. We had lots of new quilters participate in making the quilt and they did a fabulous job. We even had a number of younger kids that served as "runners" to keep the blocks moving between the teams. 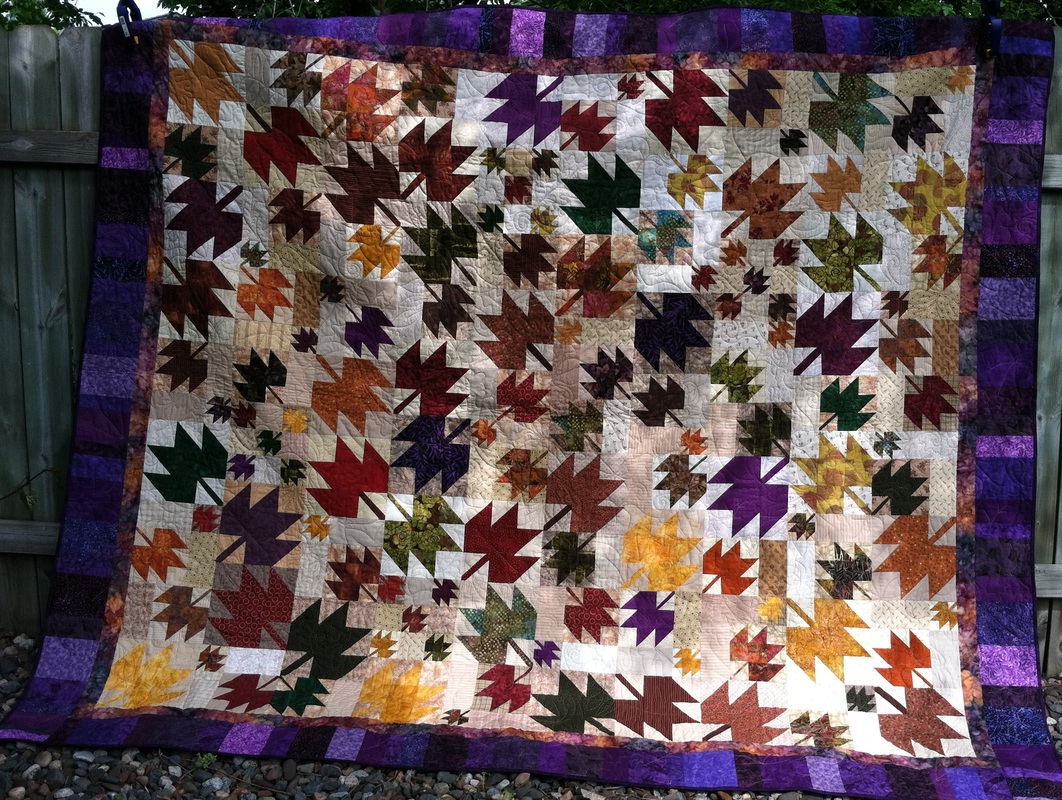
Bruce and Julie Retirement Quilt
I hope you enjoy the free project.
Happy quilting. Kari |

Free guide available for newsletter subscribers


Kari SchellElectric Quilt Expert and Educator and Pattern Designer. Categories
All
Archives
July 2024
|
 RSS Feed