|
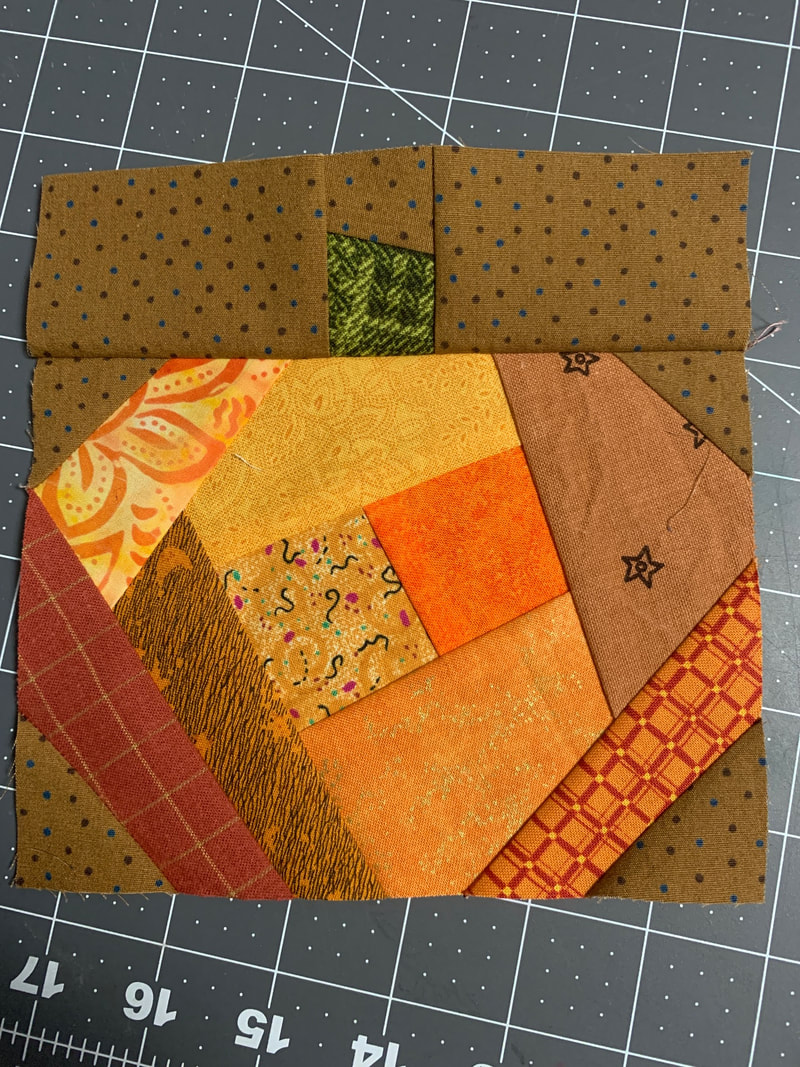
The current challenge to Tech Know Quilter Masters members is to create their own pumpkin blocks and quilt. A very appropriate challenge for the month of October. I have been seeing some phenomenal submissions and look forward to sharing their ideas once the challenge is complete.
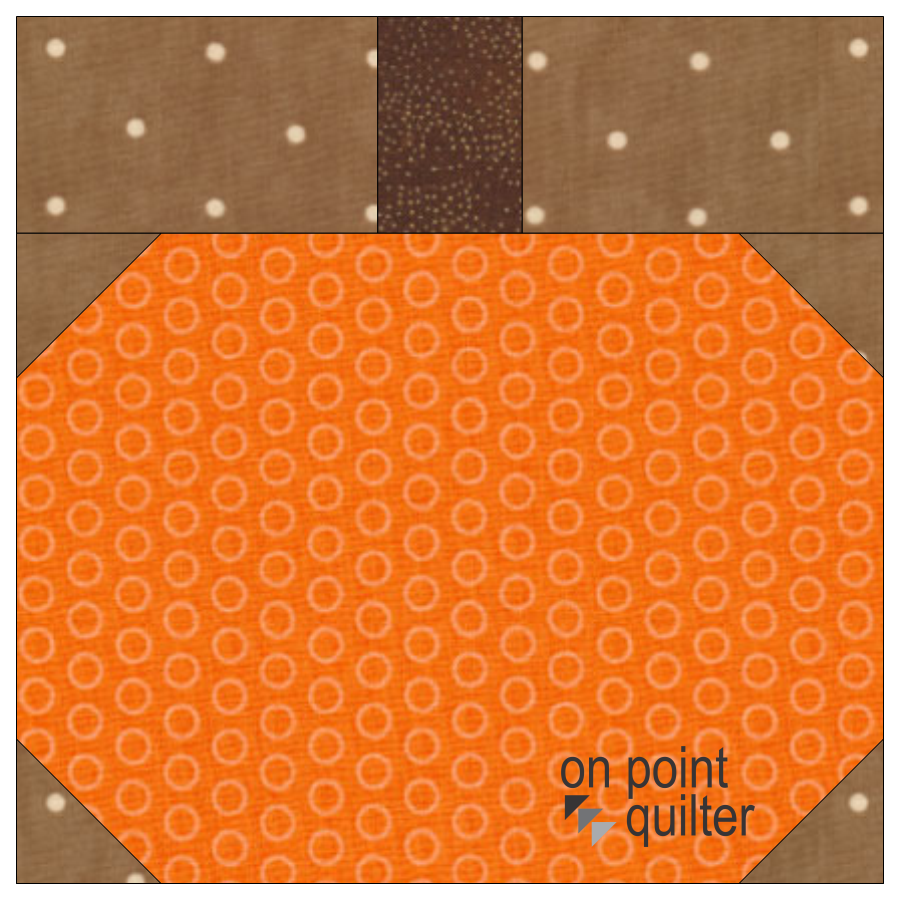
I decided to challenge myself to create a pumpkin block. I started with a simple block that would be easy to piece.
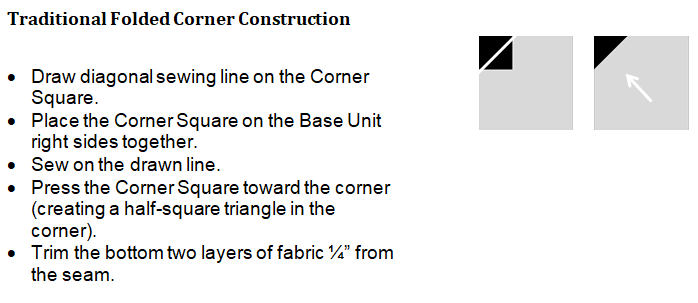
However, as quilters we may wish to select a different piecing method (not considered by EQ8). For this block, I would cut the orange piece 5" x 6-1/2" (1/2" larger than the finished design size of the lower section of the block). Then I would add 1-1/2" x 1-1/2" folded corners (sometimes called flippy corners or cheater corners) to each corner of the orange rectangle.
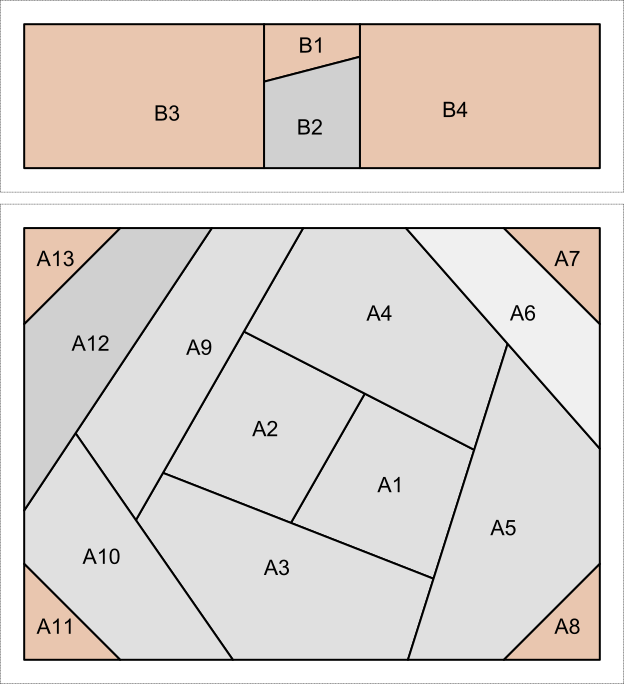
When I alter the EQ cutting chart, I will often print out a picture of the block and note the cut sizes on the picture (as shown below). 
If you haven't used folded corners, it is a very efficient want to work with patches with 45 degree angles. Here is how to construct a folded corner.
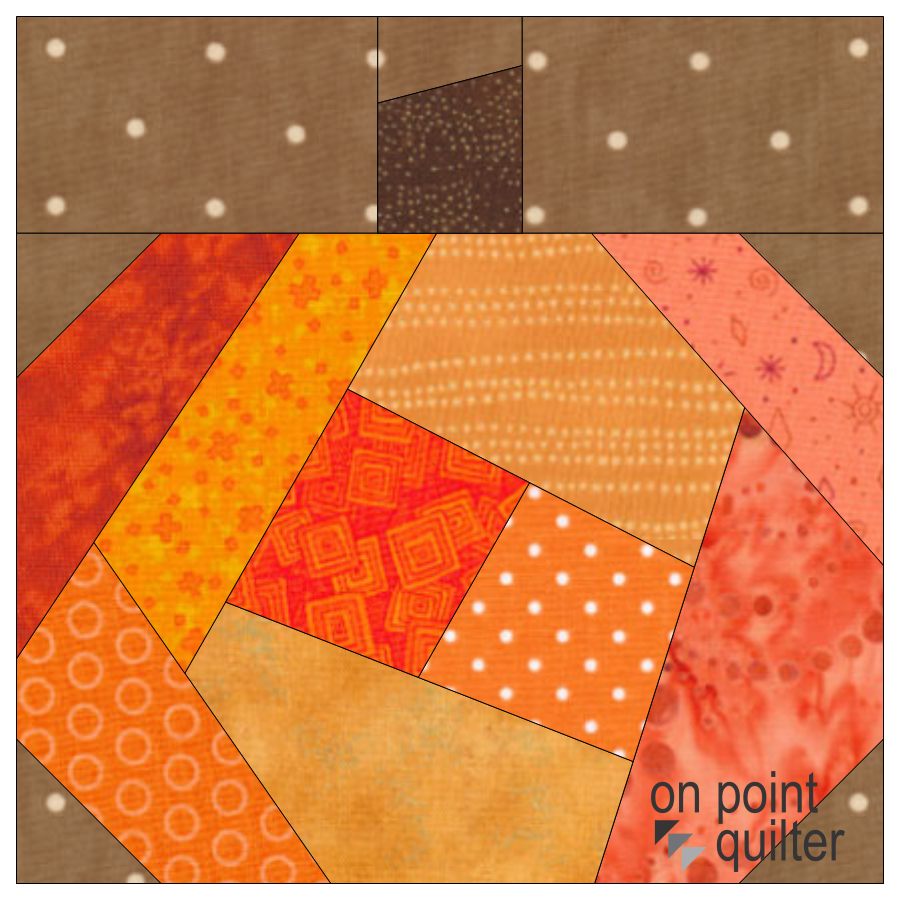
I then challenged myself to create a slightly more interesting pumpkin.
Click on the photo to get a downloadable PDF to use in piecing your own pumpkins.
Pumpkin Time Electric Quilt 8 Tutorial
Would you like to see how to draft the two pumpkin blocks using EQ8? The tutorial includes practical tips on how to minimize the number of sections in your foundation block along with tips for finding coordinating fabrics from the EQ library.
Would you like to learn more about either Shoot for the Stars with EQ8 or Tech Know Quilters?
I suspect you will find the process of creating foundation friendly pumpkins very addictive. I would love to see your foundation friendly pumpkins. Feel free to post in the Learning EQ Facebook group.
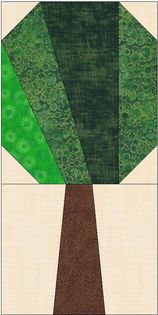
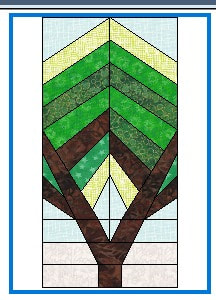
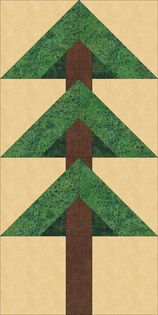
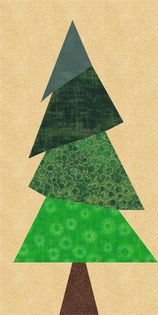
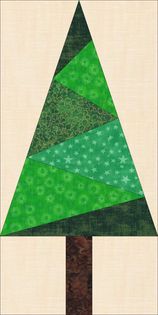
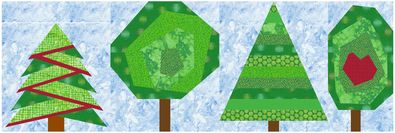
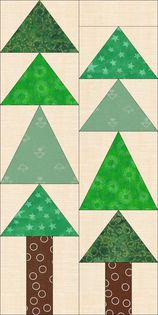
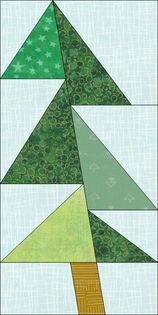
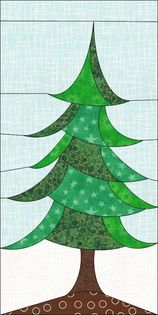
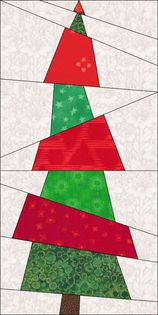
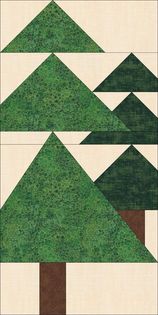
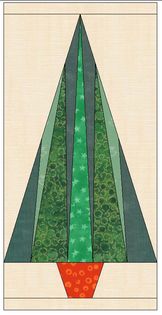
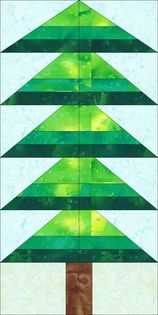
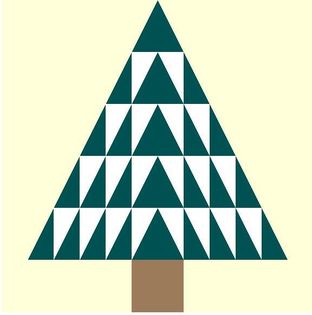
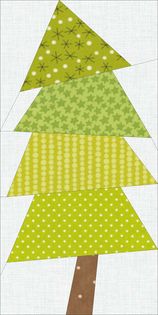
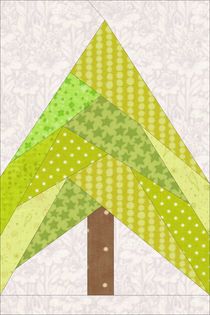
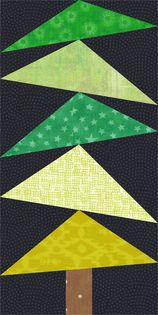
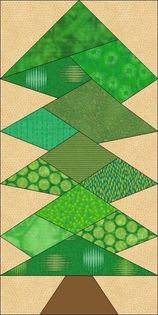
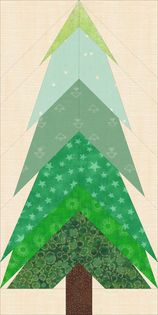
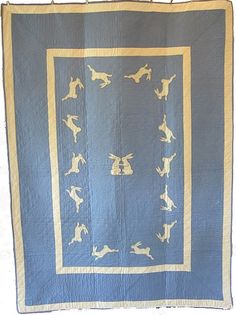
Tech Know Quilter Foundation Friendly Tree Challenge
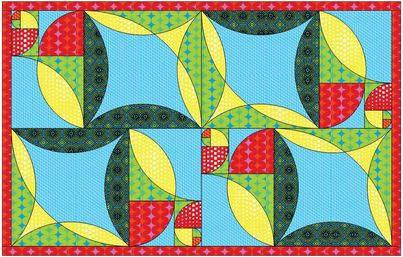
During the Foundation Class offered in Tech Know Quilters, members were challenged to design their own tree block. Back when I originally released the Tech Know Quilter's Foundation Blocks class, I had done a show of many of their designs.
These are all new designs created by students who have subsequently gone through the class. Love their creativity.
Are you interested in learning more about the Tech Know Quilter group.
You can learn more and sign up for the wait list for the next open enrollment period here.
 Make sure to use code SEW25 when checking out to receive your savings. Make sure to use code SEW25 when checking out to receive your savings.
Block Base+ is on sale this weekend (through October 16, 2022). And you may be wondering if the software is right for you. In this blog post, I will be sharing information about the software (there are some really great features) along with providing you a tutorial on how I integrate the Block Base Plus with Electric Quilt 8.
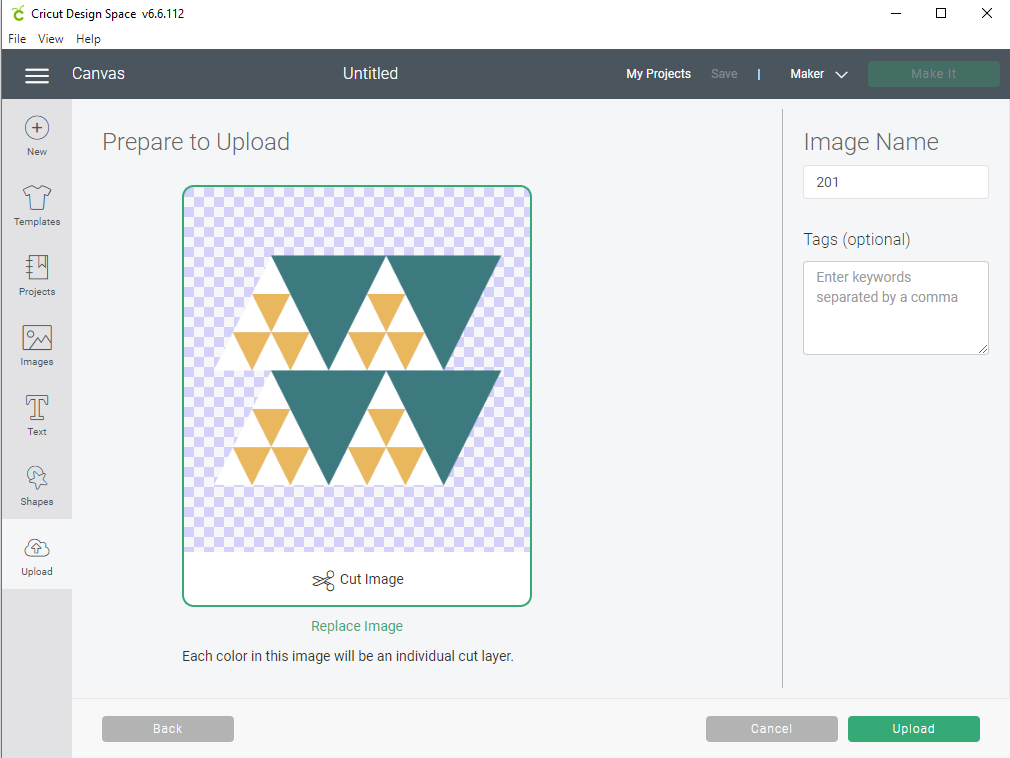
Block Base Plus is based Barbara Brackman's Encyclopedia of Pieced Quilt Patterns. This book is the perfect resource for identifying 4000+ historic blocks plus the names and publishing information. I decided to check things out by selecting a block that wasn't a standard square or rectangle size as they can sometimes be the most problematic when creating a usable quilt and extracting construction information. So I chose Barbara Brackman's Block 201 named either The Pyramid (by Yvonne Khin) or Sugar Loaf (by Nimble Needle Treasures).
#1 Historical Information About the Block
Information on the block is easy to read (so much better than the original Block Base) to assist in determining both who published the block and the time frame of publication. This is helpful in determining if I need to do additional research on potential copyright issues. 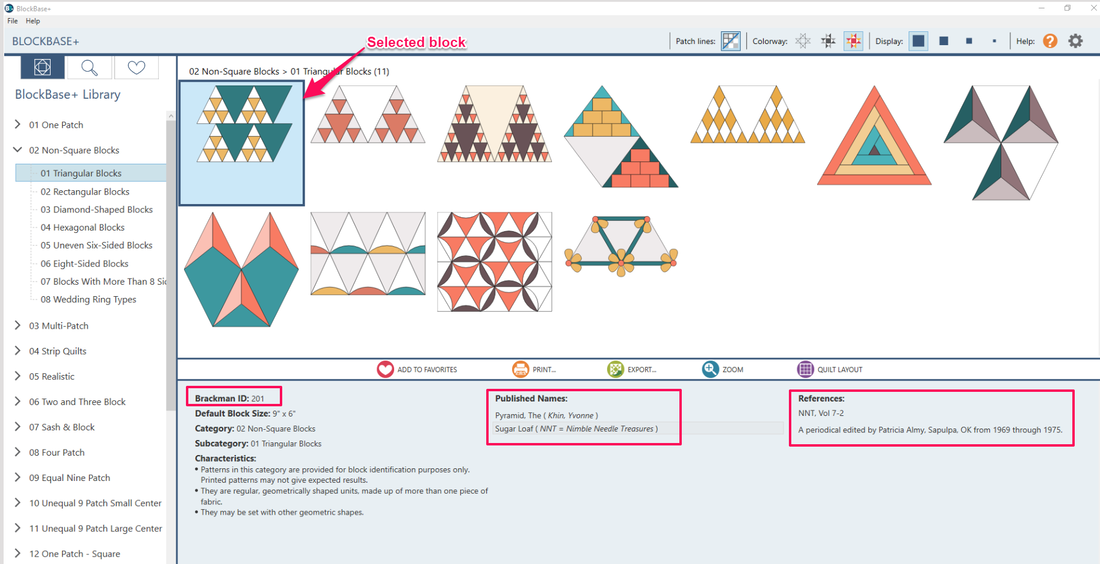
Block Base Plus Layout
#2 Ability to Export an SVG File
Since I have been cutting out some patches on my Cricut Maker, this was probably the most intriguing of the new features. The SVG export will also work with Silhouette Studio or Brother Canvas software. This feature will make it super easy to cut out the blocks using an electronic cutting system. We are given options to cut out the block image (without seam allowances) or to upload templates (with a seam allowance) and choose between export all or unique templates. 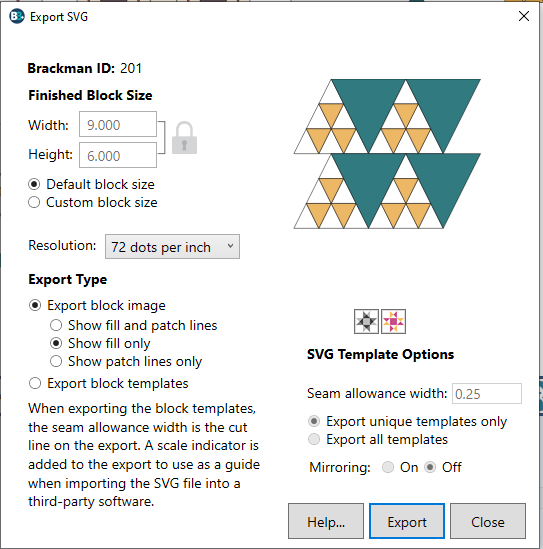
SVG Export Dialogue box from Block Base Plus
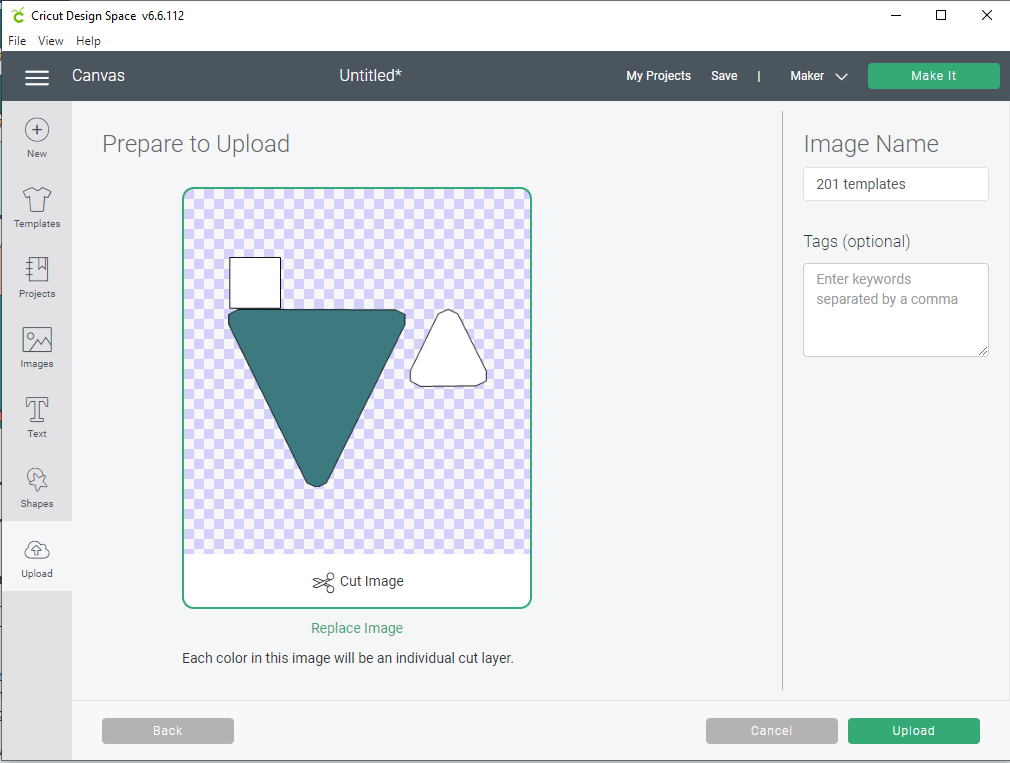
To test the SVG export feature, I decided to export both the block and the templates from Block Base Plus and then did two imports into Cricut Design Space (my preferred cutting system as Cricut has this amazing rotary cutting tool).
I was pleasantly surprised to find that both SVG files uploaded at the correct size -- something of a miracle as I had been reading about problems with the newest updates to Design Space that were causing problems with sizing.
However, I also appreciated that EQ also includes a test square in the template export so we can double check that the sizing is correct before cutting out a lot of fabric pieces. This is always important to test, because who knows what will happen in the next release of Design Space. 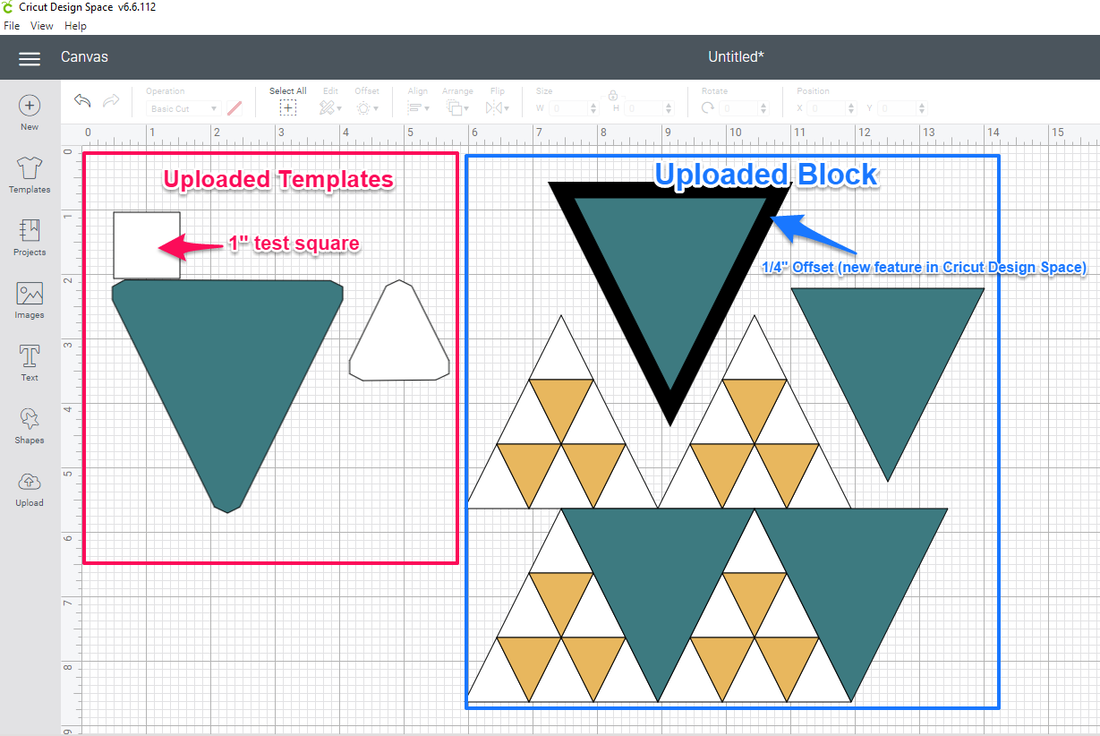
Cricut Design Space Worktable after adding the EQ Files
I also used this upload as an opportunity to test a new feature (to me) in Cricut Design Space -- Offset. Offset adds extra space around a patch -- basically think of this as the ability to add a 1/4 inch seam allowance. It doesn't give you the blunt corner lines like the Block Base templates -- but I still appreciate this added functionality.
#3 New Printing Options
In addition to the printing options we find in Electric Quilt 8 (block, foundation pattern, templates and rotary cutting), EQ moved rotary cutting in Block Base Plus to a whole new level. In the rotary cutting dialogue box, we can input the block size, seam allowance, number of blocks and usable width of fabric. 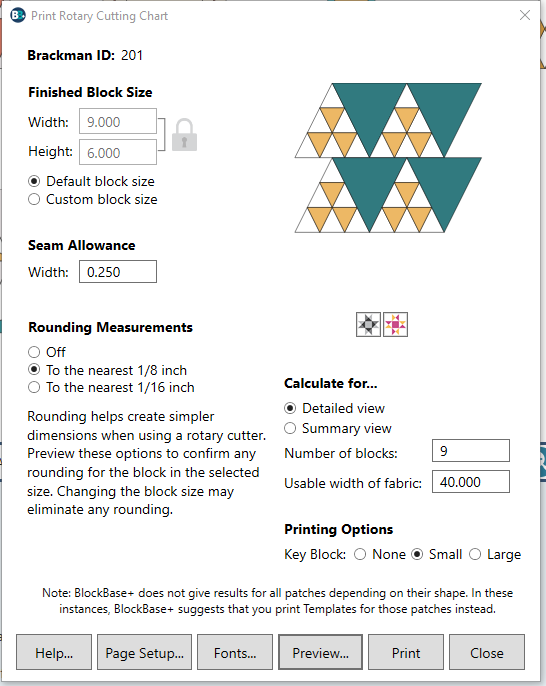
Block Base Plus Rotary Cutting Dialogue Box
I will admit that I am really loving this added functionality and look forward to the possibility of it being added to EQ sometime in the future. A girl can always wish for more. :)
#4 Integration with Electric Quilt 8
Although Electric Quilt 8 is not required to use Block Base Plus, I found that the integration is seamless. Block Base Plus is easily linked to Electric Quilt 8. Which means you can import any of the blocks in Block Base Plus into an Electric Quilt 8 project. This will allow you to both modify the blocks and recolor them using fabrics of your own choosing. (If using Block Base Plus as stand-alone software, you do not have the ability to modify or recolor. Although you can resize.) One of those pleasant surprises is that Electric Quilt redrew many of the non-standard blocks using PolyDraw and Applique tools. This is particularly beneficial for the blocks that are not square or rectangular in format. Often these will fall into the 01 One Patch and 02 Non-Square Blocks categories in Block Base. The original Block Base had these blocks drawn in EasyDraw -- which meant they had a background around their irregular shape. This background could not be removed and auditioning the blocks in a quilt layout was problematic. In my video tutorial, I will share how I added the #201 Block Base Plus block to an Electric Quilt Project file, set it in a Custom Set layout and then modified the block for an entirely new quilt.
Here are the adjusted blocks from my EQ file.
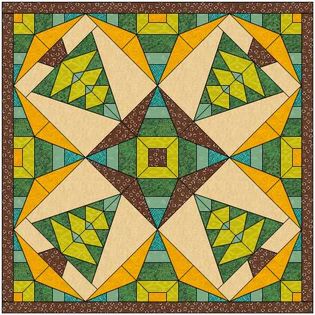
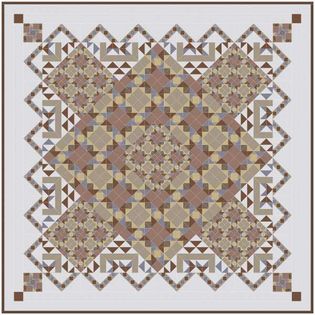
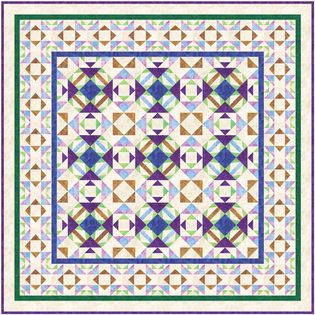
Here is the modified Sugar Loaf Quilt.

Modified Sugar Loaf Quilt designed by Kari Schell using BB Plus #201 block
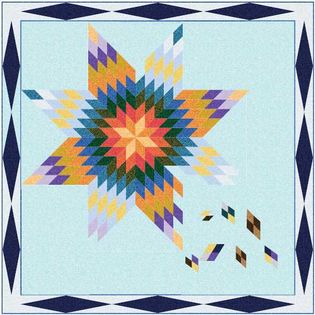
Historical Quilt Reproduction Challenge
Tech Know Quilter Masters members were challenged to find a historic quilt and redraw it using Electric Quilt 8. I wonder how many of their inspiration quilts are in Block Base Plus?
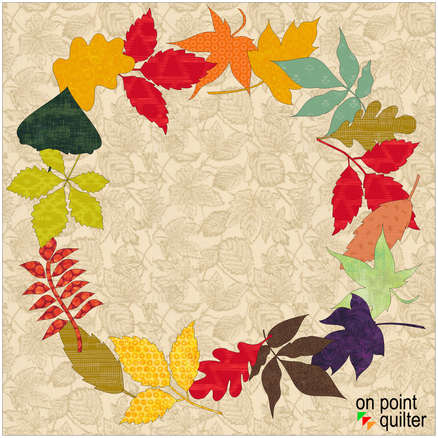
Do you decorate with quilts for fall? I love working with fall fabrics and quilts are my decoration of choice in my home. I created this fall quilt that could easily be stitched up before the snow starts to fall.
Fall is in the Air Quilt
Last week I shared how to take a number of applique motifs from the EQ8 library and combine them to make a wreath. If you missed the tutorial you can catch it here.
In addition to sharing how to create the wreath, I also discussed how to convert the file to an svg format -- which is usable with Silhouette Cameo, Brother Scan n Cut and Cricut Maker cutting systems. So it would be super easy to make this 20 inch wreath.
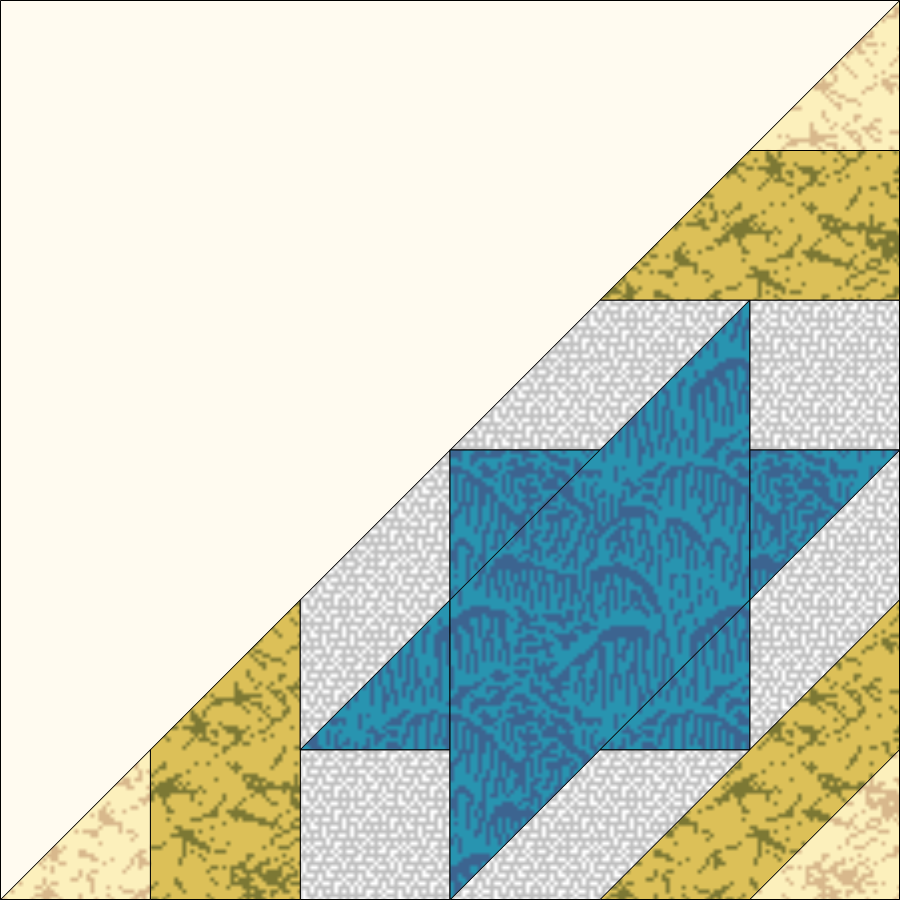
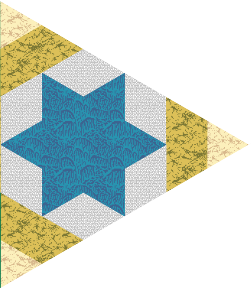
This week I will share with you how to create a simple setting and some easy to piece blocks for a fun new fall quilt.
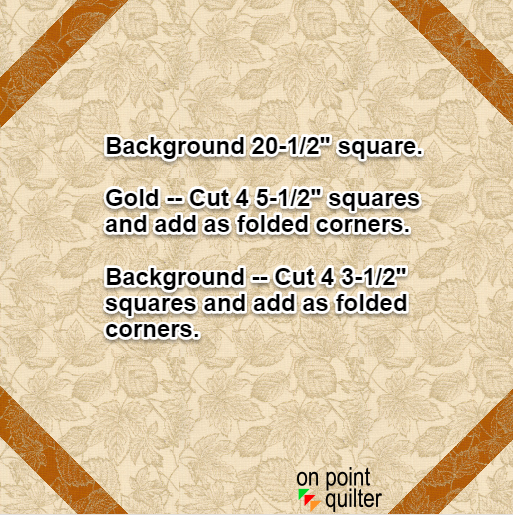
The maple leaf block is 3" finished and easy to rotary cut and the large 20" finished block would be conducive to foundation piecing -- or adding 5-1/2" and 3-1/2" squares for folded corners.
Additional Cutting Information for Borders
Quilt will finish 44" x 44" (without binding).

I am curious if you go with my design -- or come up with one of your own. Post a picture of what you ended up doing.
Tech Know Quilters Showcase
Tech Know Quilter members shared some of their favorite projects (along with their own designs) from their August class. You can learn more and sign up for the wait list to join this amazing group of designers here.
Wow. What a fantastic week. I had so much fun seeing many of you on one of the transparency quilt webinars last Sunday and Monday. And then we moved into open enrollment for Tech Know Quilters. Which only happens a few times a year.
During the webinar, I shared how to use Inkscape to create a transparency image. But there actually are other really good uses for Inkscape. It is a great way to convert any of your EQ blocks to svg files. For those of you that have electronic cutting systems (Cricut, Silhouette or Brother Scan n Cut), you will then be able to cut your patches out using the svg files. Included in this weeks video is information on creating an svg file for a leaf wreath created in EQ.
Even if you don't use an electronic cutting system, you are going to want to see how to make your own fall wreath. Fall Wreath using Electric Quilt 8
Learn how to create your own fall wreath using Electric Quilt 8.
In the video, you will learn how to combine motifs from multiple blocks into one block along with rotating and resizing the elements to draft the wreath.
As mentioned in the video:
From EQ8 to Your Cutting System
Once the wreath was drafted, I knew I didn't want to cut out all those applique shapes by hand. So I decided to use my electronic cutting system to cut out the leaves.
There were two challenges to overcome with my drawing. First, the block is 20 inches x 20 inches -- super big which means lots of tiled pages when setting the page size to letter. Since the applique patches are overlapping using the trace feature in my cutting system wasn't going to work. After a bit of experimenting, I found the solution was to print the block to a pdf writer that would allow me to set the paper size to 24 x 24. No -- I don't have that big of a printer. In the video I demonstrated the CUTEPDF writer, which is freeware available for PC users.
For my MAC lovers, Electric Quilt recommends that you use the RWTS PDFwriter. You can read more about downloading and using the printer here.
Since I don't have a MAC, I was unable to test whether you could create a 24 inch paper size. If there isn't an option, a workaround would be to change the size in EQ to 8 x 8 and then modify the size once you get it in Inkscape. Another difference is that on a Mac, there isn’t an option to name the file before saving; PDF files are stored in the directory /Users/Shared/PDFwriter/<your user name>. When following the video, note that you will need to modify your approach for those differences.
10/6 update -- Julie Bermel (a TKQ member) shared the problem with her husband who found a an article on changing the page size for a MAC. He was able to test it on his Mac book Pro.
I love our Tech Know Quilter community -- and thank you Julie.
Having the larger paper size allowed me to work with all the elements in a single file in Inkscape. Inscape is a vector graphics program that is free. There are versions for both MAC and PC. And it allows me to convert a pdf document into a svg file. You can read more about Inkscape and download a version here.
SVG files can be used by all the major cutting systems including Silhouette, Cricut, and Brother Scan n Cut. This means if you have any of those systems, you will be able to cut out your Electric Quilt applique fabric patches! No scissors required.
You are welcome to use my pdf export to explore working with Inkscape (regardless of you computer system).
We do explore some additional nuances in working with EQ and electronic cutting systems in the Tech Know Quilter class -- Specialty Rulers and Dies.
You can learn more about Tech Know Quilters here and sign up for the wait list for the next open enrollment period. Next Week
Next week I plan to share with you a quilt that you can make that features the 20 inch Fall is in the Air wreath.
Read about creating the Equilateral Triangle Double Block below. But first ----
Join me Live this Sunday or Monday only for a Free Transparency Quilt Webinar
Transparency quilts are those special quilts where the quilter places blocks of color within the quilt, creating an illusion of overlaying colors.
These are often the quilts that stop us in our tracks and leave us mesmerized and wanting to continue to look at them. But when it comes to creating our own, I have found many people feel a little overwhelmed and unsure how to work out the overlay along with the right color combinations. Which is why I'm going to show you how. Join my free Electric Quilt 8 webinar where I will take you step by step through the entire process to create your own transparency quilt. In this live webinar, you will learn how to:
What are you waiting for? Enroll today.
Plus you will also receive a guidebook that you will be able to use as a reference both during and after the video. This will assist you when you're working on your project. I can't wait to see your transparency quilt design. Choose the time that works the best below and register for this amazing fun webinar. You won't be disappointed. For all those that attend live, I will be offering a special bonus offer as well. Make sure to join me. I can't wait to see you there. A replay will be available for 24 hours if you cannot attend live.
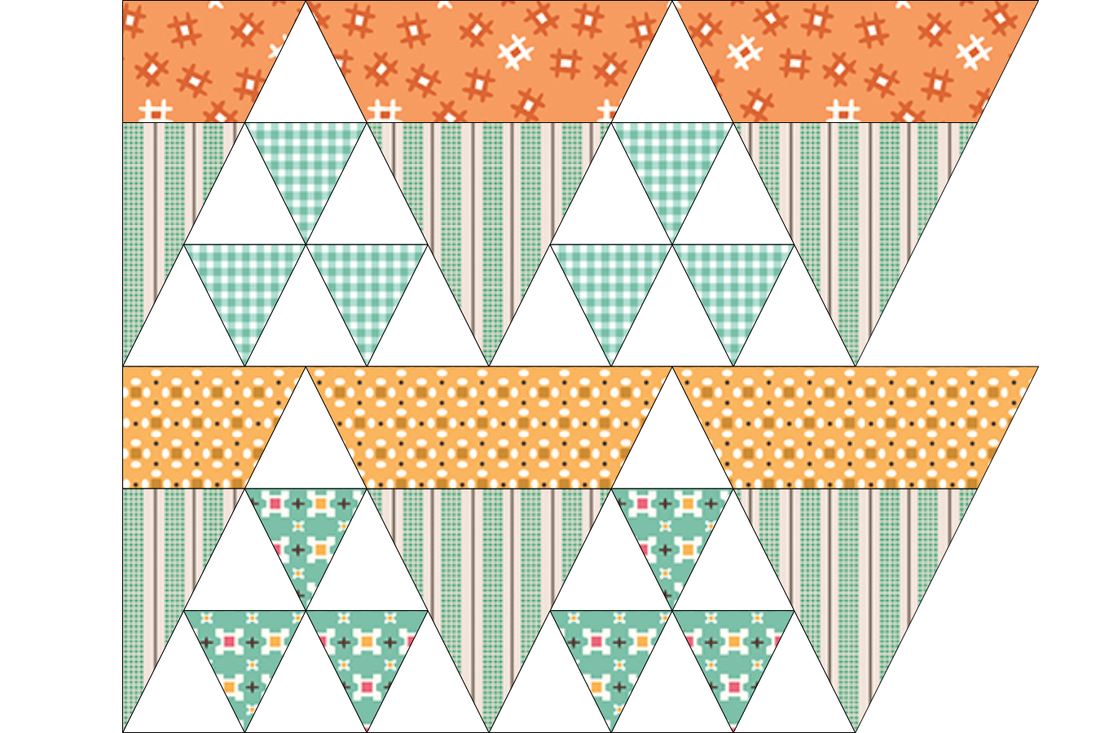
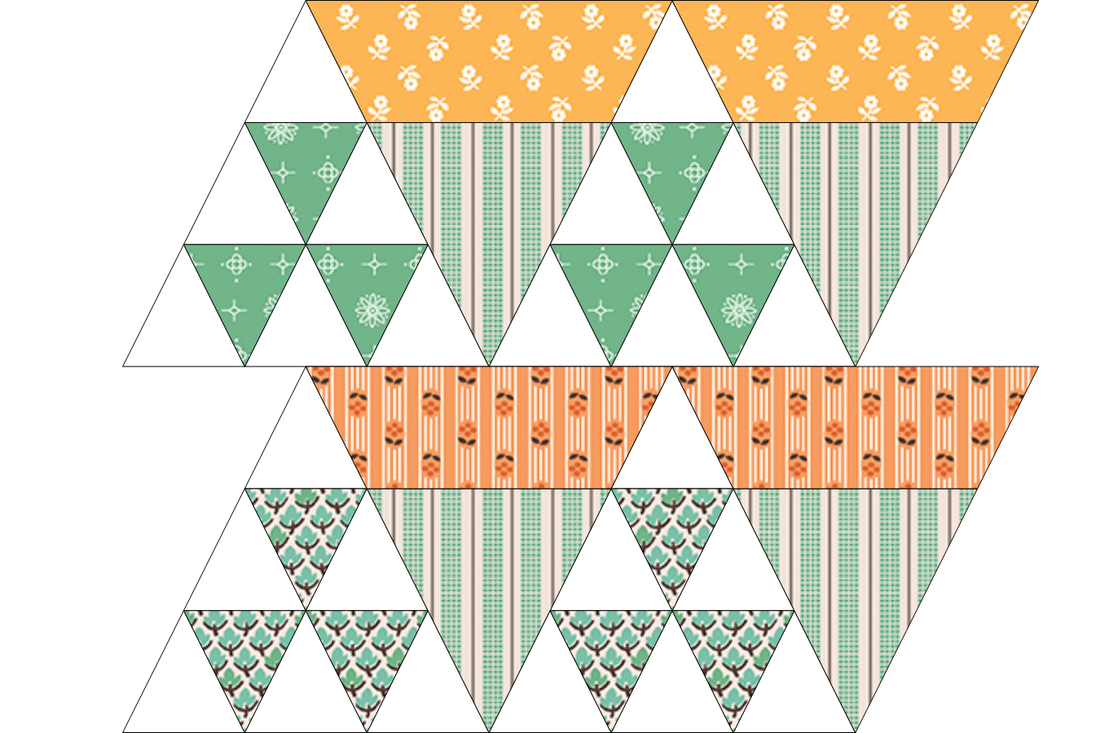
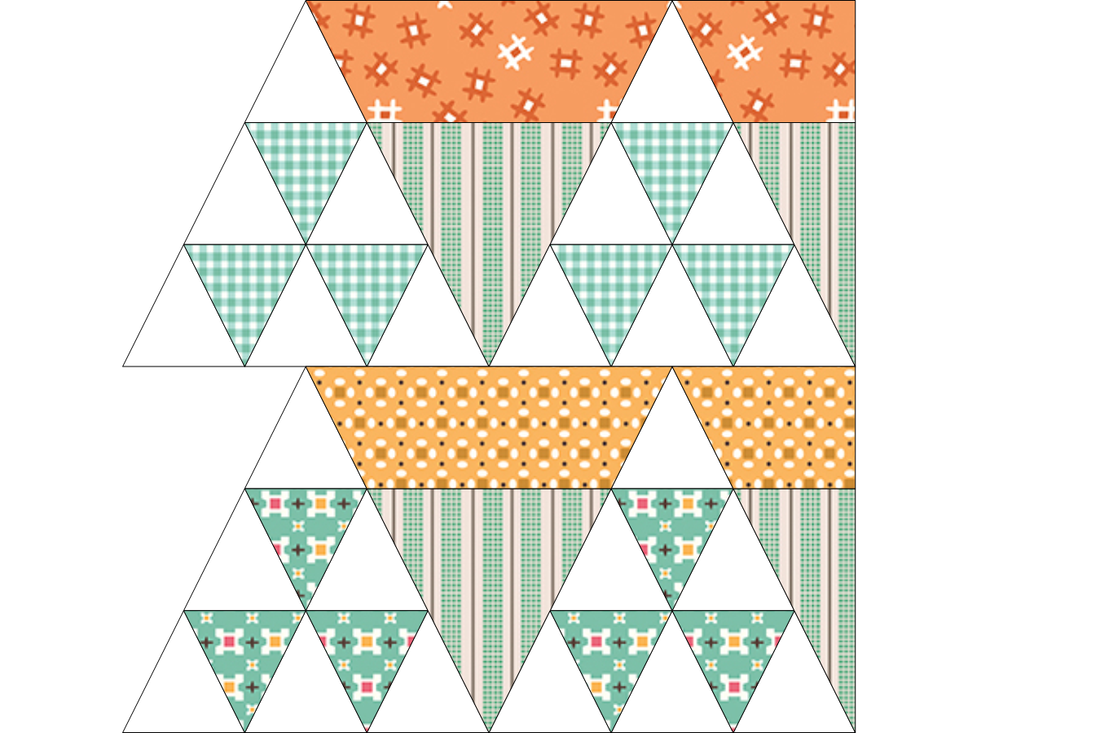
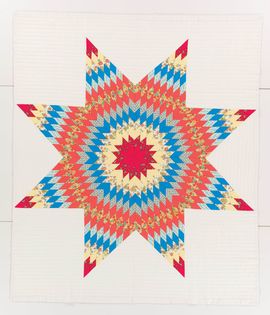
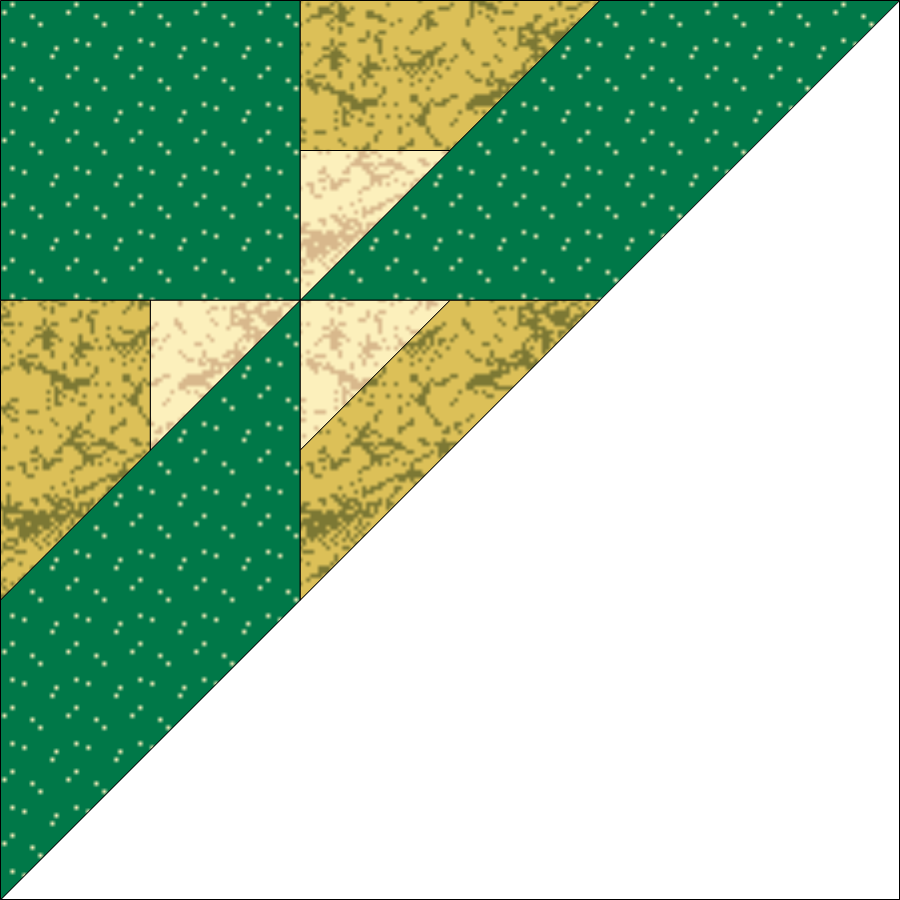
Equilateral Triangle Double Block
Last week I shared the unboxing of a shoebox quilt from the turn of the century. Fortunately it included an EQ4 diagram.
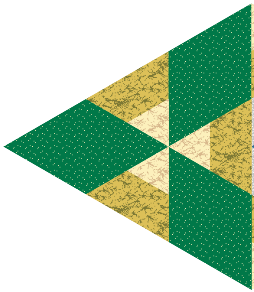
Would you like to see how to draft these two Equilateral Triangle blocks as just one block using EasyDraw. I am somewhat impressed that I figured out how to do this back in EQ4 (my first version of Electric Quilt).
Here are the EasyDraw blocks (before combining) and what they look like when set in a diamond layout.
Here is the reproduced quilt from EQ4 (including the less than inspiring EQ4 fabrics). It is so nice that we don't need to use fake fabrics these days. The fabric options in EQ8 are fantastic by comparison.
Equilateral Triangle Quilt from EQ4 (redone in EQ8)
After the unboxing, I saw that my plan was to use a variety of plaid fabrics for my quilt. Since I really don't need a huge quilt, I decided to remake a smaller version and also test out some coloring options using plaid fabrics.
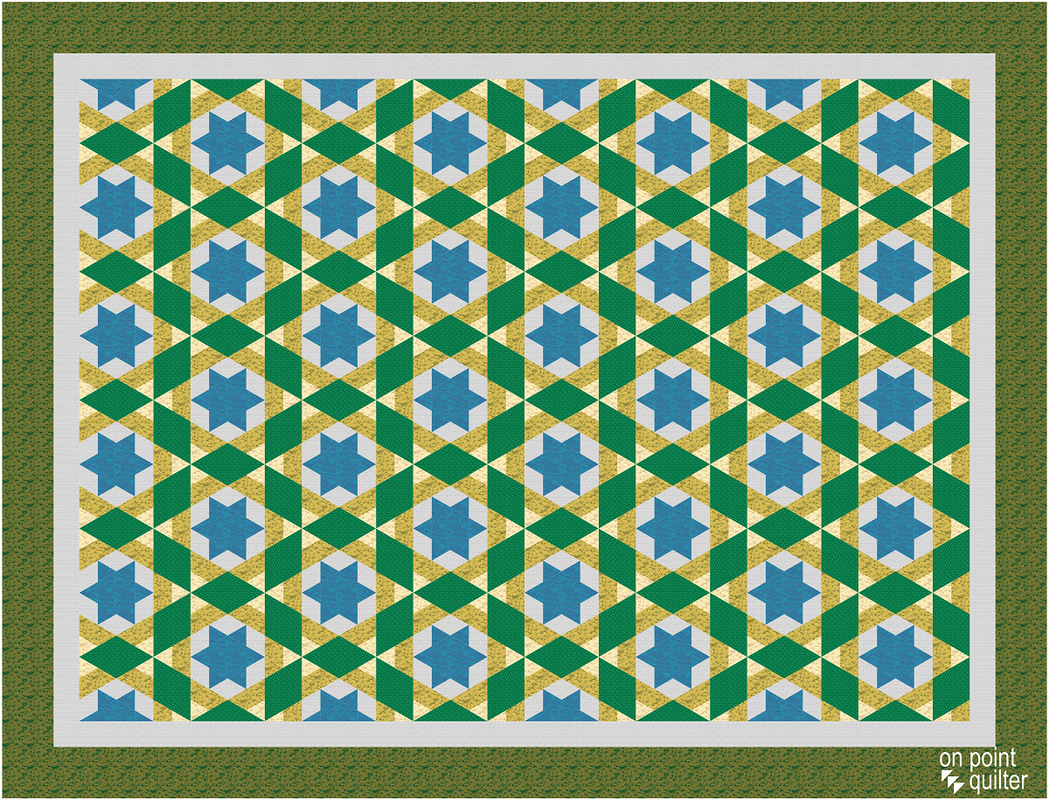
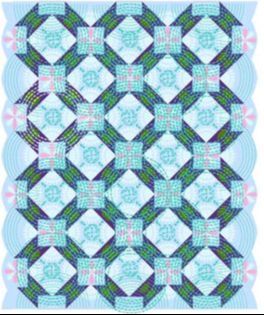
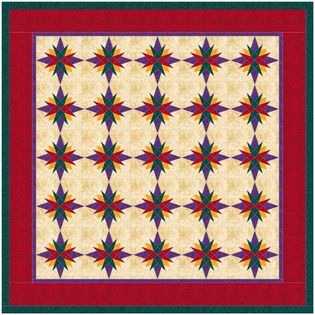
EQ has an entire collection of plaid fabrics in the EQ8 fabric library -- just look under "Themes - 02 Plaids". Even though those aren't exact matches to the fabrics I will be using in my quilt, it will give me a better feel for the look of the quilt. Here is an option using a variety of blue plaids for the stars and greens for the larger diamonds. This is fairly close to the original plan. Other than I swapped out a variety of tans for the gold/tan print in the quilt. 
I then thought I would try an option where I nixed the green. The diamond block was replaced with another star block.
I am really torn on how to proceed. Or I could color the diamonds in the top quilt with a blue rather than green. What do you think? 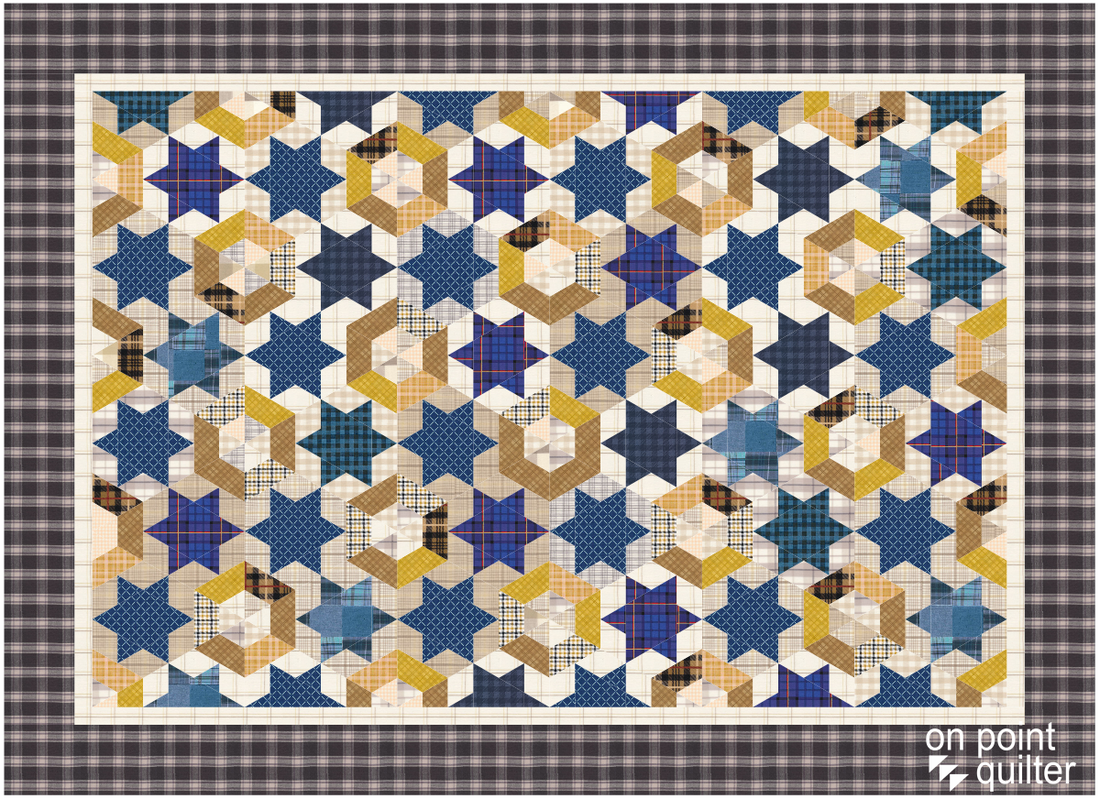
Here is my quilt top. Not perfect -- but finished at last weeks quilt retreat.
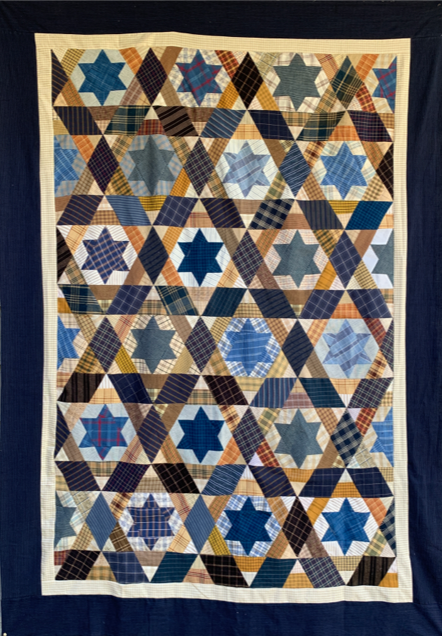
Kari's Two Blocks in 1 Equilateral Triangle Quilt
I would love to see your Equilateral Quilt designs as well. Fee free to post on the Learning EQ Facebook group. If you are not a member, make sure to request membership to the group.
Here is a quilt that Dianna Carter did just this week in Modern Quilts 2 -- a Tech Know Quilters class. This adds a number of additional techniques to what is shared in the blog post.
If you are interested in Tech Know Quilter's, you can learn more here. Psst -- there just may be an opportunity to join Tech Know Quiltersat the end of the webinar on Sunday and Monday. 

|

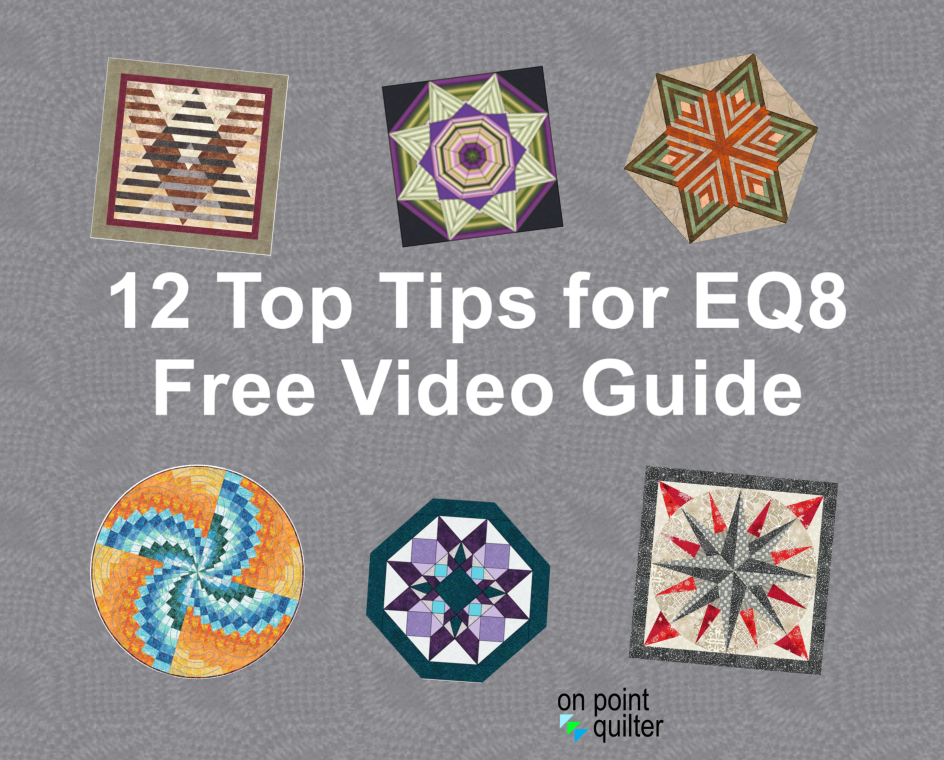
Free guide available for newsletter subscribers


Kari SchellElectric Quilt Expert and Educator and Pattern Designer. Categories
All
Archives
July 2024
|


 RSS Feed